This post is the second of two parts about my hike on the Great Basin Trail. You can read part 1, which is an overview of the trail, here: The Great Basin Trail: Trip Report & Guide. This part focuses on the gear I carried, how I prepared, and what I’d do differently.
Gear:
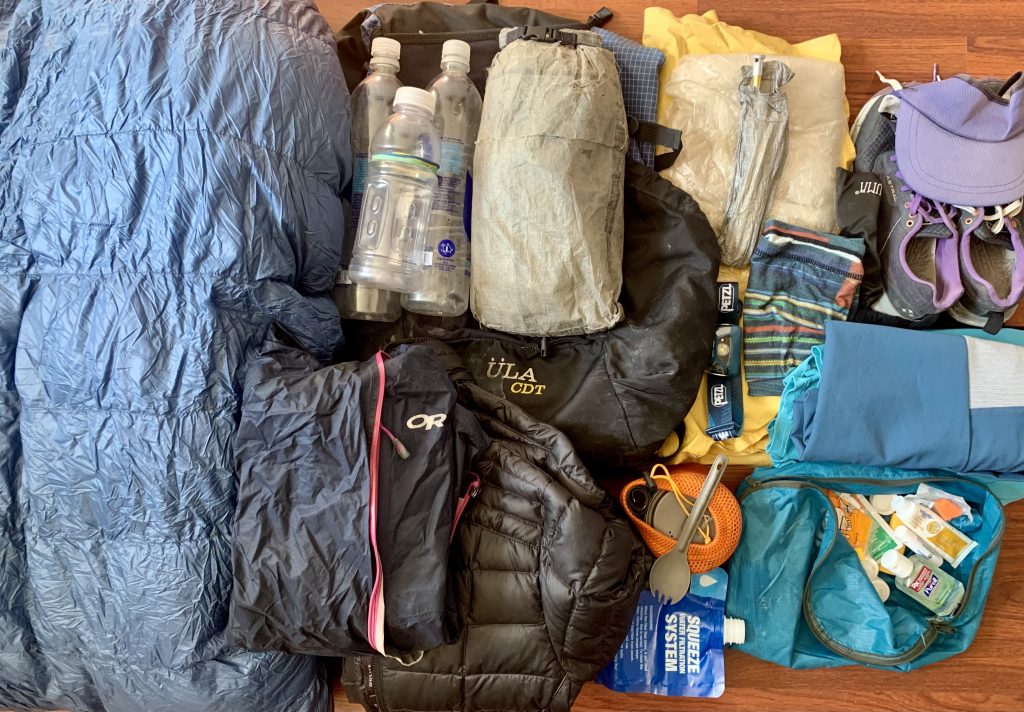
You can find my GBT gear list and rationale for the selections in this post, which I wrote before I left. For the most part, I was very happy with my gear selections.
Changes I made on trail or would make next time:
- I would’ve carried tall gaiters or opted for pants instead of a dress. I love hiking in a dress, but there was A LOT of bushwhacking through sagebrush, mahogany, young aspen, briars, willows, and more. My legs got shredded, scraped, and bloody. I tolerated the discomfort, but the off trail sections would have been less taxing if I wasn’t also dealing with painful, scraped legs.
- Two weeks in, once the weather was warming up, I mailed out my stove. I also mailed out my buff (which I wasn’t using), a pair of ankle socks, and a mid-layer fleece I threw in my pack last minute when I saw the potential for snow storms. Speaking of socks, I decided I prefer calf socks over ankle socks, which caused the skin on my Achilles to dry out and become irritated, so I won’t bother bringing any ankle socks in the future.
- I swapped out my water filter for chemical water treatment. I highly prefer a water filter over chemical treatment because I don’t like the taste of chemically treated water and I value the health of my microbiome. However, we were often treating many liters of water at once and filtering was taking a long time. I’d still be at a water source filtering when my hiking partners were long gone.
Training & Preparation:
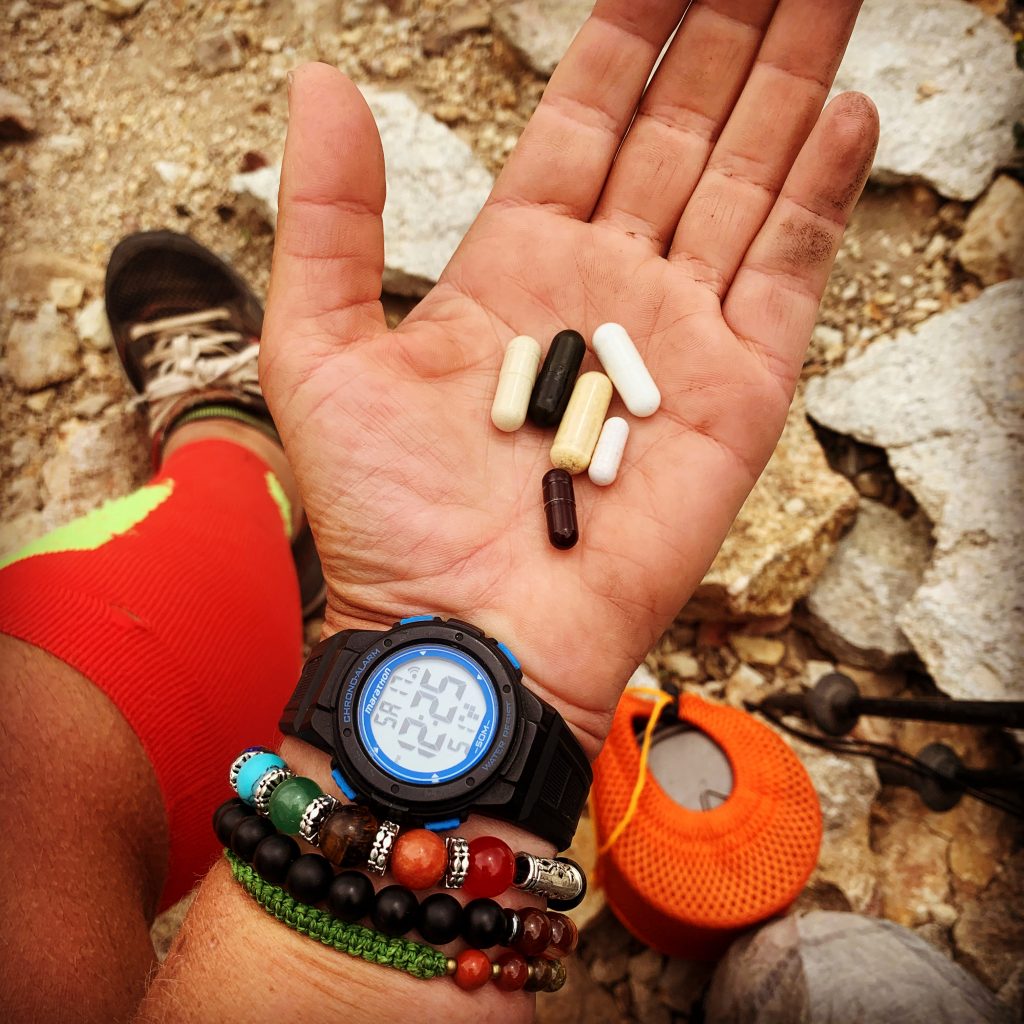
One of my biggest concerns before embarking on this hike (and every long hike) is how my body will hold up to the rigors of 12-14 hours days of backpacking across difficult terrain. As I’ve written about here, here, and here, I’ve been using diet and lifestyle strategies to manage an autoimmune condition since ~2015. That means I prioritize getting my body as healthy as possible before a hike so that I have reserves to draw upon once I’m out there. I know once I’m on trail, no matter how well I try to eat, sleep, and care for my body, a long distance hike slowly wears down the body. Furthermore, even with a healthy hiking diet, there’s limited access to the antioxidant-rich fresh fruits and vegetables that fight oxidative stress and inflammation from hard exercise, sun exposure, and other factors.
Ensuring that my body is prepared for a long hike consists of the following components:
- Mental Preparation
- Proper Nutrition: Anti-inflammatory Eating + Blood Sugar Balance
- Gut Health
- Physical Training
- Optimal Sleep
- Stress Management
This is what’s covered in the Adventure Ready course and it’s the same process my clients use to increase energy, endurance, and overall resilience before their backcountry adventures. I generally always take care of myself, but I really get serious about 3 months out. The more rigorous the hike, as I expected this one to be, the more rigorous my training.
Food/Resupply:
When selecting food for a backpacking trip, my goal is to follow the same anti-inflammatory eating principles that I do at home, but adapted to the constraints of backpacking. I focus on high fat, whole foods as much as possible (the fewer the ingredients the better) and filter my options through the following criteria:
- Ultralight (energy-dense): I prioritize trail food that is energy-dense, meaning high calorie per ounce. I aim for >125 calories per ounce, but some foods fall short of that which I’m okay with if it’s a high protein food. At nine calories per gram for fat compared to four calories per gram for protein or carbohydrate, this makes fat a good option for weight efficiency for long distance hiking.
- Nutritious: I want my trail food to promote steady energy by containing a balance of macronutrients (protein, carbs, and fat) that stabilize blood sugar, either within one food or when combined. I look for foods that combat inflammation rather than contributing to it.
- Appealing: It’s a miserable feeling to reach the top of a big climb feeling famished, only to open your pack to a bag full of unappetizing food. Just like with the food you eat at home, there’s no reason the food you eat on trail shouldn’t be delicious. I carry a variety of textures (crunchy, smooth, etc) and flavors (spicy, salty, sour, etc) to keep it interesting.
- Simple: There are so many logistics to consider pre-hike that finding a way to make healthy, ultralight eating easy is a priority for me. You may have a different preference on how much food preparation you prefer to do, but most of the meal options I put together contain only a handful of ingredients that can be found in most stores or purchased in bulk and easily assembled at home.
Sample Day of Eating
I didn’t have a lot of time to prepare food for this trip, so I kept it pretty basic. Generally I prefer to mail boxes rather than shop in stores, especially in small towns in central Nevada, which aren’t likely to carry a lot of the healthy foods I like. Furthermore, when I’m in town, I don’t enjoy exploring a foreign grocery store looking for what I need when I’d rather just be relaxing. So, I sent boxes to probably about ⅔ of the towns we stopped in, and in the larger towns or where it would conflict with our schedule (getting to town on a weekend), I shopped in town.
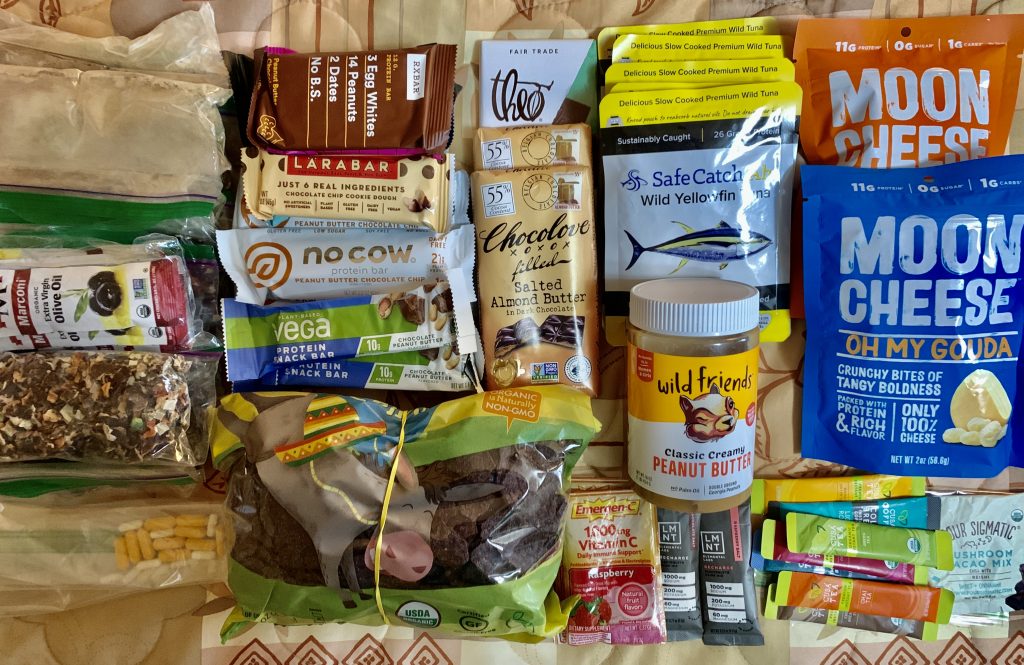
Before leaving, I prepared several trail smoothies and bean dinners. Find the trail smoothie recipe here and the bean dinner recipe (and a few others) here. Super simple, but I enjoy them and they make me feel good. I also bought a bunch of gluten free protein bars, nut butters, and organic tortilla chips.
Here’s what a sample day of eating on trail looks like for me:
- Breakfast: Trail smoothie; a bar with 20+ grams protein; nut butter with gf granola
- Snacks/Lunch: tuna packets; nuts; seeds; nut & seed butters; organic tortilla or sweet potato chips (ideally w/ coconut oil rather than inflammatory industrial seed oils); salami or meat sticks; moon cheese; cheese sticks; bars (ideally 10+ grams protein and 1:1 or 1:2 ratio of protein to carbs; whole food ingredients, if possible).
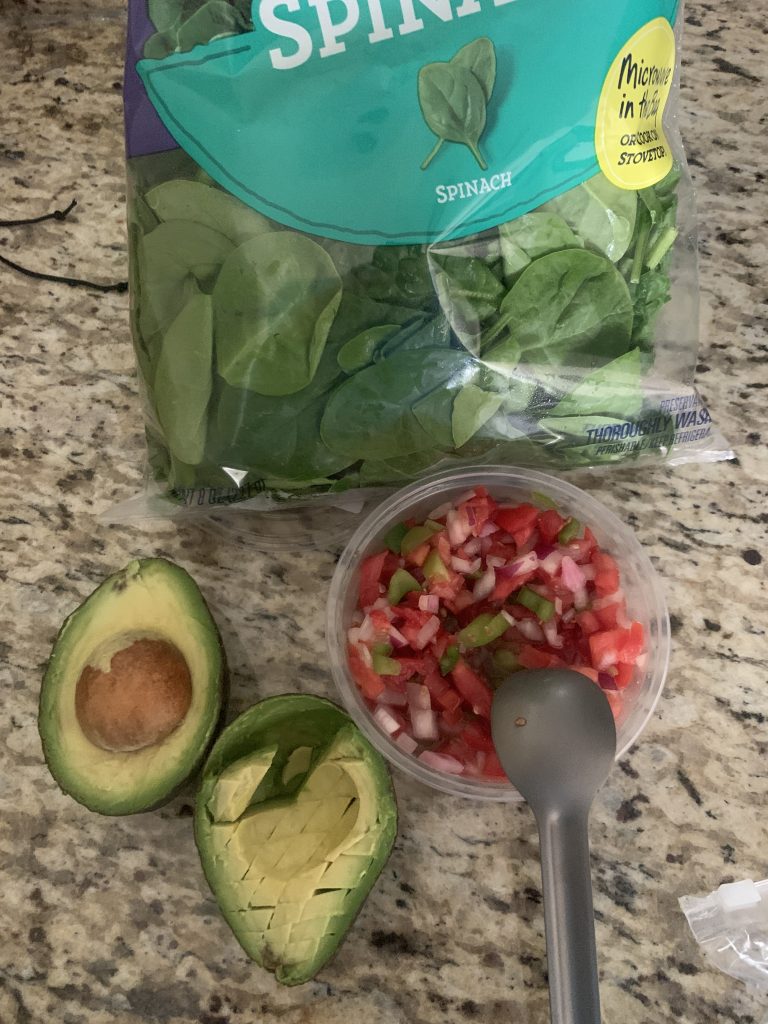
- Dinner: Beans, dried veggies, organic olive or coconut oil, spices, crushed chips. Meat and cheese. Rice noodles with spices, olive oil, and tuna. Dark chocolate for dessert.
- Drinks: instant coffee or tea in the morning, usually mixed into my smoothie; electrolytes in the afternoon (on this trip, it was EmergenC and LMNT).
How Much Food to Pack:
To determine how much food to take, I take past experience into consideration and calculate calories. You can use a free BMR calculator online, and adjust for activity (see this video). Then test it out and take note of how much food you returned with or whether you ran out. Like most hikers, I get hungrier the longer a trip lasts. For that reason, I generally plan for a higher calorie intake later in the trip. For this trip, for example, I ate about 2700-2800 calories for the first two weeks, then 3000-3200 for the last 2.5 weeks. Cold temperatures, a high amount of elevation gain, and cross country hiking over uneven surfaces make me hungrier, so I also try to plan for that. As far as macronutrient ratios, I feel best eating about 50-60% fat, 20% protein, and 20-30% carbohydrates. Prioritizing fat is also more weight efficient than a carb-heavy diet. See this video on macronutrients for backpacking.
Overall, my food choices and amounts worked out well. The changes I would’ve made would be to bring more savory/salty stuff, such as spicy nuts and seeds or meat sticks, and fewer bars. Maybe one bar a day instead of three. I craved salt, as usual, and anything even remotely sweet (such as a date-based bar) often sounded gross, especially in the heat. For the calories, I was a bit on the low side for the level of exertion required by this route, but the deficit wasn’t debilitating.
To get started with your own healthy backcountry meal plan, I invite you to check out this free backcountry meal planning course.
Final Thoughts
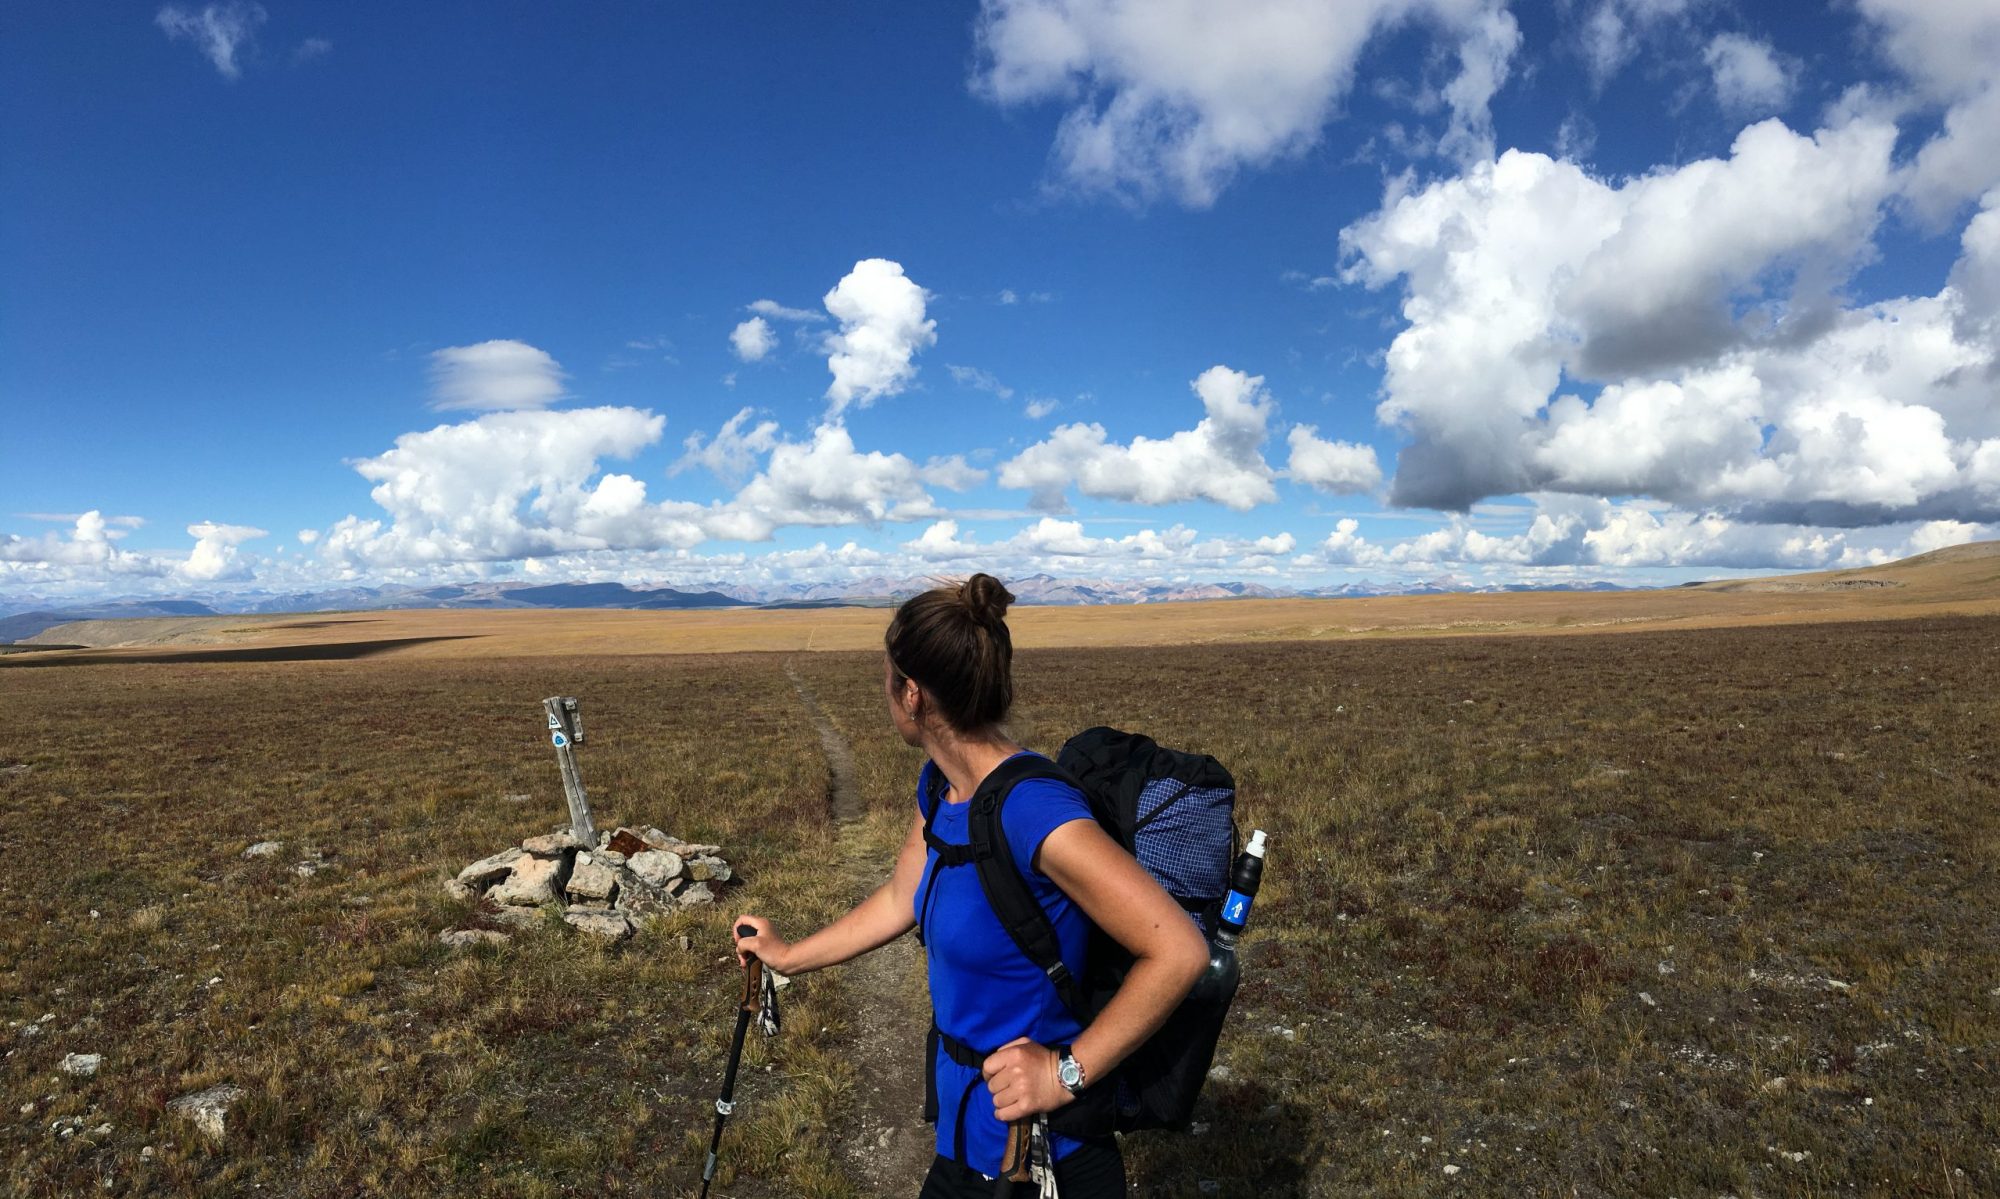
The GBT is one of the most challenging routes I’ve hiked, but that also made it an incredibly rewarding experience. The degree of difficulty of this route forced me to look at my deeper motivations for being out there. On a route like this, you need a reason to be out that’s bigger than ego validation or checking off a box.
For me, I love just being out there walking, all day, at the mercy of the conditions; moving forward in the face of heat, cold, wind, rain, and the difficulty of the terrain in front of me. To experience all that being in a human body has to offer -the challenges and the rewards – hunger, thirst, sweating, shivering, itchy bug bites and scrapes, thigh-burning climbs, AND taking in endless mountain views, gulping down fresh spring water, and inhaling the scent of sagebrush after a rainstorm… it makes me feel like I’m actually living this life I’ve been given. Extended backcountry travel allows me to reconnect with myself and nature, to see who I become when I lean into discomfort, and to be present to what’s in front of me. The effect is even greater in harsh, remote, desolate landscapes.
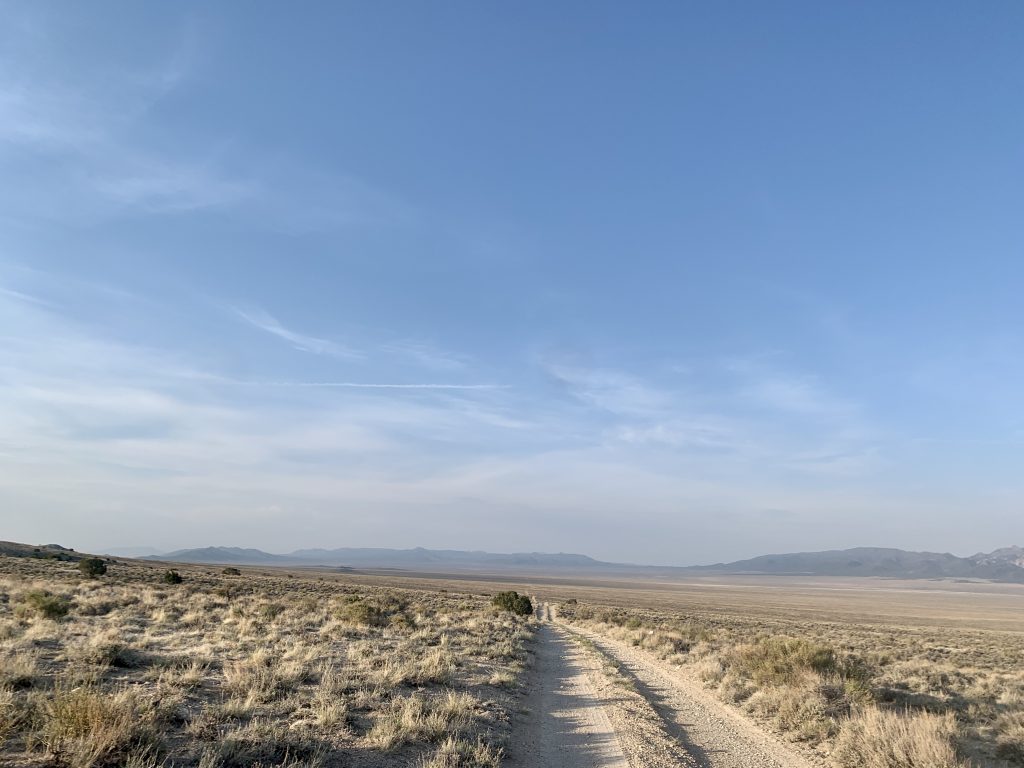
Nevada consists of 87.8% public land. That’s more than any other state in the contiguous US. That’s special. And there are so few people out there exploring it. At least, that was my impression since I saw less than 10 other hikers the entire time I was out. This route offers the opportunity to enjoy true solitude and adventure for those who seek it.
Another unique feature of the GBT is the experience of hiking in a loop rather than point to point. A loop that centers on one geographic feature allows the hiker to become more intimately connected to a specific landscape and it’s rhythms. There’s also a sense of timelessness of walking a loop, enhanced by the remoteness of the GBT. From each point on the loop, you can look across basins to see ranges that you hiked days and weeks before. It’s quite an experience.
A snippet from my trail journal on our last full day that I feel sums up a lot: A big day on top of a big week, at the cap of a burly route. The GBT continually asks: What do you have left? Are you up for it? And step by step you move forward. Can I handle what’s in front of me right at this moment? Yep, okay, keep going. I’ll figure out the rest when I get there.
Additional Resources
The best source of information on the Great Basin Trail is on Ryan “Dirtmonger” Sylva’s website. He’s the creator of the route and his site contains a GBT overview, guidebook, water chart, trail journal, and more.
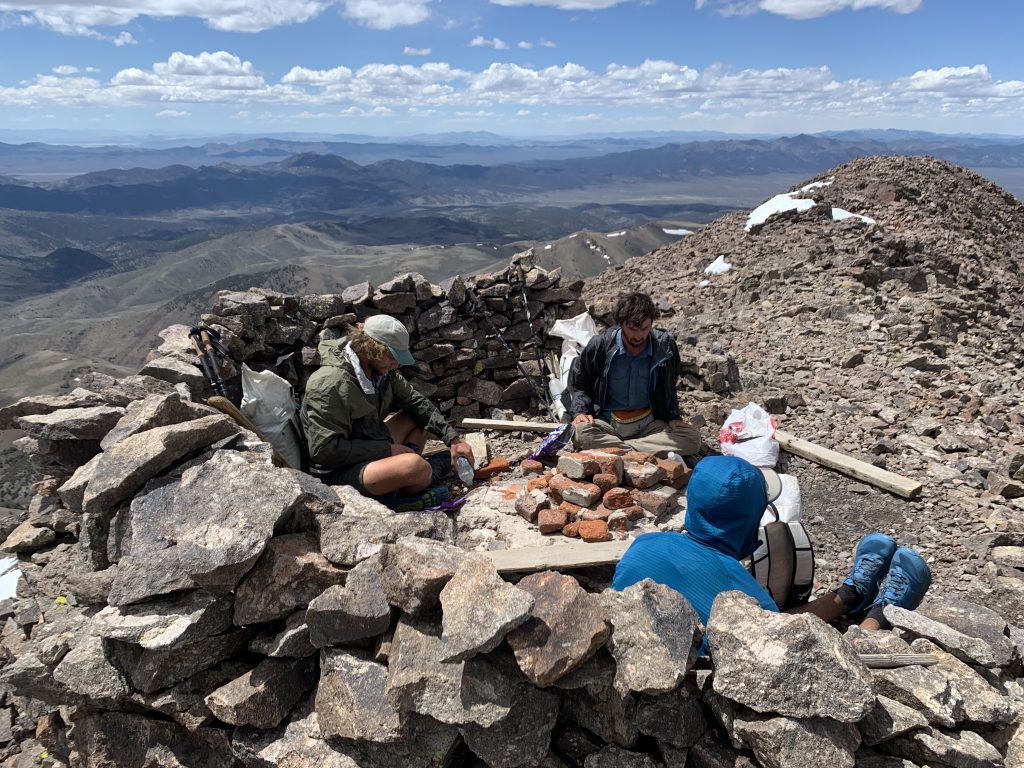
One day towards the end of the trip, we were nearing the end of a 15-mile ridge walk that included summiting several 12,000+’ peaks. My legs were exhausted and I was thinking “I’m not having fun anymore. I want to be done now.” But there was still more ridge walking and hiking to do for the day, so there was nothing to do but keep pushing forward. That moment reminded me of every time I’ve ever been out drinking with Dirtmonger. There’s a point where I’m ready to call it a night and Dirt looks around and says “I’m gonna have another round or two. Anyone else?” This route is very much a reflection of it’s creator, and as such the GBT is always pushing the edge of what feels reasonable or even possible. In the end, it makes for quite a rewarding experience when you persist beyond what you believed you were capable of.
Question? Comment below!
Related posts you might like:
Backpacking on a Healthy, Gluten Free, Dairy Free Diet: Meal and Snack Ideas
Plan Your Backpacking Trip without the Common Mistakes
How to Get Ready for an 800-mile Backpacking Trip
Thru-hiking with a Chronic Illness: Strategies ANYONE Can Use to Be a Stronger Hiker
Thanks Katie for sharing your experience and knowledge. One question I have been wondering about it is necessary spend a period before a long hike teaching your body to use fats instead of carbs as I notice folks have to do when embarking on ketosis.
Hi Stuart. Yes, the body does best with slow transitions vs abrupt changes, and how quickly/easily you adapt depends on what your current diet looks like and how active you are. If your body is used to burning primarily glucose, then training it to use fat more efficiently for fuel can take anywhere from a few weeks to a couple months. One can become “fat-adapted” more quickly by slowing increasing dietary fat, reducing carbs, practicing intermittent fasting, and exercising fasted.