Are you carrying the most calorie-dense foods?

junk food

Looking for the most calorie-dense backpacking provisions to reduce the food weight you have to carry? Double check those labels before filling your food bag with the common ultra-processed fare.  If you’re looking to eat healthy and reduce the food weight you’re carrying, read on.

eat calorie dense food

A common objection I hear about healthy eating on trail is that healthy foods do not have enough calories to fuel such a demanding physical endeavor as thru-hiking.

Hikers assume that all ‘junk food’ is going to be the better option to get the most calories per ounce. While many of the junk food staples are calorie dense, deeper investigation reveals that not all junk foods are as energy dense as assumed, and that many healthy foods pack as much of a punch, if not more, than many common ultra-processed backpacking foods.

trail mix calorie

The purpose of this post is to illustrate that even if calorie density is the only metric being looked at when it comes to choosing your backpacking food, healthy foods still come out higher in calories than many of the junk foods. Side note: caloric density should not be used as the sole metric because healthy foods add a lot of other benefits to the diet beyond calories.

For reference, hikers are often encouraged to aim for 125 calories or more per ounce. Packing items with more calories per ounce allows the hiker to carry less overall food weight.

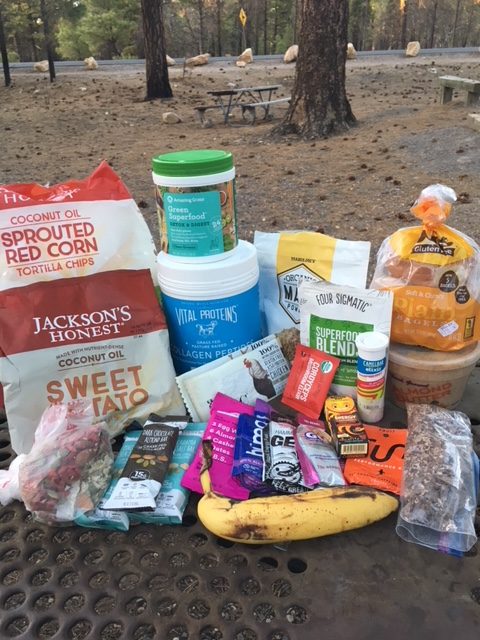
Check out the following list to get an idea of which foods meet the calorie mark and which fall short. I randomly chose 10 common processed hiker foods and 10 unprocessed alternatives. I actually wasn’t sure exactly how the options would shake out, so the results were interesting and affirming to me.

Foods are presented in order of descending calorie content. For ease of reading, calorie density values are in bold, as are whole food choices. Processed food options are italicized. I’ve linked to some of my favorite brands, in case you’re curious. 
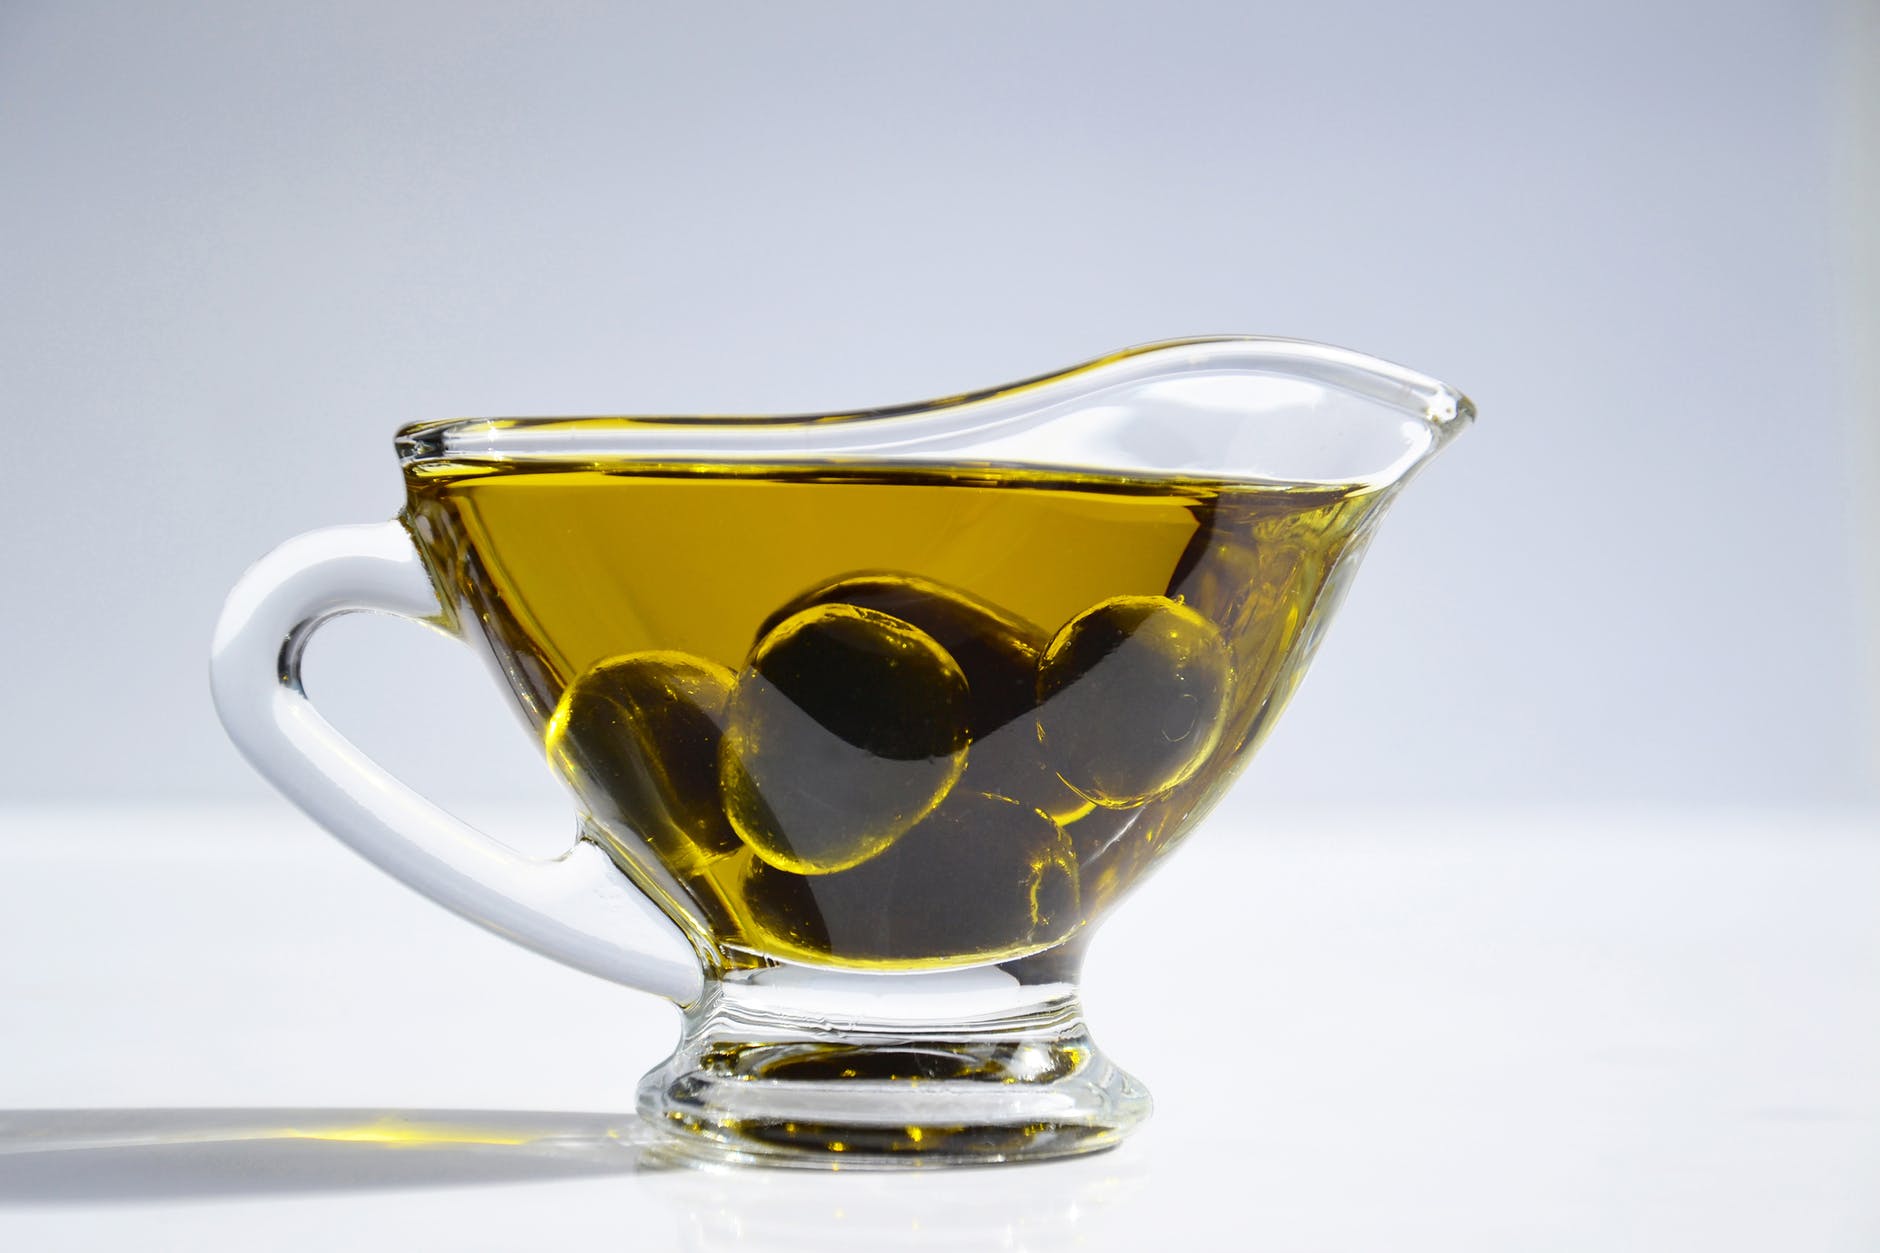
  • Olive Oil
    • Serving = 13.5g= 119 cal=248 cal/oz
  • Coconut Oil
    • Serving=14g= 120 cal =240 cal/oz
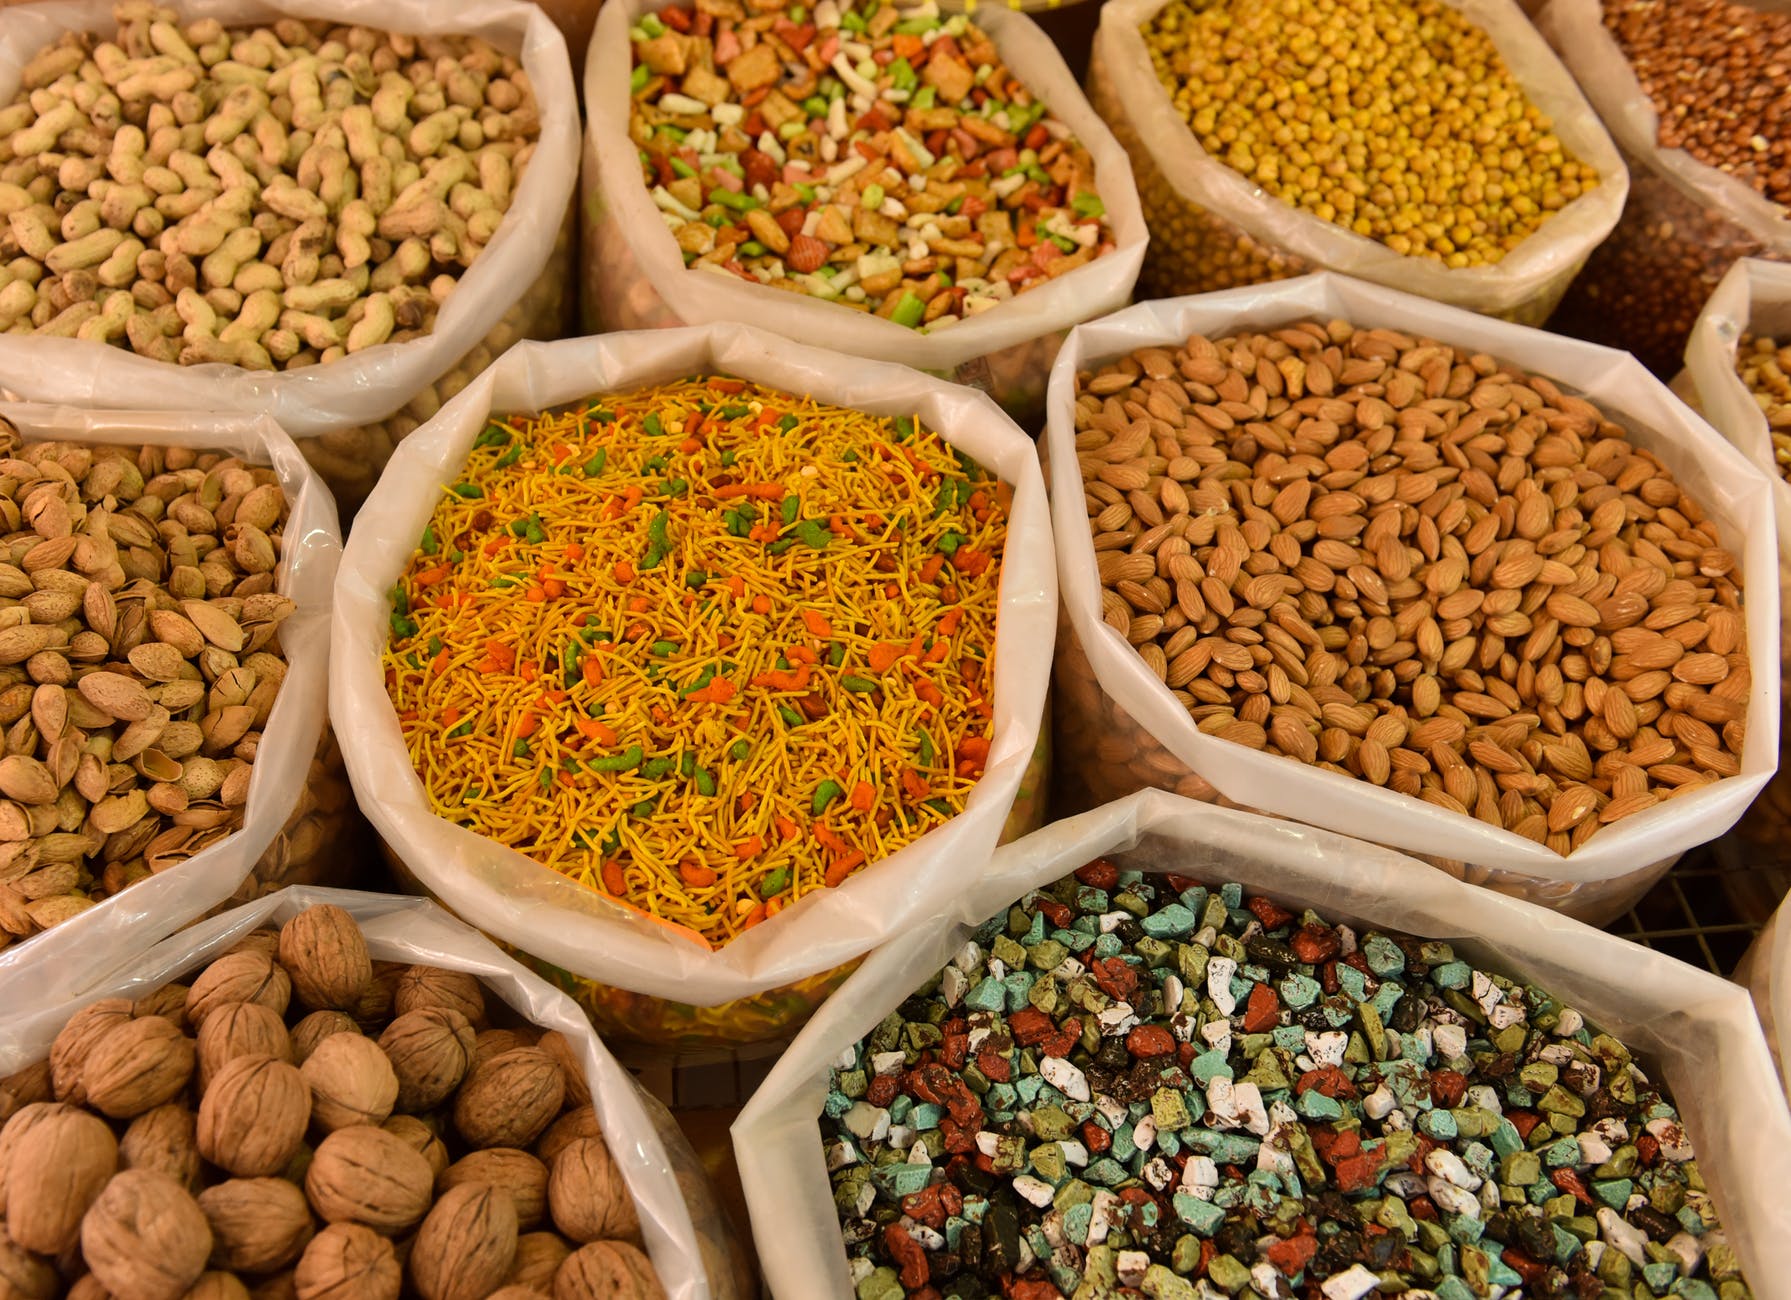
  • Walnuts
    • Serving=1 oz=185/oz
  • Nut butters
    • Serving=32g=210 cal= 184 cal/oz
  • Almonds
    • Serving=1 oz=163 cal/oz
  • Fritos
    • Serving=1oz= 160 cal/oz
  • Sweet Potato Chips, with just sweet potatoes, coconut oil, sea salt
    • Serving=1oz= 150cal= 150 cal/oz
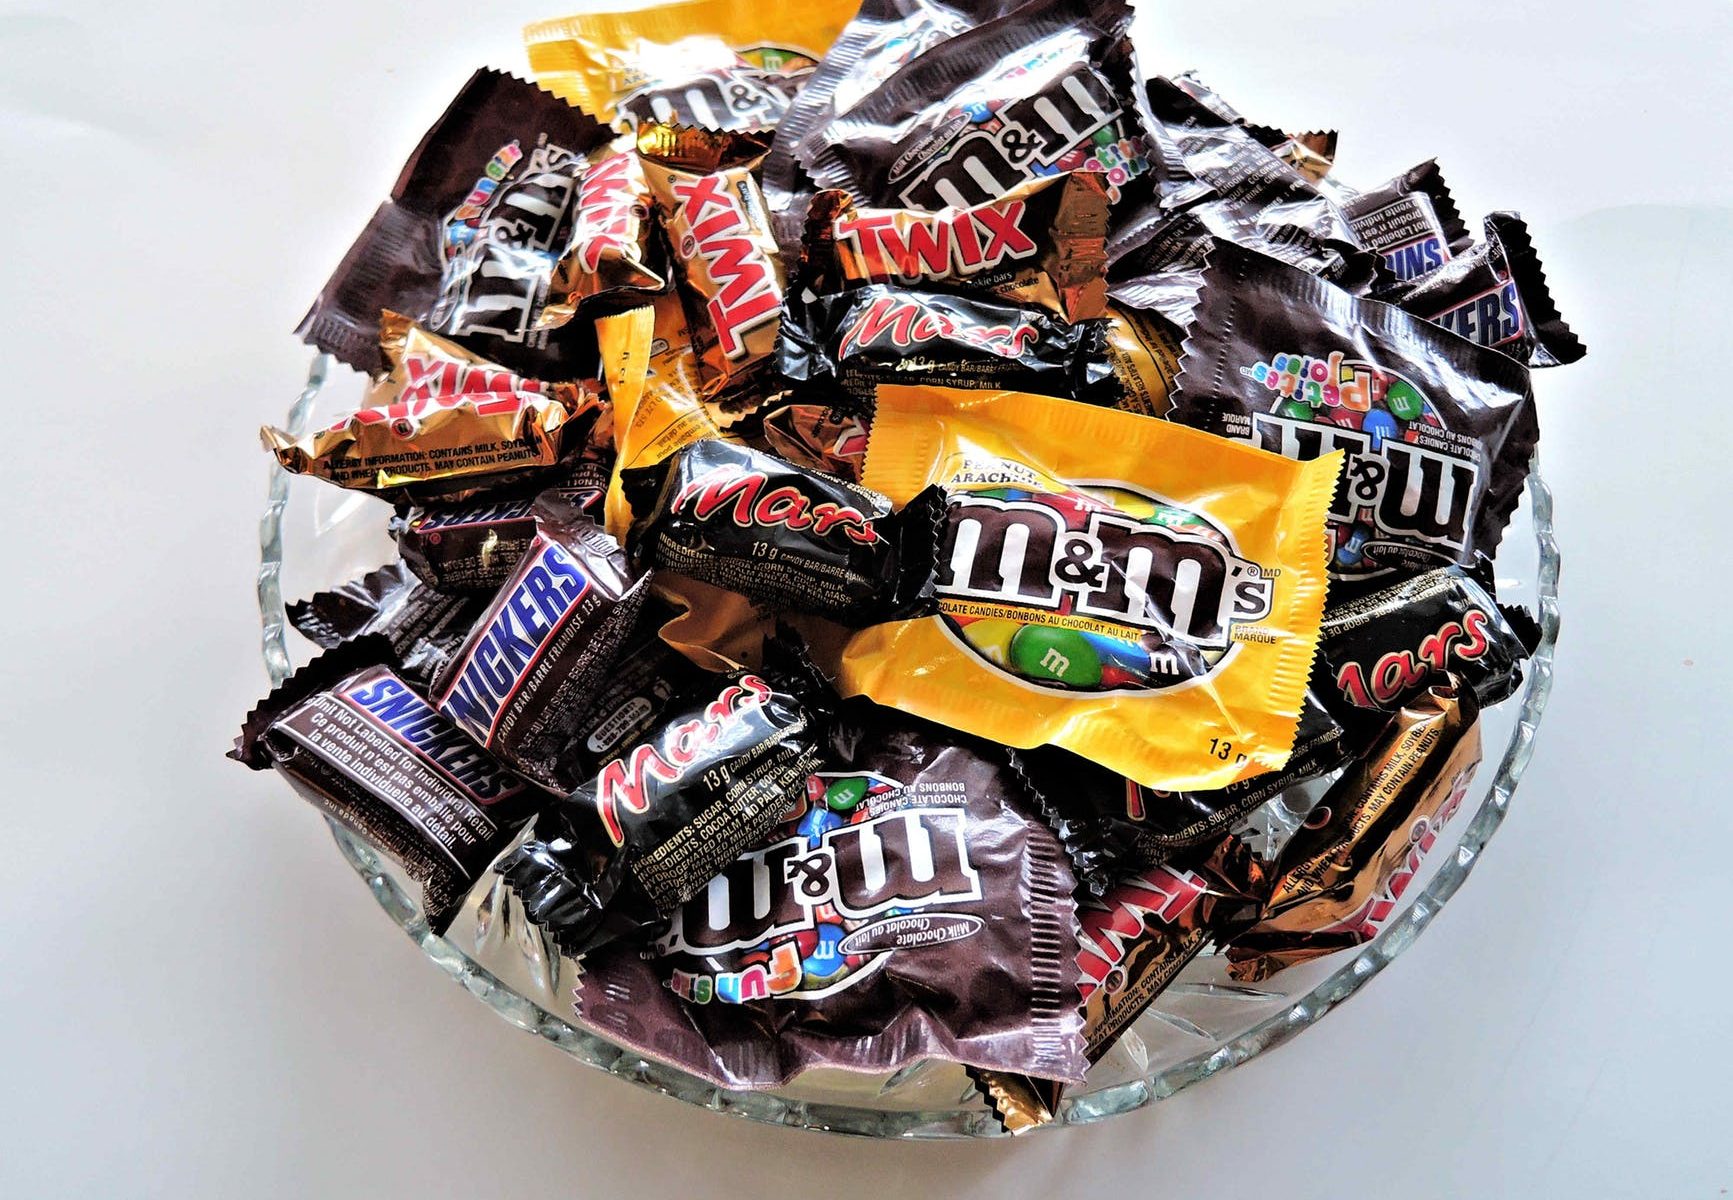
  • Snickers
    • Serving=48g= 248 cal= 145 cal/oz
  • Doritos
    • Serving=1oz= 140 cal/oz
  • Oreos
    • Serving=34g=160 cal= 133 cal/oz
  • Top Ramen
    • Serving=42g=190 cal=126 cal/oz
  • Trail Mix
    • Serving =45g= 200 cal= 125 cal/oz
  • Knorr Rice Side
    • Serving=63g=240 cal= 106 cal/oz
  • Instant Oatmeal
    • Serving=40g=150 cal= 105 cal/oz
  • Poptarts
    • Serving= 55g= 200 calories= 100 cal/oz
  • Instant Mashed Potatoes
    • Serving=29g=97 cal= 97 cal/oz
  • Dehydrated Refried Beans
    • Serving=35g =116 cal= 93 cal/oz
  • Flour tortillas
    • Serving=70g=210 cal=84 cal/oz
  • Dried Apricots
    • Serving=1oz=68 cal/oz
  • Tuna
    • Serving=2.6 oz= 80 cal= 31 cal/oz

calorie dense olive oil

Overview

This review is admittedly brief and it does not definitively suggest that packing all healthy food will be the most calorie dense route or that packing all junk food will be either. Interestingly though, the top 5 most calorie dense options are whole foods.

Again, while this post was primarily looking at calorie density as the only metric, it’s worth noting that the whole food options are packed with more vitamins, minerals, and healthy fat than the junk food alternatives.

This demonstrates that you don’t need to sacrifice calorie density while getting all the benefits that come from eating whole foods, and avoiding the pitfalls of junk food, such as inflammatory preservatives, dyes, and trans fats.

I do realize that this is by no means an exhaustive list of backpacking foods, either from the processed list or the whole foods list. I randomly chose 10 of each to compare. Also, exact values may vary slightly depending on the brand selected, or the specific variety in the case of items like trail mix, nut butters, rice sides, etc.

However, the exact values will not be far off those listed above, and I believe those listed are clear enough to illustrate the point that junk food isn’t always better when it comes to caloric density.

What are your favorite foods? Does this list make you rethink your back country food choices?

Like what you’re reading? To stay in the loop when new content is released, subscribe to my monthly newsletter here.

Boulder Skyline Traverse

green mountain boulder

A version of this post originally appeared on the Trek website here

I love this hike (or run–depending on how fit I am). It’s a convenient and easy option when I want a longer day on trails, with respectable elevation gain, but I don’t have the time to get deeper into the mountains. Planning is easy and I also don’t have to fight traffic.

I’ve done this hike a few times. The photos here are from a hike in early April 2018 while we were still getting occasional spring snow in the front range. The morning was chilly and there were light snow flurries in Boulder. I hiked through fog up Shadow Canyon and arrived to sun and the most beautiful inversion (see photos below) at the saddle between South Boulder Peak and Bear Peak. The sea of clouds remained for most of the day.

The intention for this particular Skyline Traverse, beyond just an enjoyable day in the foothills, was to test my fitness level for a bigger hike I had in mind.

skyline south boulder peak

The Basics

Length: Ranges from 16-26 miles, depending on which trails you choose and whether you hike point to point or create a loop. 

Location: Located in the iconic Rocky Mountain Flatirons, this hike hits the five highest peaks in the foothills surrounding Boulder, CO. The peaks include South Boulder Peak, Bear Peak, Green Mountain, Flagstaff Mountain, and Mount Sanitas.

Trail Type: Due to its proximity to an urban setting, this hike can start and finish in several different locations, depending on your logistics and the level of challenge you’re seeking.

Scenery: A mosaic of ecosystems from grassland to mixed ponderosa pine-douglas fir forests to rocky outcroppings and mountain streams. The traverse also showcases views to the east overlooking Boulder, Denver, and the plains beyond.

Terrain: Moderate to Difficult. There’s a system of well-maintained, connected trails throughout the area. With a total elevation gain of about 6000’, this hike makes for a solid day. However, if you’re heading south to north, once you climb the initial 3000’ to your first peak (South Boulder Peak), you’re mainly hiking rolling terrain along the ridgeline until you drop back down to Boulder before ascending your final peak of the day (Mount Sanitas).

Navigation: Straightforward. Check out a trail map of the area in advance and know your turn-offs. The trails are not particularly well-marked, but if you’ve looked at a trail map in advance, you should have no problem. The city of Boulder provides a good interactive map of the trails on Open Space and Mountain Parks land here. You could print out a map of the area and highlight your route or plot it on a mapping app.

 skyline strava

skyline elevation

Getting There: Depending on which direction you hike and whether you want to make it a loop, there are many options for where to park, including South Mesa Trailhead, NCAR, Shanahan Trailhead, Chautauqua Park, or Mount Sanitas Trailhead. For a point to point hike, park at either South Mesa or Mount Sanitas and get a shuttle to the other end (or bring a buddy with a second car). If you have non-Boulder County license plates, there’s a $5 fee to park at South Mesa.

The Hike 

For my south to north hike, I parked at Mount Sanitas Trailhead and rode with a friend to South Mesa trailhead. I chose south to north to get the biggest climb of the day behind me early. It’s about a 3,000’ climb up Shadow Canyon to South Boulder Peak. From there I crossed the saddle over to Bear Peak, and descended via the Bear Peak West Ridge Trail. At the fork, I turned left on Green Bear Trail and hiked about 1.5 miles to the Green Mountain West Ridge Trail. I took that to Green’s Summit then backtracked to Ranger Trail, which descends about a mile until it forks left towards Flagstaff Road. Once over the underwhelming Flagstaff summit, I found Flagstaff Trail, which I followed down to View Point Trail, then down into Eben G. Fine park. After crossing Boulder Creek, I made my way towards Sanitas via Sunshine Canyon, hit the summit, and returned to my car via the East Ridge Trail.

 skyline

Why Hike This Trail: If you live in the area, this is a classic run or hike. The Boulder County Open Space and Mountain Parks are arguably some of the best in the country. Planning this hike is simple enough to be done in an afternoon and the logistics are easy. The terrain is challenging enough to keep you engaged, but not overwhelmingly difficult. This trail allows you to put in a good day of miles and elevation gain, travel through the beautiful foothills ecosystems, and be rewarded with views of the city. Plus, you get to relax and refuel afterwards in Boulder, with it’s many good restaurants and breweries.

 ranger trail boulder

Climate and Weather: This hike can be done year-round. Microspikes are recommended in the winter, as snow and ice often remain on the peaks, even when the ground is clear in town. Late spring and summer are beautiful times for wildflowers, and fall is a great time to spot golden aspens along the trail.

Beware of afternoon showers in the summer. Due to the change in elevation, weather and temperatures can be quite different from your car to the peaks, so bring layers, and always have at least a wind/rain jacket. Don’t let your proximity to town cause you to be careless. It’s still a mountain environment with common dangers like sudden thunderstorms and snowstorms, slippery rocks, sun exposure, and areas with steep terrain.

 flagstaff mtn boulder

Camping & Water Sources: While there is no overnight camping along this traverse, there’s a lot of national forest near Boulder where you can camp before or after. A Google search will provide several options. In terms of water sources, there are a few creeks along the traverse where you could collect water if needed, but since it’s a day hike, it’s also easy to just bring the couple of liters you’ll need.

 green mountain

Closing Thoughts: The length and elevation gain of the Boulder Skyline Traverse are ideal for a challenging day hike. Logistics are a breeze due to the accessibility of the trailheads and the proximity to town. The diverse ecosystems, the stunning views of Boulder, and the availability of post hike libations make this hike a great activity for well-trained visitors and locals, alike.

Much has been written about the Skyline Traverse, so you’ll have no trouble finding more information. If you’re in the area, do a bit of planning, then get out there and hike (or run) this classic Boulder traverse. You won’t regret it!

skyline boulder


Like what you’re reading?

To stay in the loop with the latest posts, and musings that don’t make it onto the blog, sign up for my newsletter here

Herbs & Lifestyle Strategies for Managing Stress

stress relief

Nearly everyone I know faces unprecedented demands on their time. We all have several roles we play, each with a different set of expectations, whether that’s at work, with our families, in our social lives, or elsewhere. It can be all too easy to over-commit, and when that happens, stress can quietly (or not so quietly) sneak up on us. However, keeping stress at bay is essential to be our most productive, creative selves and perform at our highest level.

As we navigate a world of ever-increasing demands, it’s essential to build a personal toolbox of strategies which support us in reliably managing stress. You may already have a toolbox without consciously knowing it. Test out the following ideas, see what works for you, and build a set of practices you can utilize anytime you feel stress creeping in.

herbs

Take Adaptogens

Adaptogens are a class of herbs which help the body adapt to stress and promote homeostasis, or stability, within the body. Some common examples include Ashwagandha (Withania somnifera), Eleuthero (Eleutherococcus senticosus),  Schizandra (Schisandra chinensis), Licorice (Glycrrhiza glabra), and Rhodiola (Rhodiola rosea). Adaptogens can be taken as a tincture, capsule, tea, or powder added to foods. Use the single herbs or take an adaptogen formula with several different herbs. Adaptogens are a key resource in your toolbox which can be used daily to keep your mind and body resilient.


exercise

Exercise

Incorporating movement into your day is crucial to keeping stress at bay. Exercise reduces stress hormones, such as cortisol and adrenaline, while also boosting endorphins, the body’s natural painkillers. Whether you choose cardio or weight lifting or something else, find an activity you enjoy and create an exercise habit if you don’t already have one.


nature time

Spend Time in Nature

Studies have shown that wilderness-based stress management tools, such as time in nature and gardening are effective at reducing burnout and other stress-related symptoms. Whether it’s a walk in the park, a weekend backpacking trip, or an afternoon in the garden, make space for more time in nature.


time

Learn to Say No

Perhaps more important than any strategy to mitigate stress is learning to avoid it in the first place. A key tool to prevent stress is to steer clear of taking on too many commitments in the first place. Most of us like to say yes when something is asked of us, but learning to discern the important few from the trivial many is crucial for stress management. For more ideas, check out books like Essentialism, and The One Thing.


toolbox

Other Tools

A few other stress management strategies to consider include: social time with friends and family, journaling, meditation, taking a hot bath, dancing to music you love, cuddling a pet, making art, and doing something kind for another person.

Test different strategies, find what works for you, and build a toolbox to alleviate stress when it comes creeping in, as it inevitably will.

Rim to Rim to Rim in a Day: Nutrition

Fueling for a long day on trail can make or break the outcome of your hike. As you can imagine, I’m pretty intentional about giving my body what it needs to succeed, especially when I’m undertaking a physically stressful endeavor, such as hiking 40+ miles with 11k’ of elevation gain in a day. This post covers my Rim to Rim to Rim (R2R2R) nutrition strategy.

If you’re interested in reading a full account of my hike, please see this post, where I discuss the gear I wore/carried as well as details from my day of hiking in the Grand Canyon.

What follows is a list of what I ate during my day of hiking R2R2R. Of course, how I eat, move, sleep, etc. on a daily basis has a greater overall impact on performance than what I do in one 24 hour period, but for those interested, here’s how I approach fueling a long day of hiking.

I’ll also explain a bit about why I chose what to eat and why I chose to eat it when I did. The intention is to provide insight into how I eat for endurance and lasting energy, and hopefully you can take some tips away to use on your own adventures.

rim to rim to rim food

This photo provides a general idea of the food I brought with me to the Grand Canyon, from which I would choose what to carry on my R2R2R hike. I didn’t take all of this and I only carried a serving or two of the items pictured in bulk (e.g. the greens powder, the protein powder, the almond butter). Some of it I didn’t take at all (e.g. the bagels and the coconut chocolate).

To determine how much to carry, I used calories as the primary metric. Because I wanted to be sure I had plenty for an over-nighter should I need to stay in the canyon, I carried a bit extra, and aimed for ~4,000 calories.

Here’s approximately what I ate and when, followed by an explanation of why.

5am: 3 scoops Vital Proteins Collagen Peptides + 1 scoop Trader Joes Organic Maca Powder + Four Sigmatic 10 Mushroom Blend + 1 scoop Amazing Grass Superfood + 1 spoonful almond butter (my favorite is Natural Grocer’s fresh ground… so fluffy and creamy) + 12 oz. strongly brewed Puehr Tea.

Supplements taken with breakfast: 1000 mg Vitamin CSelenium, Zinc, Omega Complex and Cellular Vitality Complex (found here, search lifelong vitality pack).

8am: Primal Kitchen Bar

10am: 1 banana, a couple servings Jackson’s Honest Sweet Potato Chips

12pm: 2 homemade date bites (similar to this recipe)

1pm: More sweet potato chips + 1 spoonful almond butter

3 pm: Primal Kitchen Bar

4pm: 1 date bite

5:30 pm: Good Day Caffeine Chocolate, 2 spoonful almond butter, a couple servings Jackson’s Honest Sprouted Red Corn Tortilla Chips

6 Nuun electrolyte tablets in water throughout day

Explanation

Whatever time you choose to break your fast (breakfast), it’s arguably the most important part of the day, nutritionally speaking. I started the morning with 30 grams of protein and a healthy fat, as I often do, whether on trail or off. This breakfast is satiating, so I don’t have to think about fueling again as quickly, and it also boosts leptin, a hormone which decreases appetite and leaves me feeling more satiated for the rest of the day.

I find that having a high carb/high sugar breakfast puts me on an insulin roller coaster of sugar spikes and crashes. High carb breakfasts cause me to be hungry an hour later, after the sugar has worn off, and I find myself craving more carbs. There’s nothing wrong with carbs, and of course, they’re necessary for glucose-dependent activities such as hiking, but glucose (carbs) is a quick-burning fuel. Adding fat and protein to meals slows down digestion and creates slower-burning, longer lasting, more stable energy. Adding fat and protein to pretty much everything I eat balances blood sugar and helps me have stable energy all day.

In an effort to postpone getting into too much of a calorie deficit, I had a protein bar after I reached the river, while walking through the canyon. Food would be easier to digest during easy walking. Our bodies only process about 200-300 calories per hour, so I try to eat throughout the day, so I can keep moving, as opposed to eating a lot at once.

Right before beginning the climb to the North Rim, I wanted to take in a decent amount of carbs to fuel me, so I had a banana and chips. I also knew I’d be in the sun and beginning to sweat a lot, which is why I chose a salty snack. The potassium from the banana was also helpful for mineral balance while sweating.

About 2 miles from the North Rim, it was getting hot and I was hitting a wall, so I had a couple of date bites, which are high carb, but with a little fat and protein.

At the rim, I took a short break for some chips and almond butter to replenish some salt, and because it’s my favorite trail snack. I also wanted the carbs and fat to fuel me on the way down.

Back at the bottom, walking along the river, I was beginning to get tired, so I had another bar and a date bite to keep me moving.

My last snack was before crossing the river, heading back up to South Rim. I chose caffeine chocolate to give me an extra boost on the 5,000′ climb, chips for the salt and carbs, and almond butter for the fat to fuel the last 7 miles. I probably should’ve snacked again on some carbs a couple miles before the end because I was definitely hitting a wall, but I pushed on instead.

I made sure to drink a lot of water throughout the day, especially at sources, where I would ‘camel up’. I added Nuun tabs to replenish electrolytes lost through sweat.

Whatever your adventure, whether long or short, hopefully this provided some insight into how I think about maintaining energy for a long day outdoors.

For a deep dive into performance nutrition and meal planning for backpackers, check out our online course on the topic.

grand canyon