Oregon Desert Trail Overview
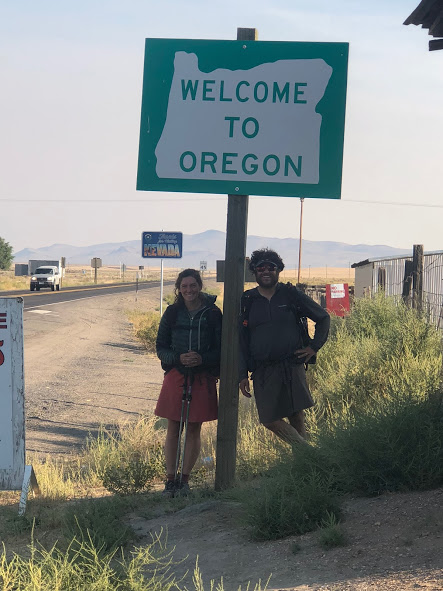
In the fall of 2018, I hiked the Oregon Desert Trail west-bound. I deeply enjoyed the vast open expanses and the lonesome nature of this route. I highly recommend it to other hikers, with advanced skill sets, who enjoy remote desert hiking. The present post is more of an overview of the trail, while this other post contains more photos and a few notes from my trail journal.
Distance & Location
The Oregon Desert Trail (ODT) is a 750-mile route through the high desert country of eastern Oregon. In the shape of a weird “W”, it’s made up of a network of trails, cross country travel, and two-track dirt roads. The termini are located in the Oregon Badlands Wilderness near Bend, Oregon, and in Lake Owyhee State Park, near the Idaho border.
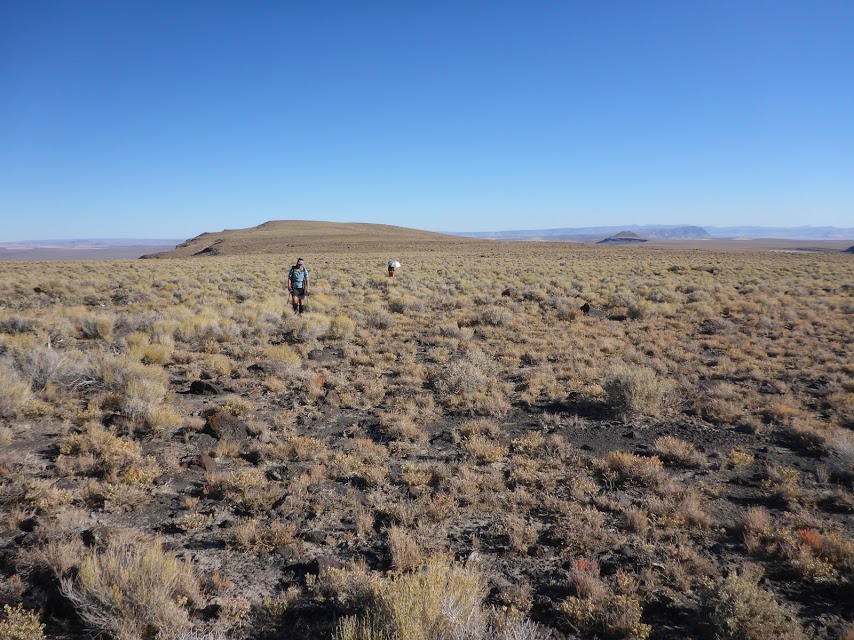
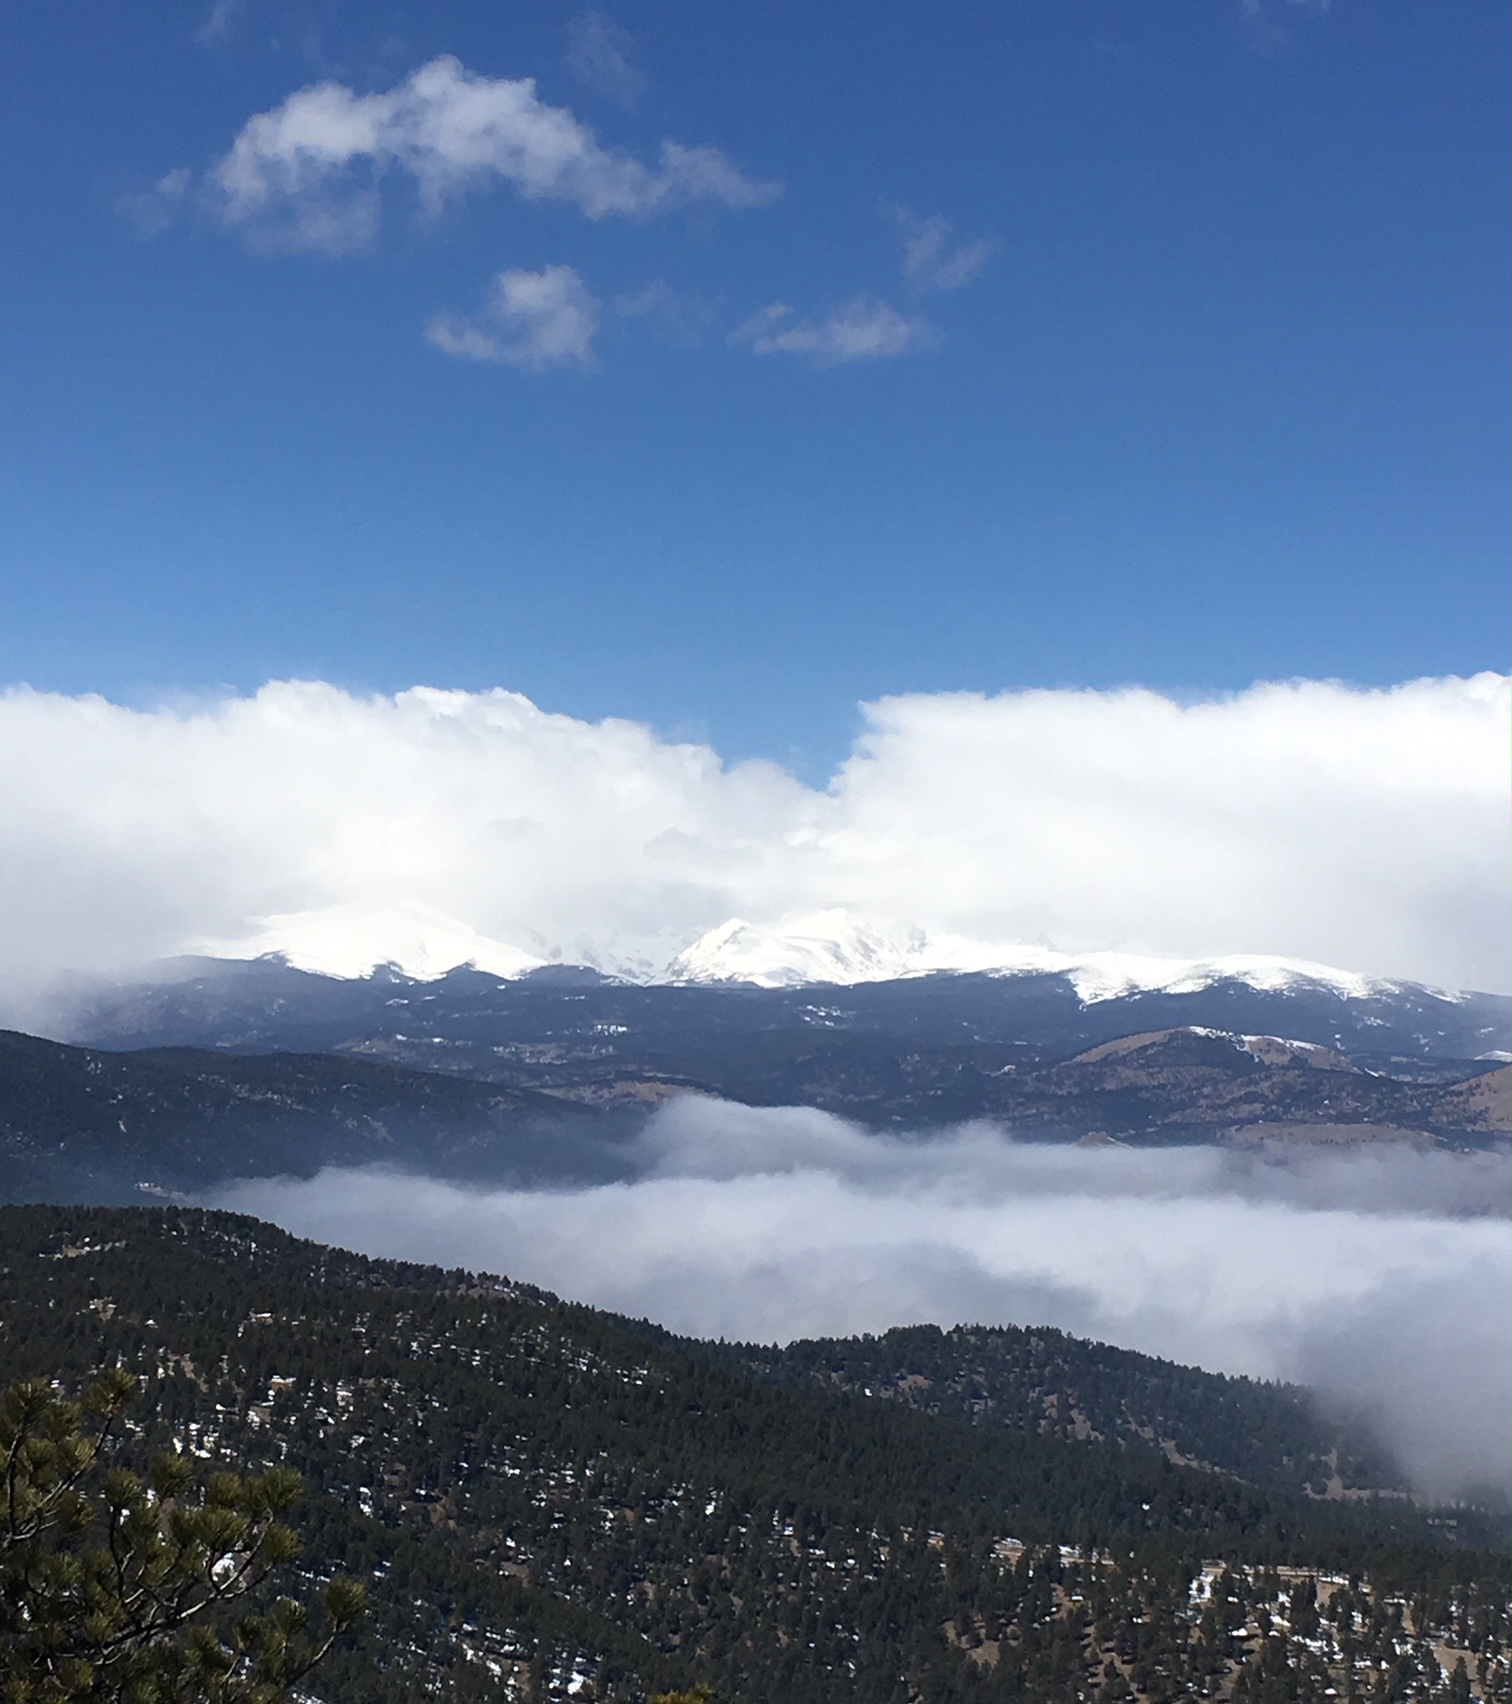
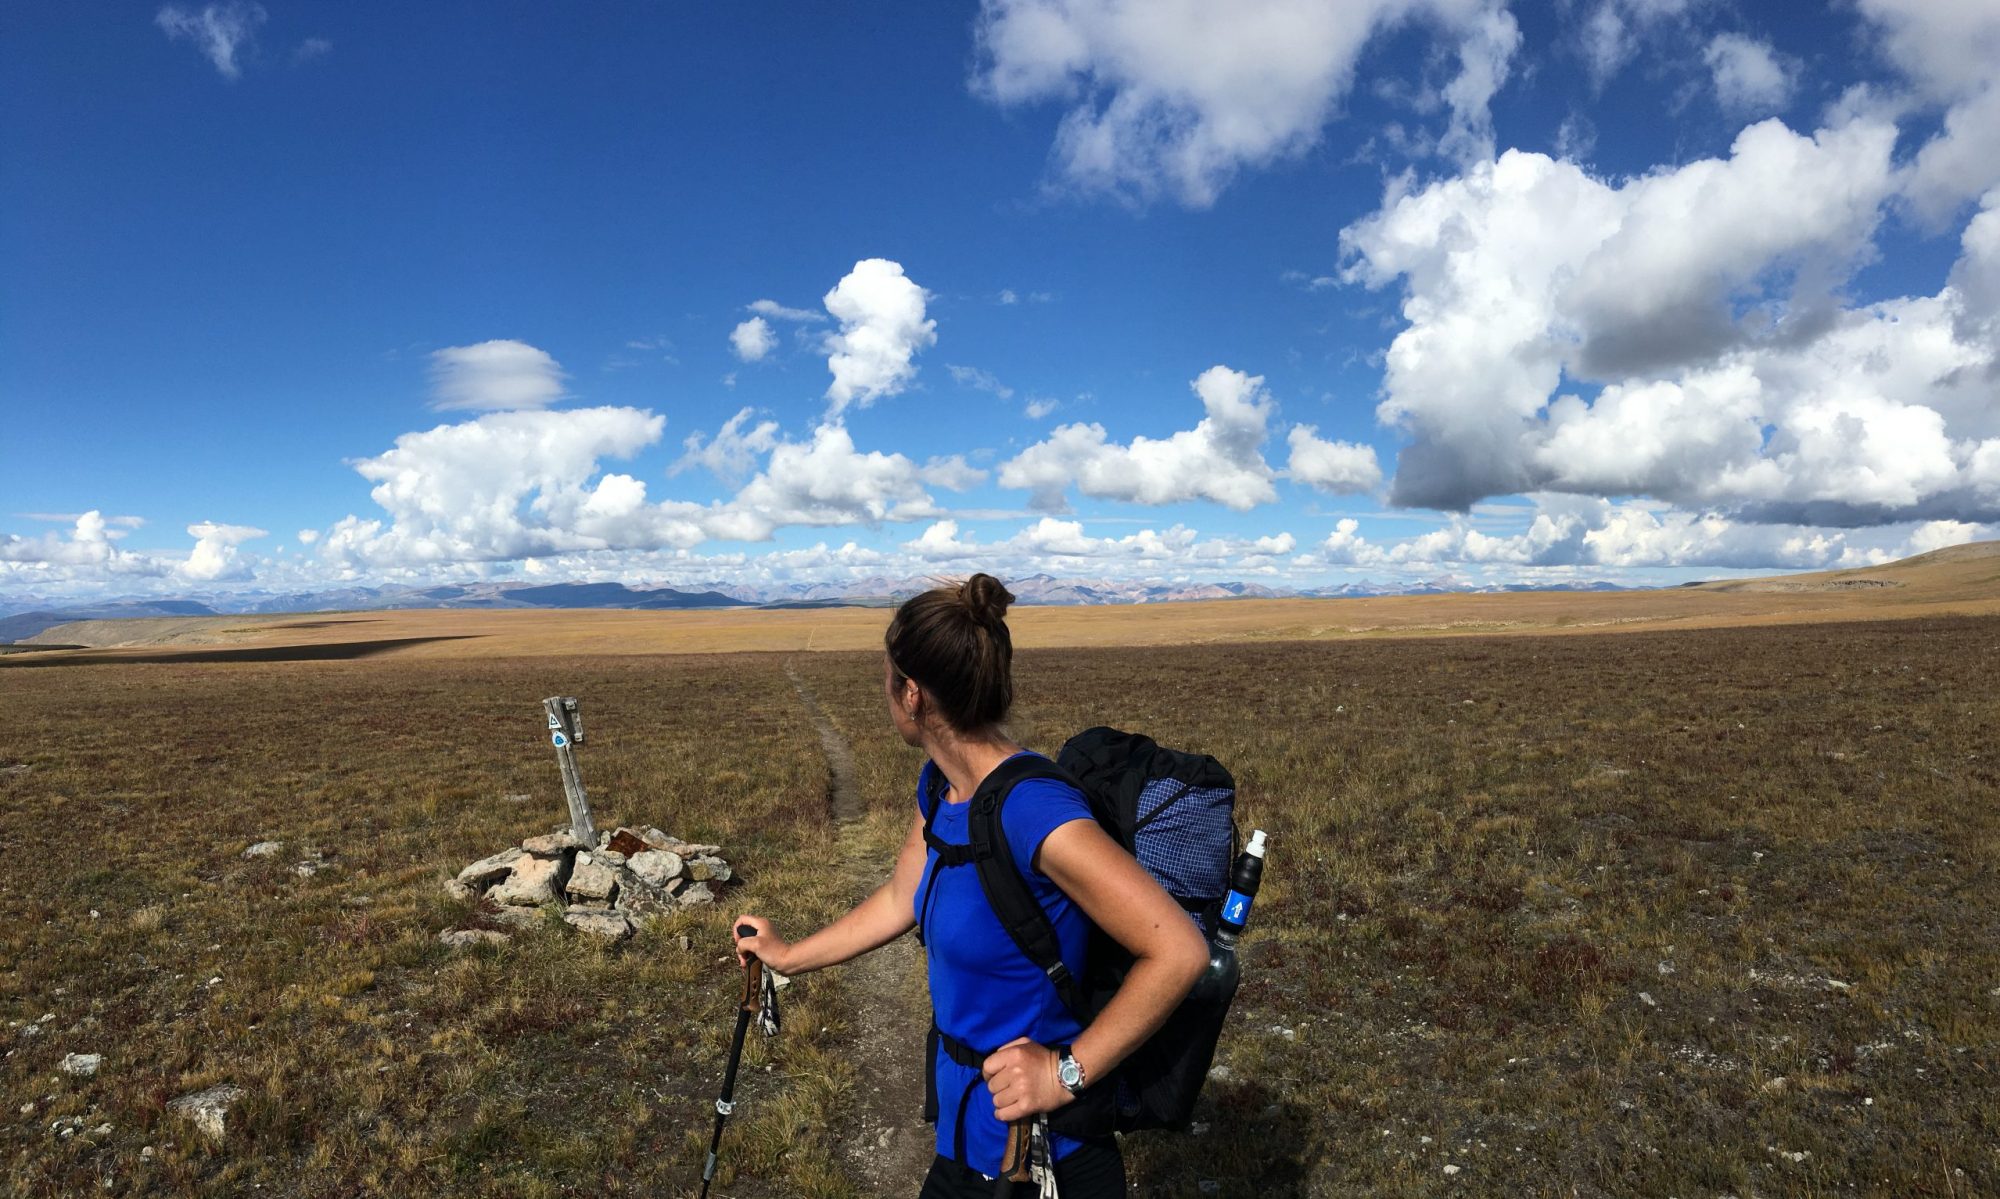
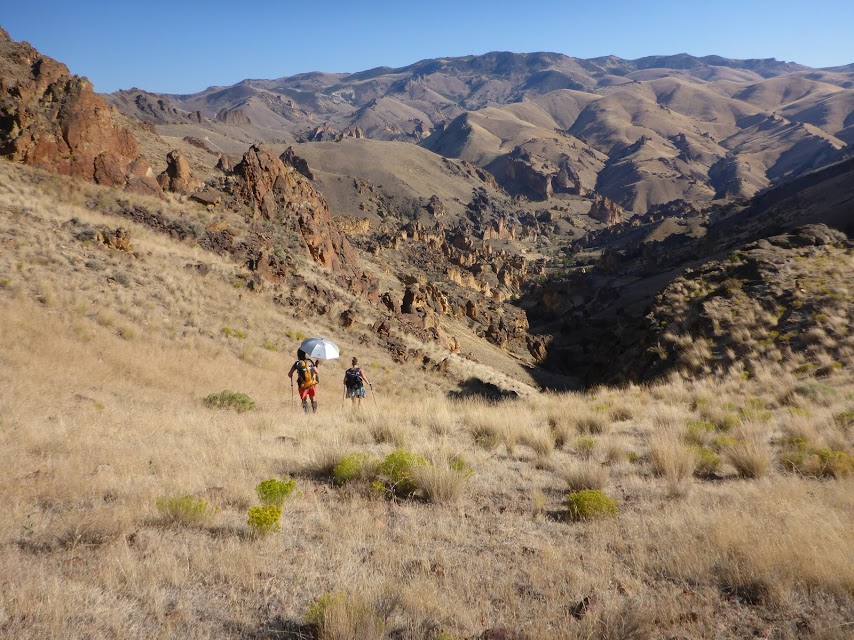
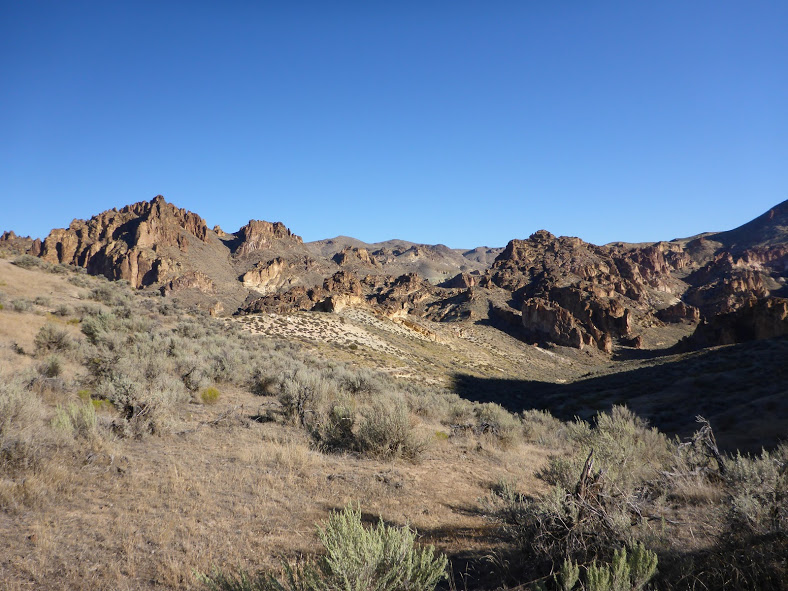
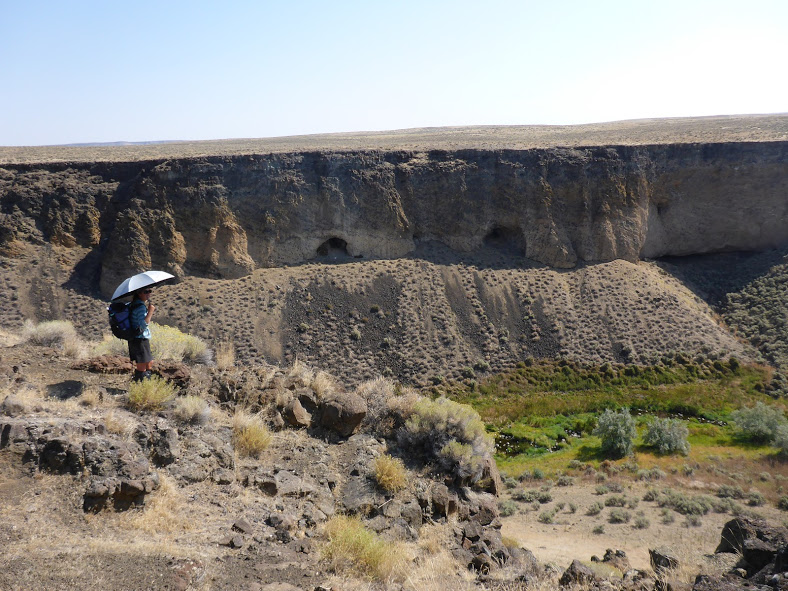
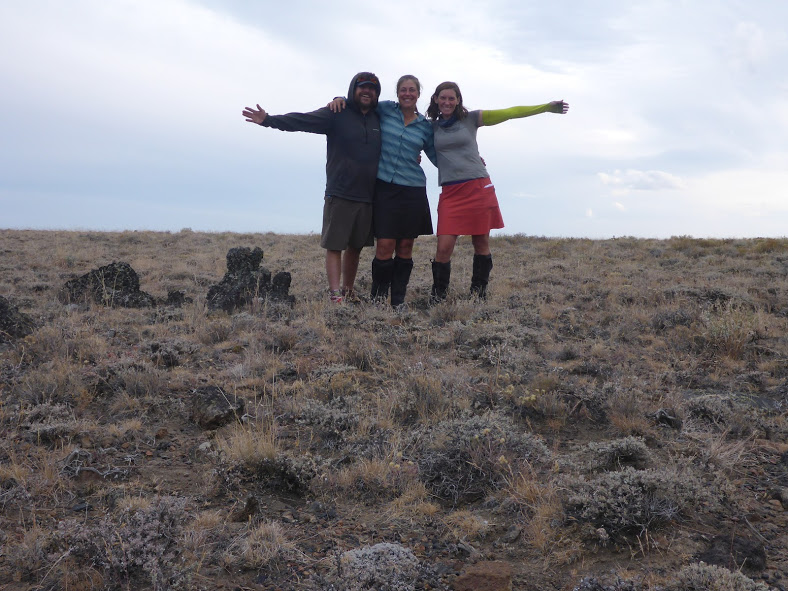
Terrain & Scenery
The ODT was developed by the Oregon Natural Desert Association as a means to promote conservation of Oregon’s spectacular high desert through low impact recreation. The trail traverses key natural areas including Hart Mountain National Antelope Refuge, Steens Mountain, Abert and Diablo Rims, and the Owyhee Canyonlands.
From ONDA’s website:
“To craft this 750-mile route located on public land and public rights-of-way, ONDA stitched existing trails, old Jeep tracks, and historical wagon roads together with stretches of cross-country travel. Our aims are to improve access to the wonders of the desert and to let explorers take a choose-your-own-adventure approach to getting to know this region.
Sections of the trail can be explored on foot or on horseback, or by boat, bike, or even skis in the winter. Some sections offer easy walks along well-marked paths. Other areas require GPS skills, significant outdoor experience, and serious preparation, particularly for water sources.”
I believe that interacting with a landscape is the best way to form a relationship with that land and to care about protecting it. Most of us no longer spend our entire lives on one piece of land, or even in one geographical region. We therefore lack the strong connection to a place that comes from depending on a land for your food and water, building materials, etc.
Recreating in a place for an extended time period is one of the closest proxies we have to that relationship in modern times. Rather than closing off a wild space, allowing people only to be spectators, such as in a museum, we can create corridors of travel where people can connect with a landscape by being immersed in it for days, weeks, or months.
The best resource for hikers wishing to complete the ODT is ONDA’s website. The trail coordinator for the ODT, Renee Patrick, is an experienced thru-hiker, and the resources she’s created and compiled for the trail in just a few years is incredible. You’ll find GPS data, town guides, a water report, trail conditions, and much more.
Weather & Climate
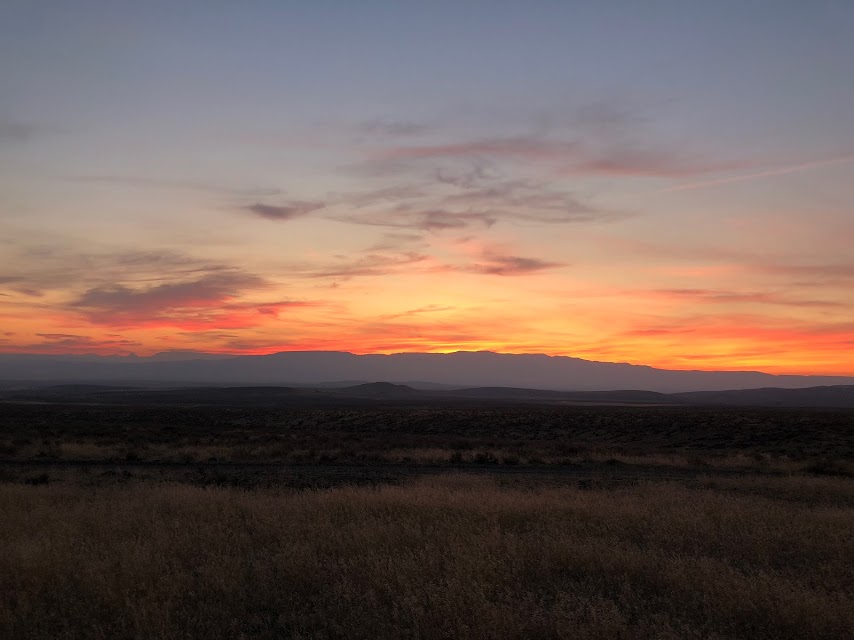
Most ODT hikes are completed in the spring or fall. Each option has its own unique challenges and considerations. For example, water is more likely to be available in the spring than in the fall. However, if you start late enough, the fall is likely to be cooler. I also just find autumn to be a very pleasant time to be in the desert.
We completed our ODT thru-hike from September 1-30. The first week, daytime temperatures were in the high 80s and low 90s, but cooled down to high 50s and mid 60s later in the hike. Our nighttime temps ranged from low 20s to mid 40s. The only rain we experienced was a brief shower our last morning on trail. This meant I was able to cowboy camp every single night of the hike 🙂
Water & Resupply Options
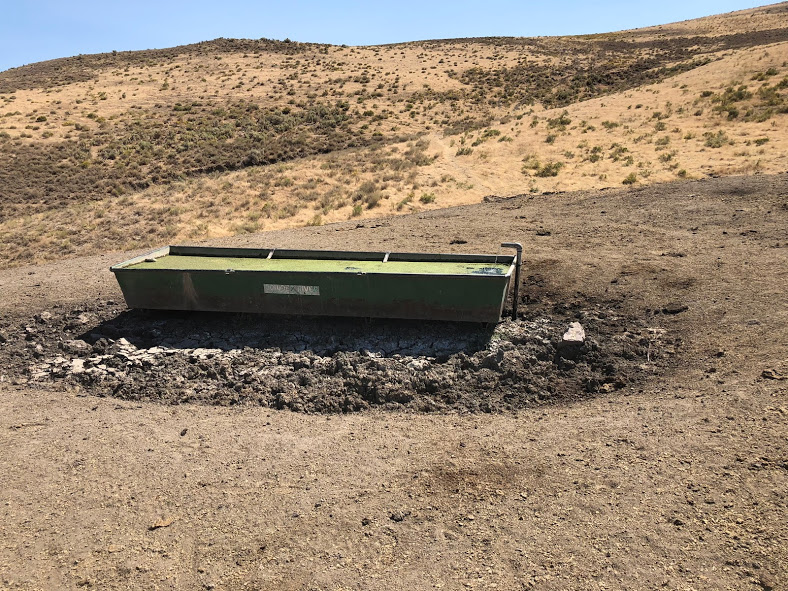
Water was one of our biggest challenges. 2018 was one of the hottest and driest years on record in Oregon. The water report, a Google spreadsheet, is found on ONDA’s website and is updated by hikers. You can make notes directly on the spreadsheet in the field and it will automatically update the master spreadsheet when you get to WiFi.
Notes from previous years are in the document and we found the data from 2015, another dry year, most closely reflected what we could expect in terms of reliability for water sources. We never counted on a source unless it was labeled ‘Reliable’, and more than once we found ourselves carrying up to 3 gallons. If we came upon water before we expected, it was a bonus. Sources include creeks, rivers, springs, reservoirs, and most often, cow tanks. Some were clear and delicious. Others were murky, covered in algae, and tasted very cow-y despite being filtered and chemically treated. Any water is good water in the desert.
The towns and communities along the ODT corridor are all pretty small. They have limited amenities. Partially due to lack of services, and partially due to arriving and departing at odd hours of the day, we were only able to shower twice and do laundry once the entire time. We washed our bodies and clothes on trail, where possible, but it was a very dusty, smelly, and salty 30 days overall. We used blue sponges and a small amount of water in a gallon ziploc bag each night to get the bulk of the grime off our legs before bed. This massively improved comfort, reduced foot issues, and kept sleeping bags at least moderately clean.
Small towns also require you to be more self-sufficient in your packing than you would on more well-populated routes. This means carrying a few more supplies and being prepared for something to go wrong. For example, when my phone died on day 3, there was no Apple store anywhere within hundreds of miles, let alone in the next resupply town. Without GPS, having paper maps and compass was essential. Further, you couldn’t expect gear, such as new shoes or a tent, to be available in towns. You need to send it to yourself. It’s not a big deal-you just need to think ahead, be creative with problem solving, and be flexible.
Also due to the remoteness of the route, and the small town sizes, food and resupply options are limited and often pricey. You can see more about where and how I resupplied here. I mostly mailed myself boxes and regretted the stops where I didn’t. Here’s how I approached creating a healthy-ish resupply in a remote town with limited options.
The upside of all this is that the ODT was for sure, mile for mile, the cheapest trail I’ve ever hiked. With only 2 hotel stays, a few restaurant meals, and no reason to linger in towns, it’s hard to blow a bunch of money even if you’re trying. Another upside of the ODT is that the route either goes directly through towns or very close, so there is very little hitching necessary.
Trail Journal
I have an (almost) daily practice of journaling, whether on trail or off. See a few ODT journal excerpts here as well as many more photos.
Additional Resources
- The Dago Diaries: the daily ODT blog of my hiking partner AllGood
- Notes from Dirtmonger’s 2017 ODT thru-hike
- ONDA: all the resources you need for an ODT hike
- An article about the ODT by the Washington Post