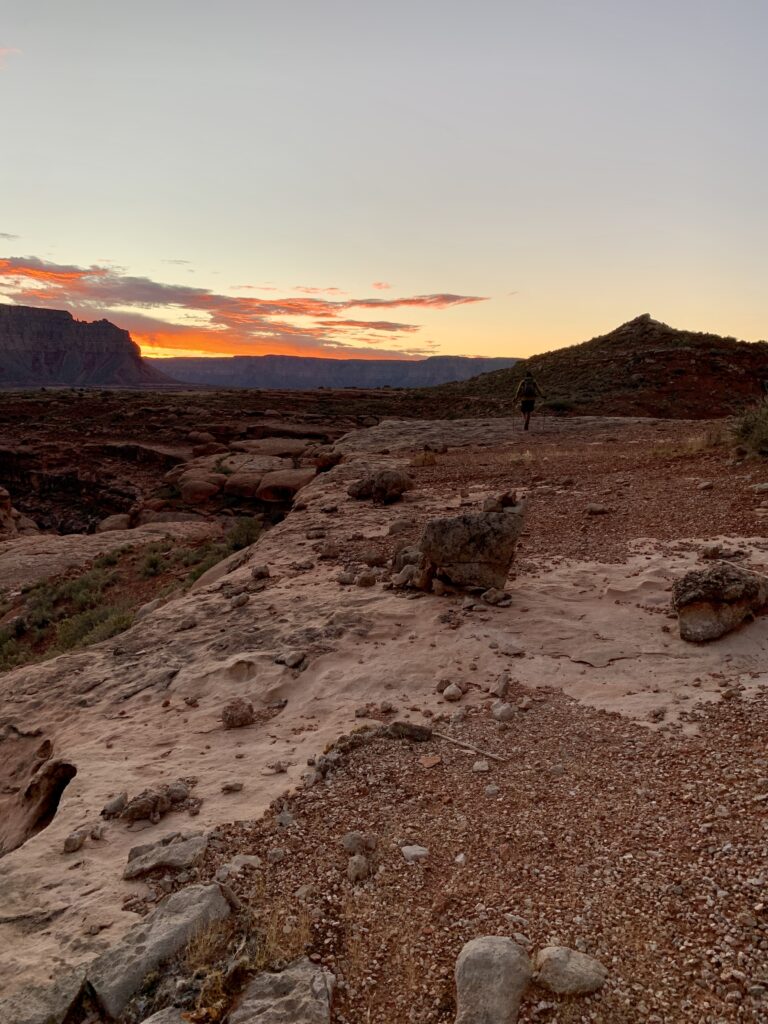
In the autumn of 2022, Ryan Sylva and I hiked the length of the Grand Canyon.
This is post 1 of 2, which provides an overview of the trip in terms of length, duration, location, terrain, natural history, climate, water, and resupply. Part 2 details trip highlights and lessons.
My intention in sharing this overview, the instagram stories, and my gear list is because I believe that when we get glimpses of these wild, remote places, they go from the abstract to the relatable and we become more inclined to care about and protect them. My hope is not for you to emulate this trip, but to be inspired to get outside and experience the outdoors in whatever way feels compelling to you.
To see the journey in photos, check out my instagram highlights Grand Canyon and Grand Canyon II. You can also read a detailed account of the trip on Ryan’s website.
To sum it up, this experience was an adventure in the truest sense of the word: unusual, exciting, and often hazardous. Much gratitude is owed to Grand Canyon explorers before us, including Harvey Butchart, George Steck, Tom Martin and Rich Rudow among others, from whom we obtained inspiration and/or route beta.
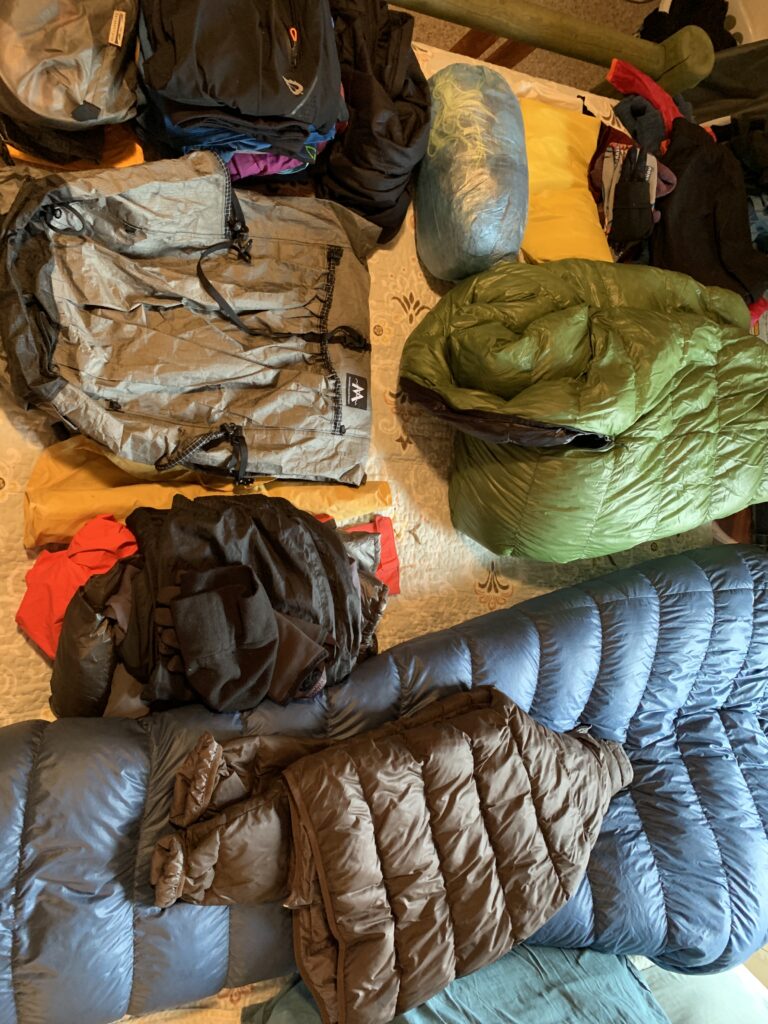
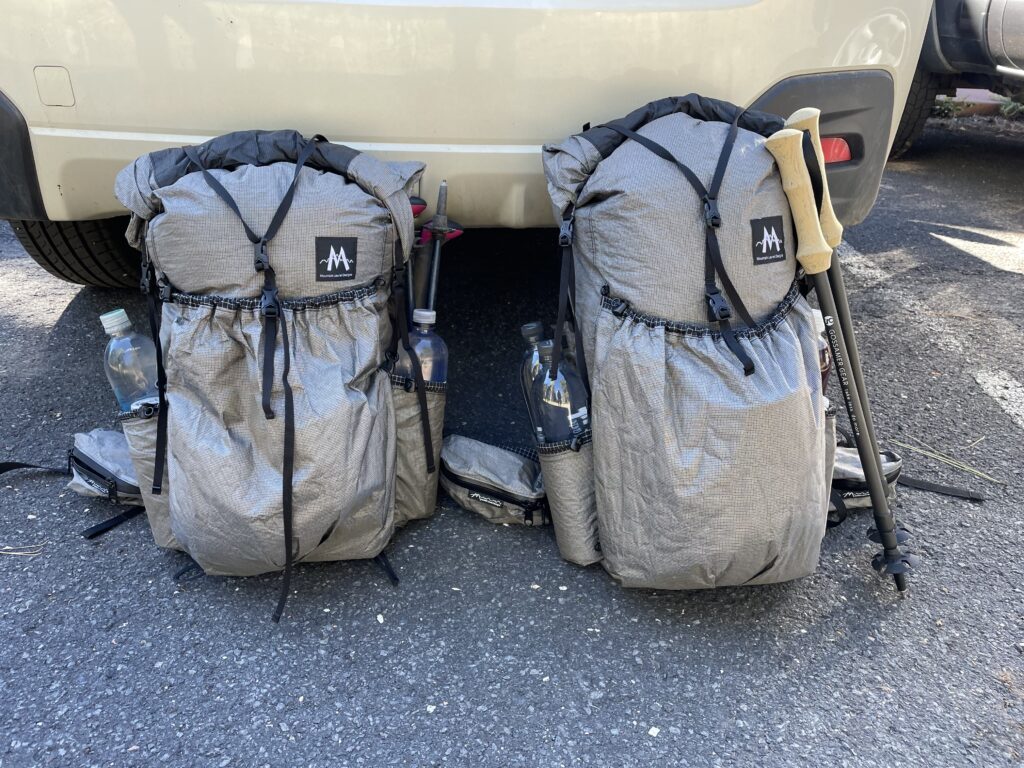
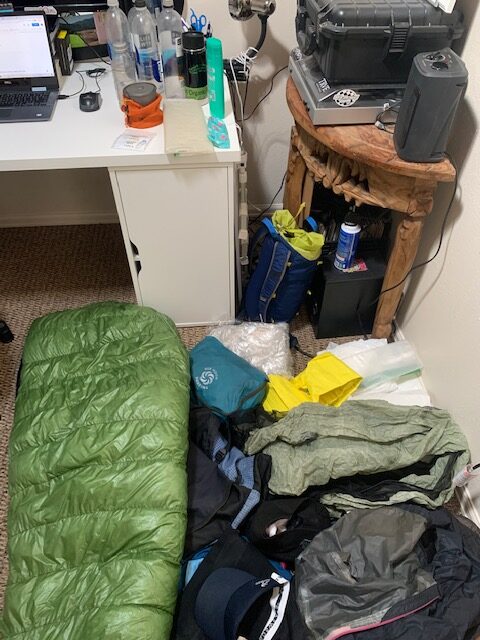
Gear List, Training, Food Planning
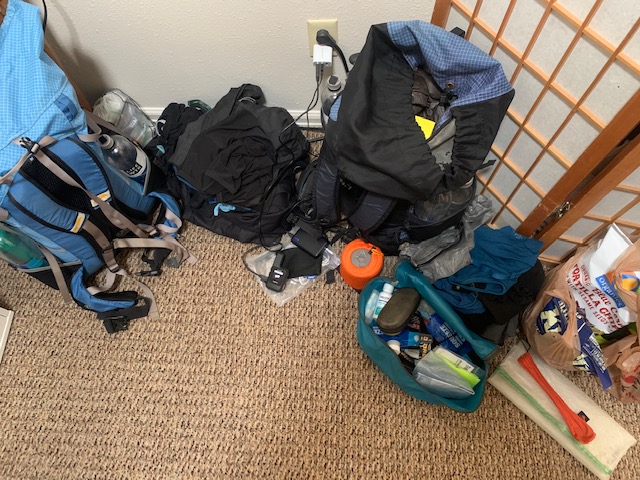
- Gear list and rationale
- How I prepare my mind and body for a long hike
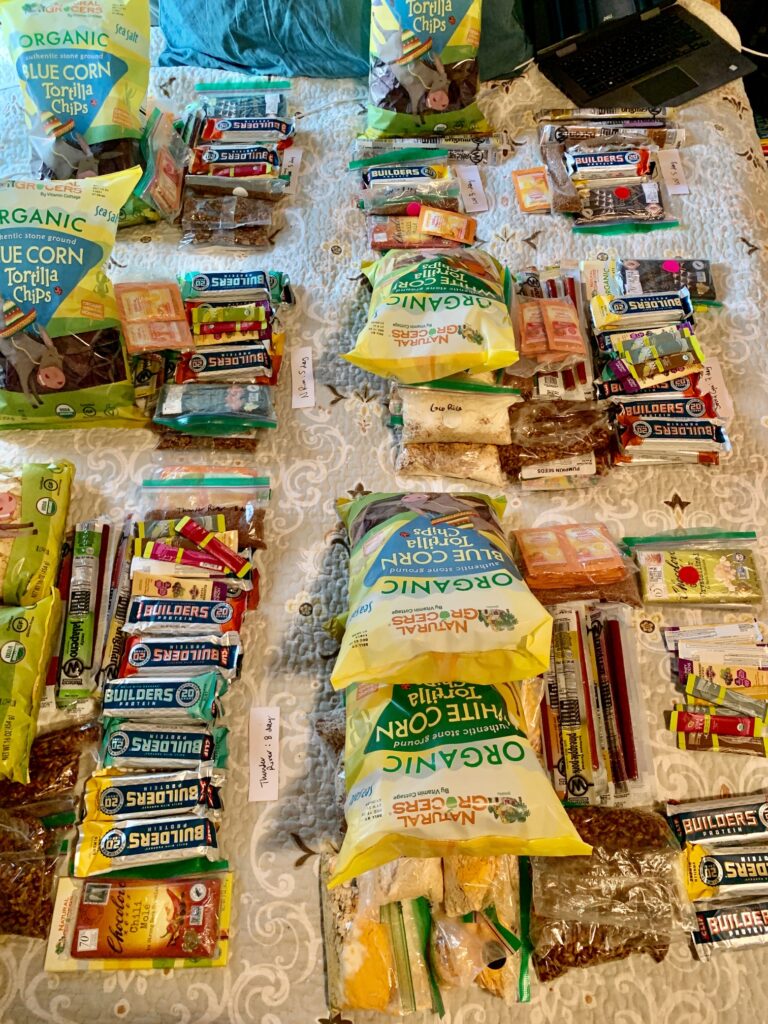
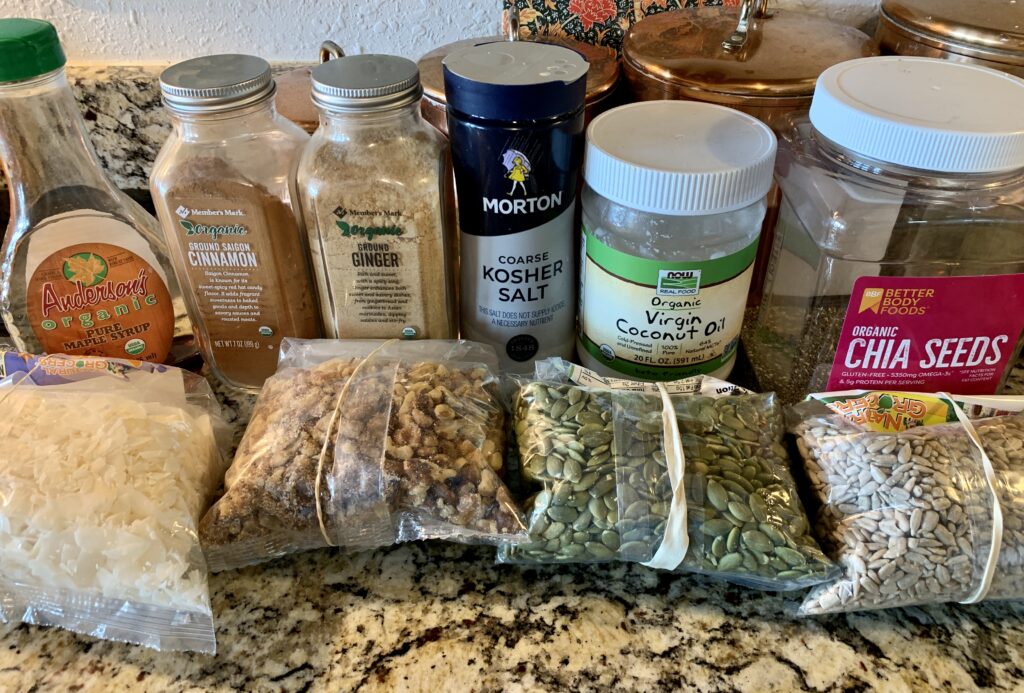
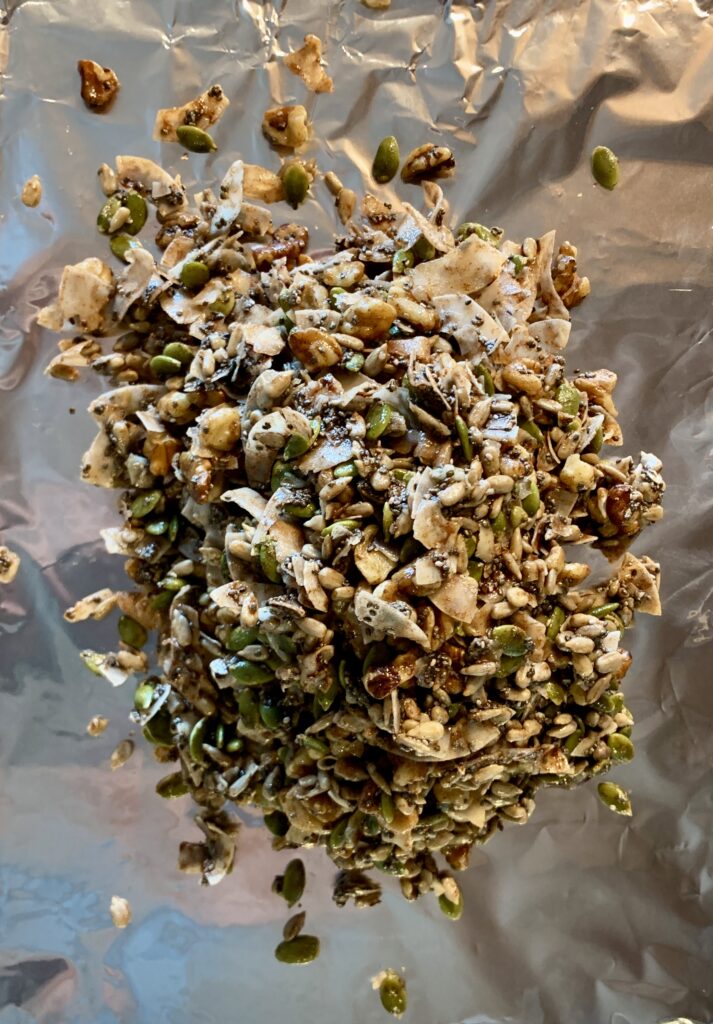
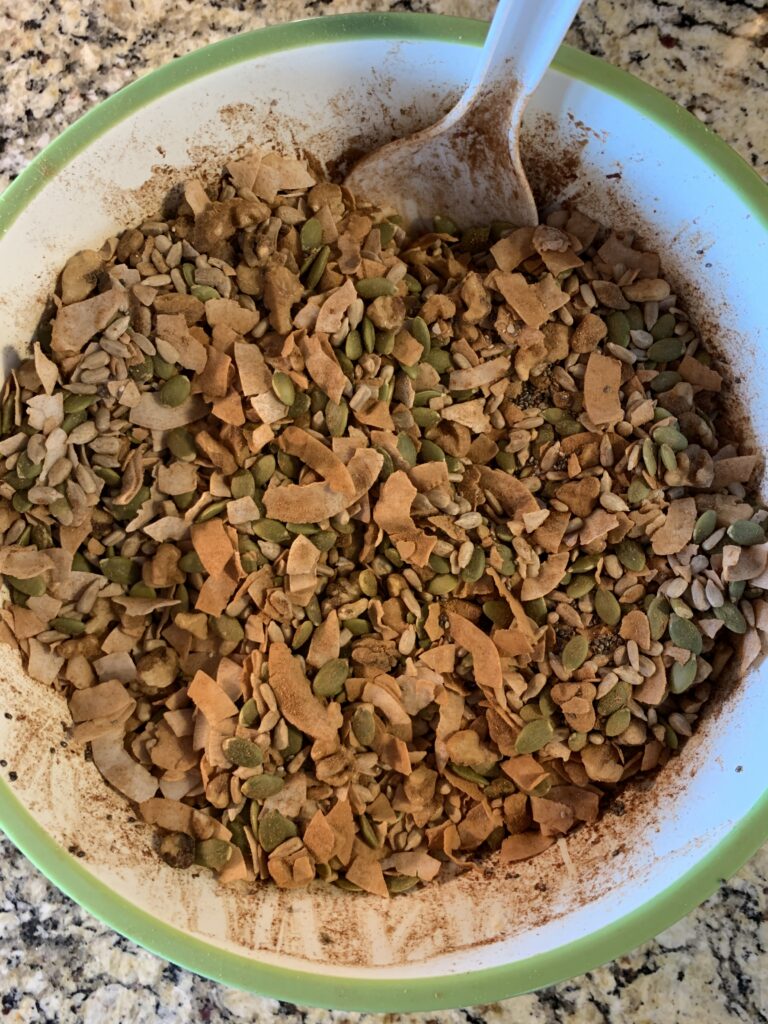
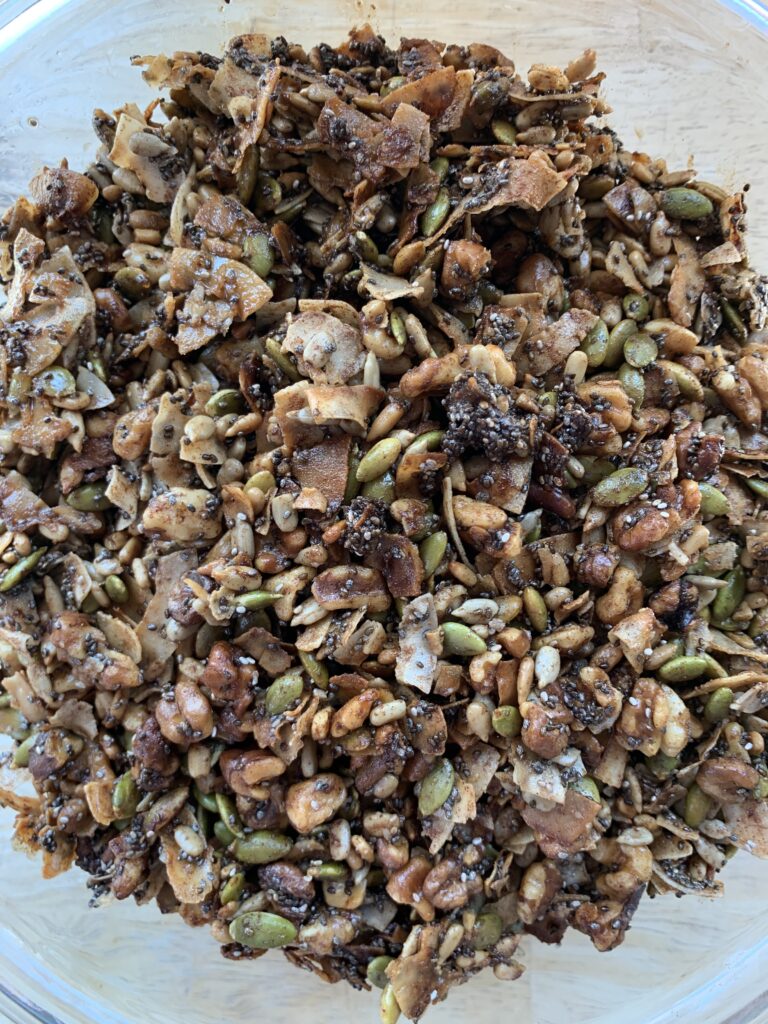
- Food planning
Length, Duration, Location
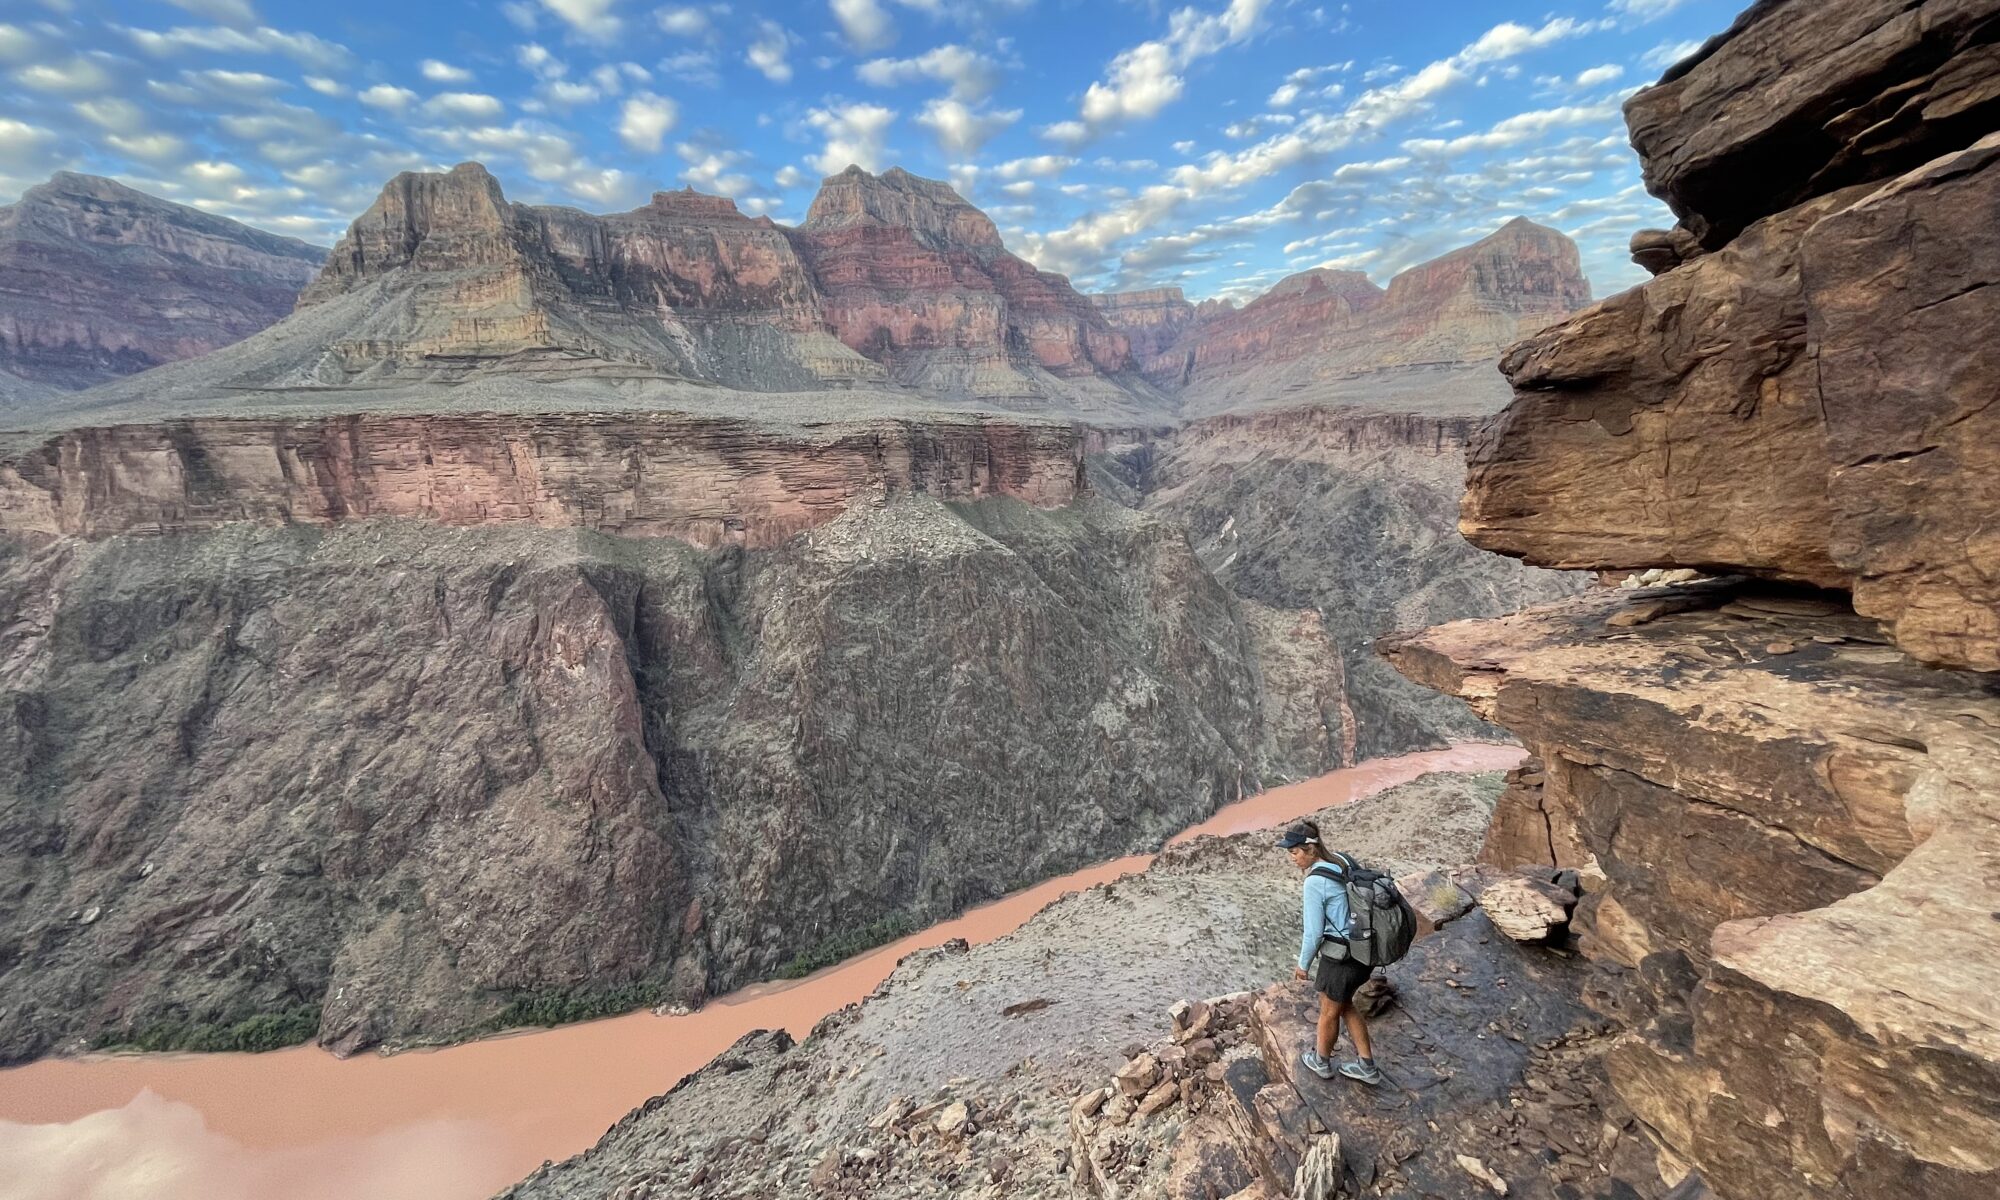
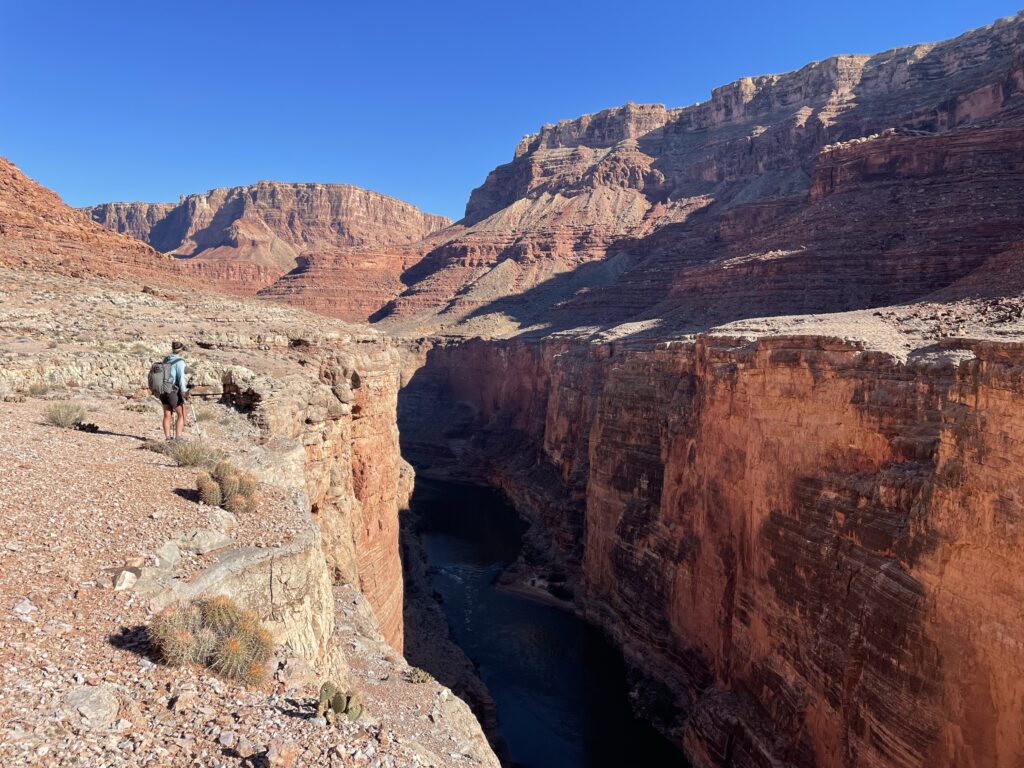
We estimate that we hiked ~575-600 miles based on our mapped route, though neither my partner nor I recorded a GPX track. We hiked entirely on the north side of the Colorado River, connecting our footsteps from Lee’s Ferry to the historic Tassi Ranch, an arbitrary pick up point west of Pearce Ferry on the north side of the river.
We completed the hike in a total of 35 days between late September and mid-November. Hiking dates were 9/27-28 (Lee’s Ferry to Rider Canyon), 10/1-5 (Nankoweap Canyon to Phantom Ranch), 10/19-11/10 (Phantom Ranch to Tassi Ranch), and 11/12-17 (Rider Canyon to Nankoweap Canyon).
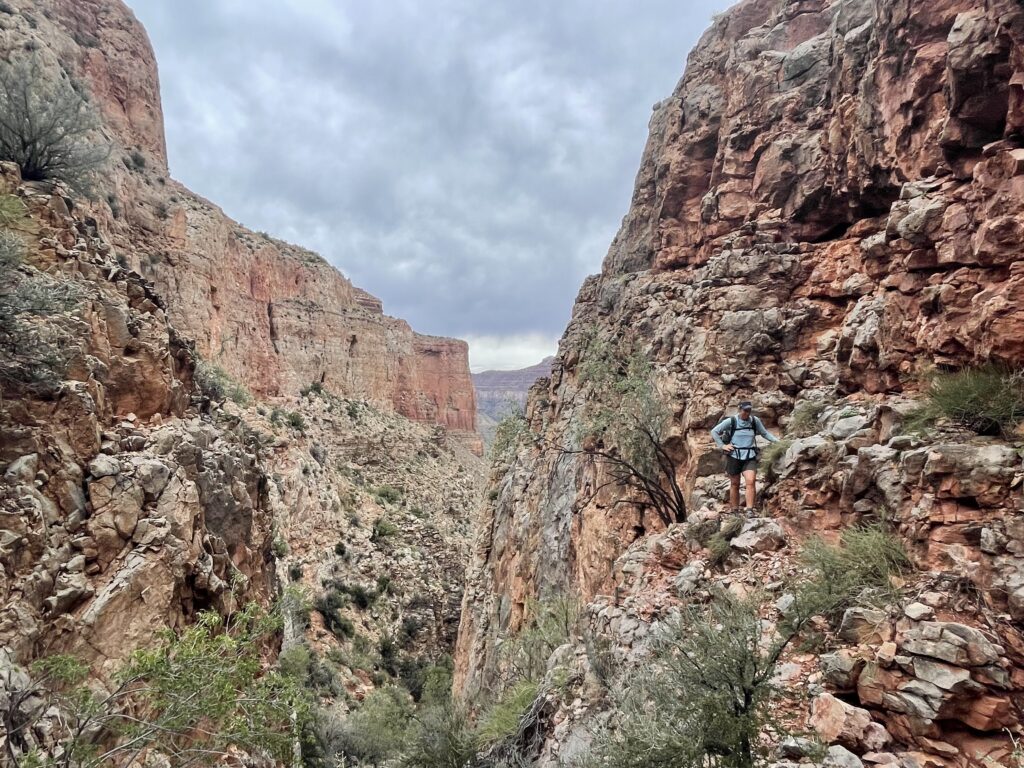
There are many ways to complete a traverse of the Grand Canyon. We wanted our route to utilize different layers of the canyon, stay beneath the rim, and not require any technical climbing. Class 3, 4, and low 5th class climbing was fine, but anything more was beyond our skillset. We didn’t carry a harness or rope, but we did use a 30’ piece of tubular webbing to haul packs when wearing them while climbing compromised our balance.
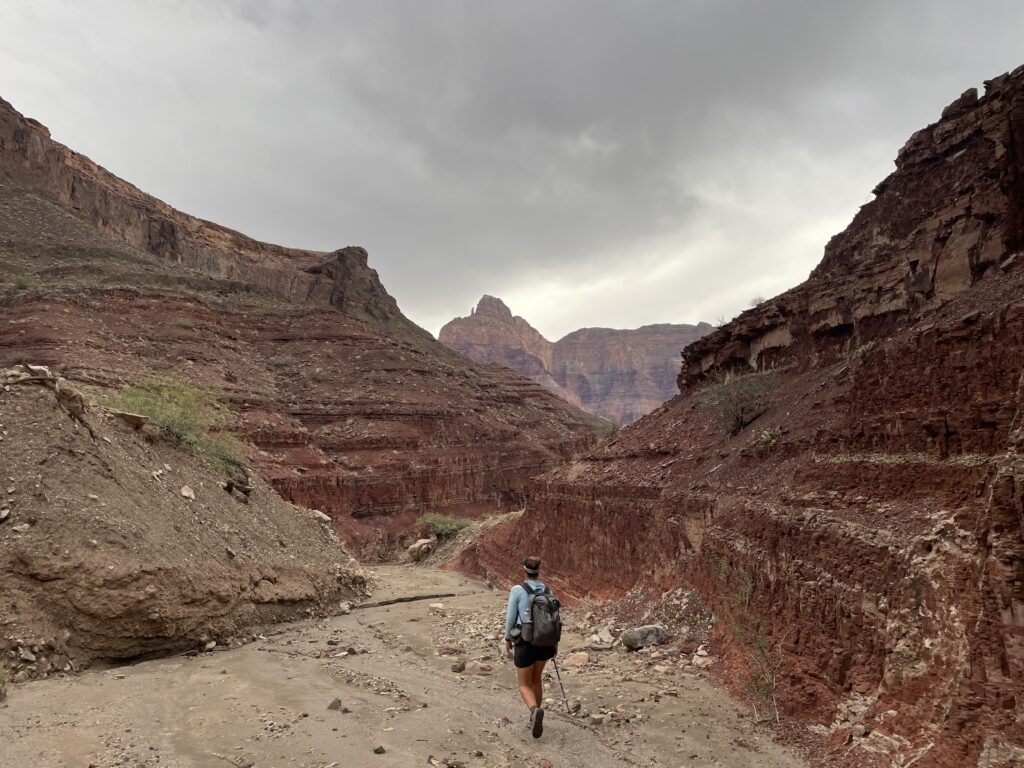
Terrain
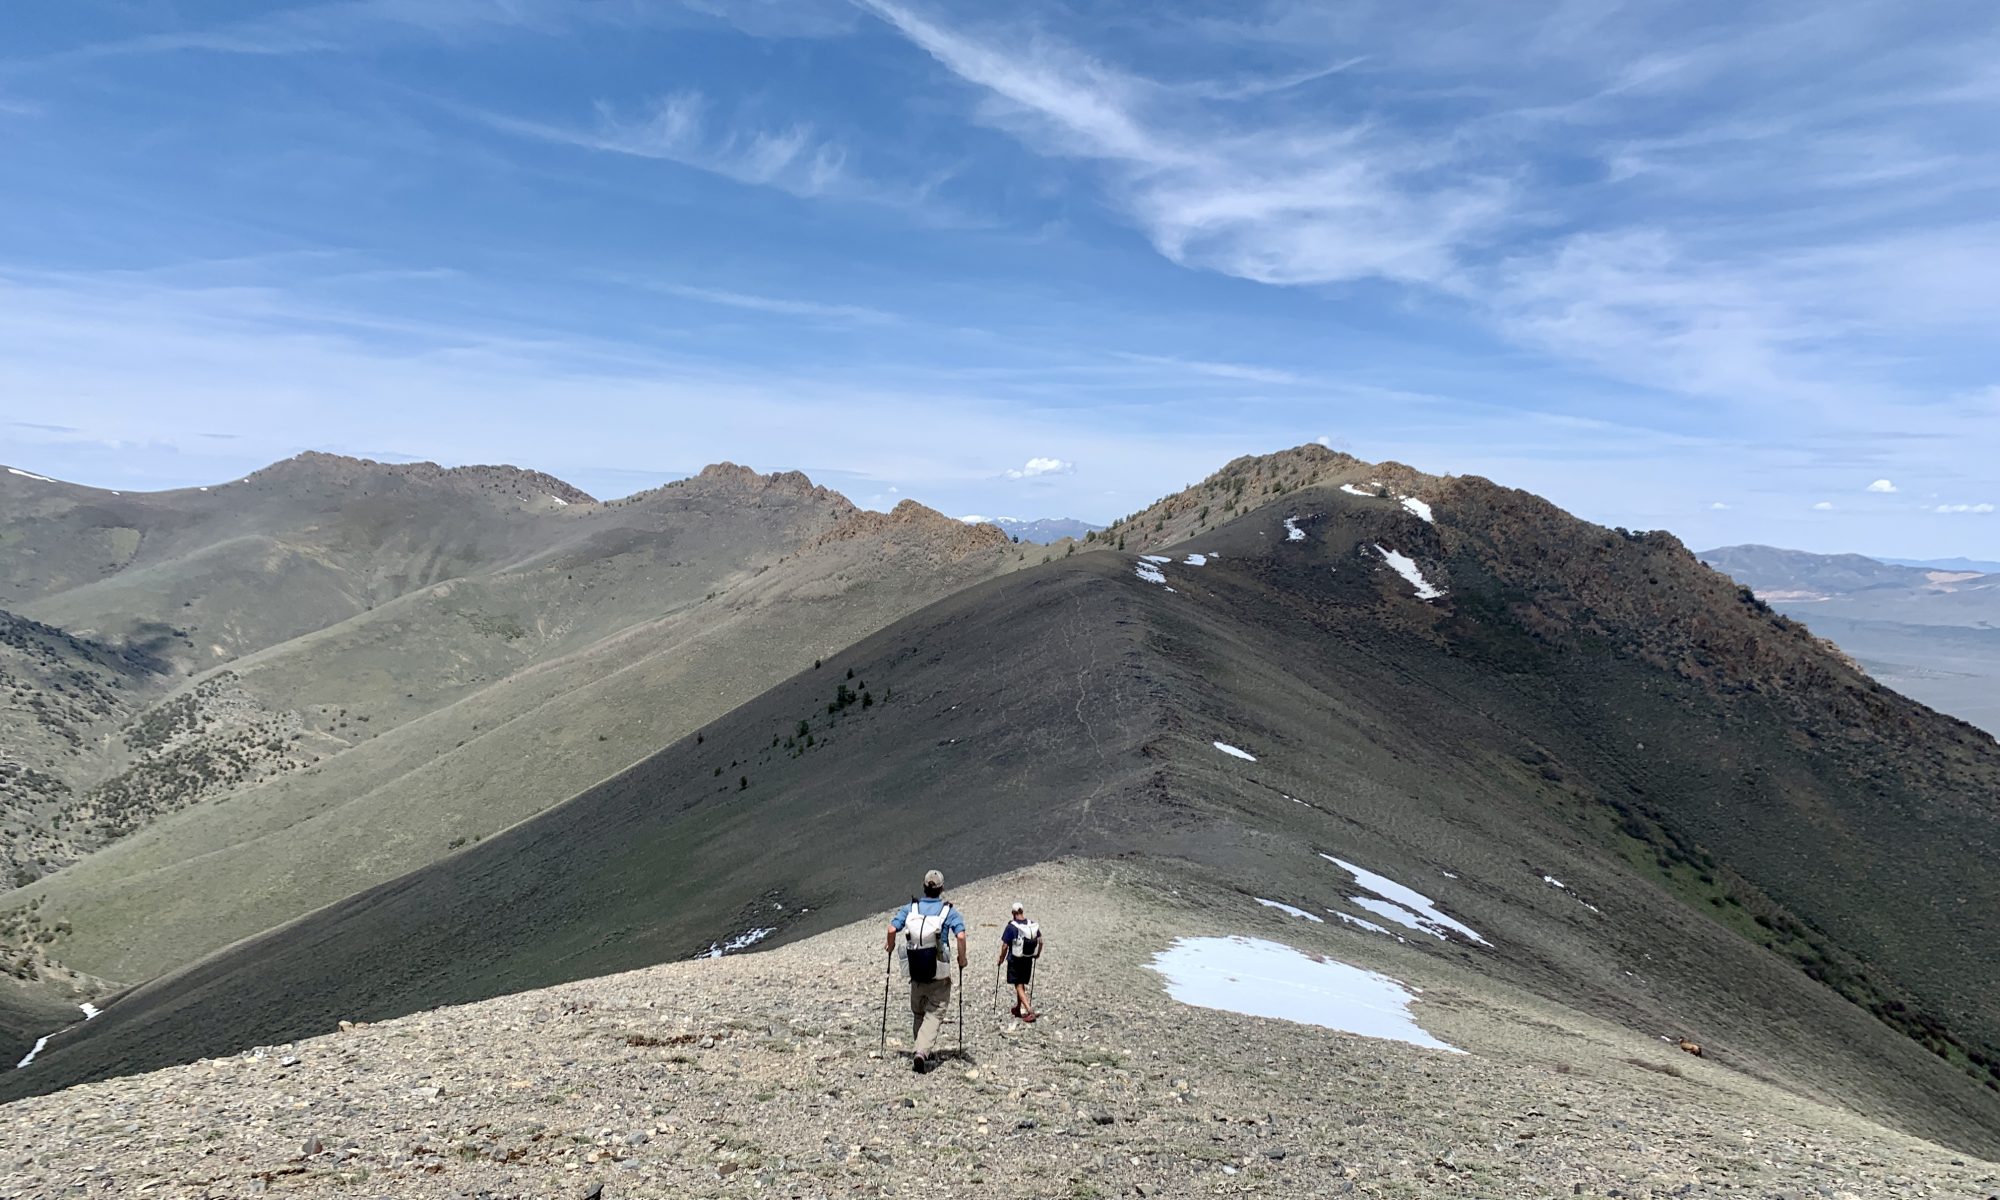
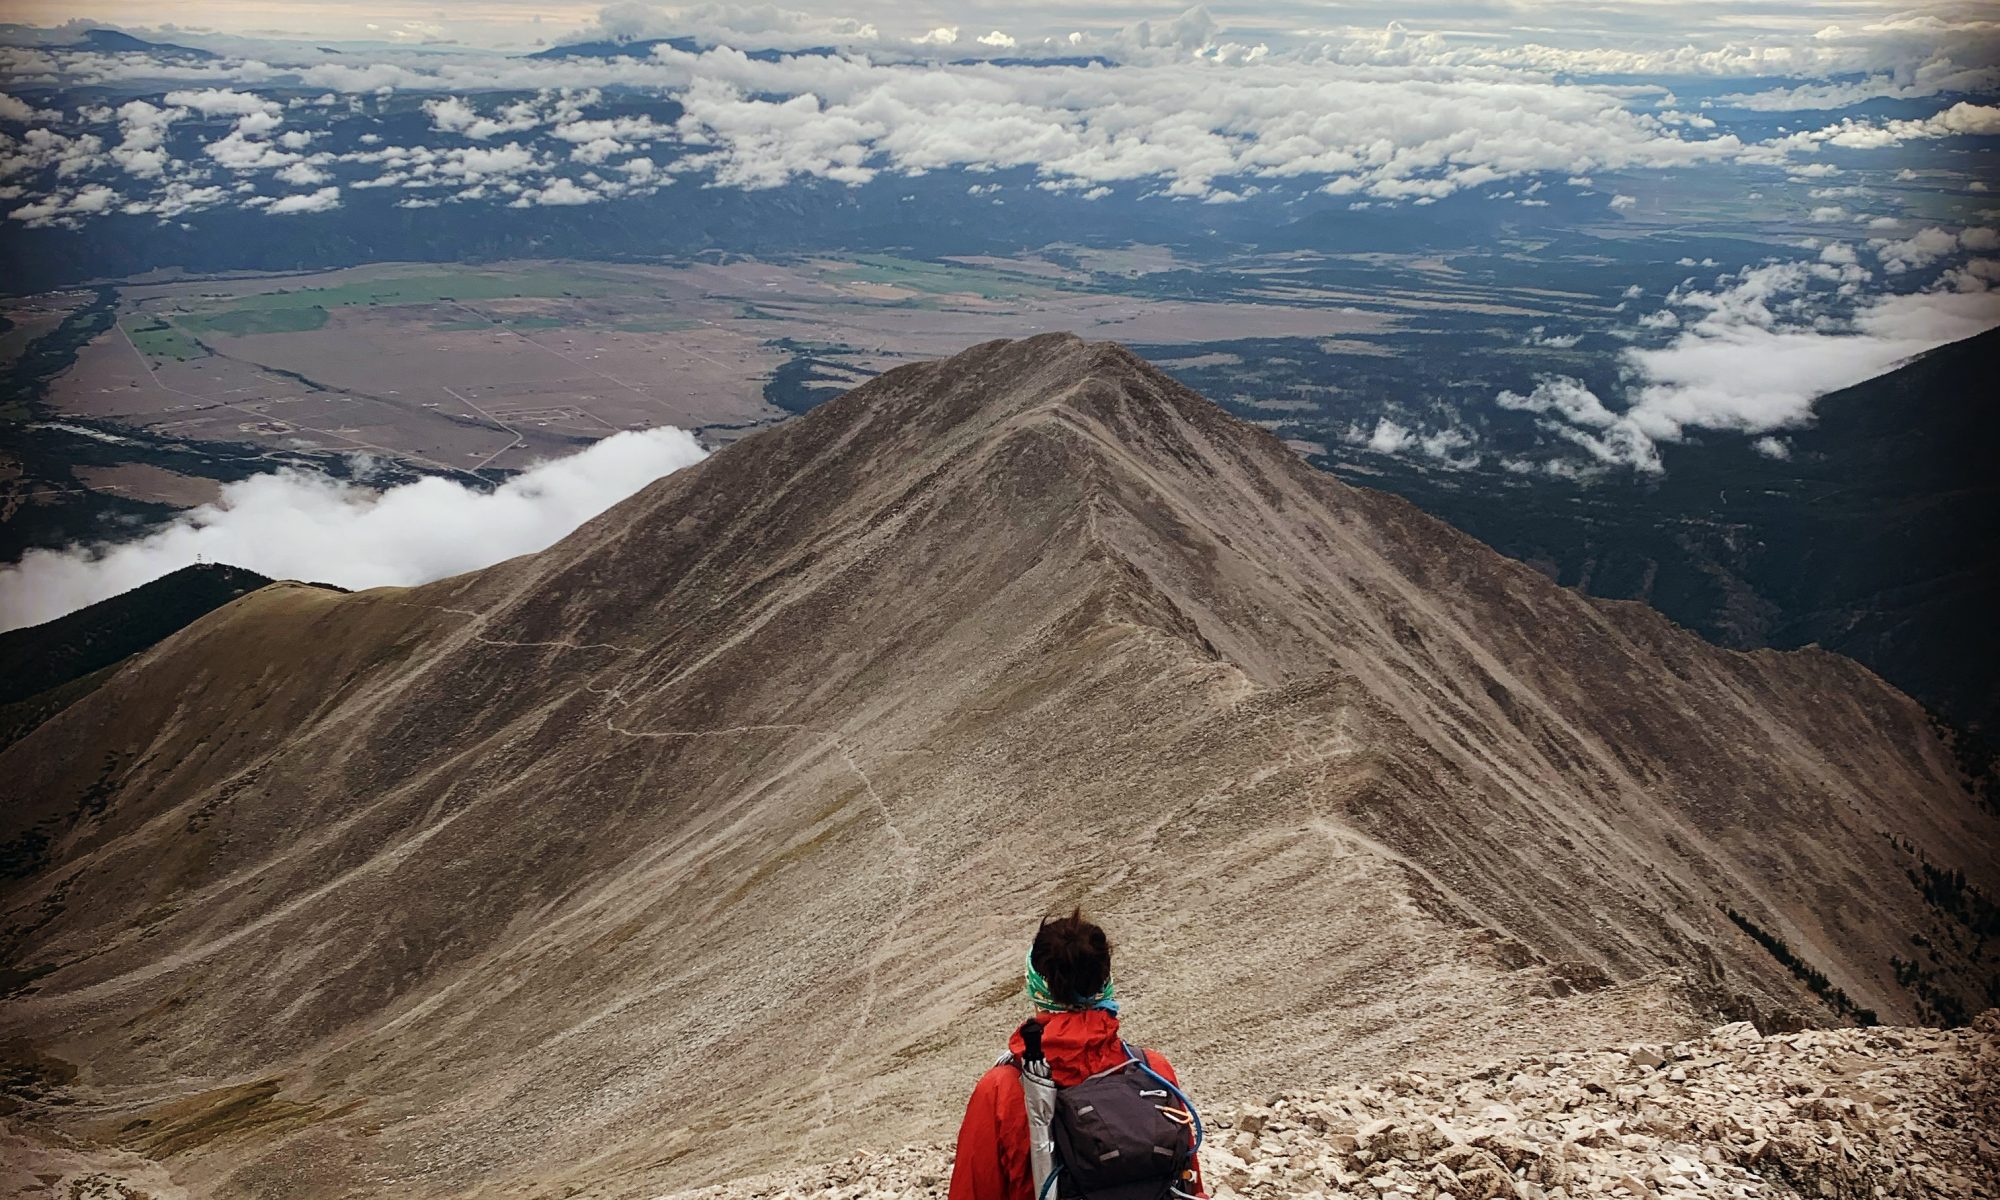
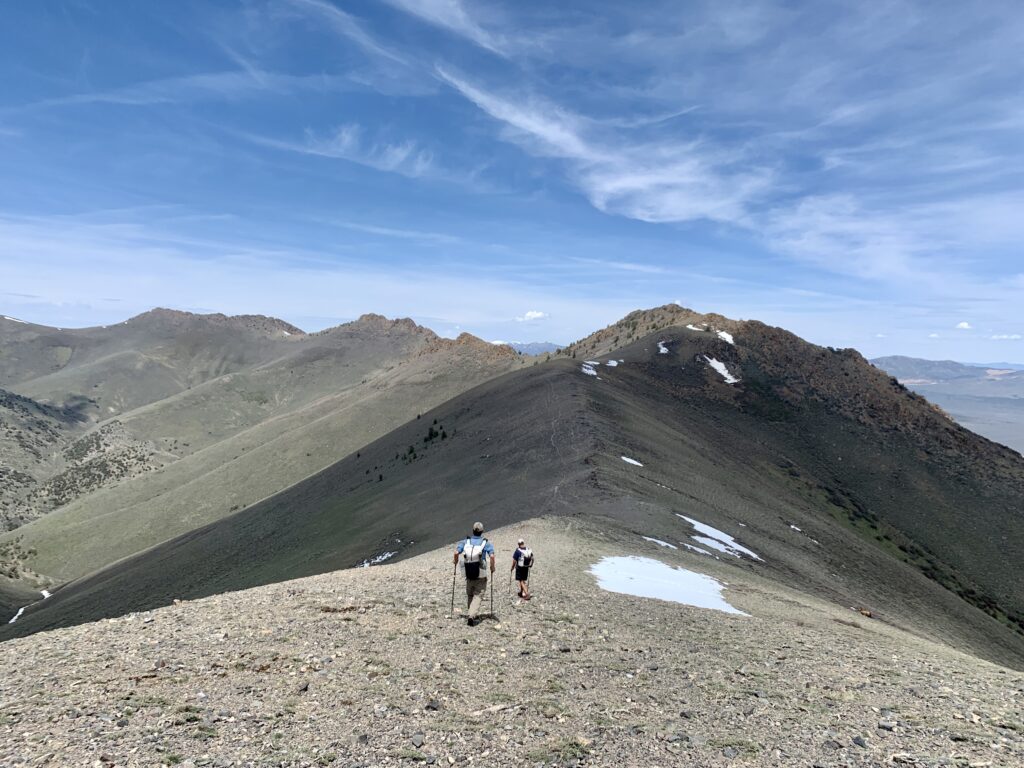
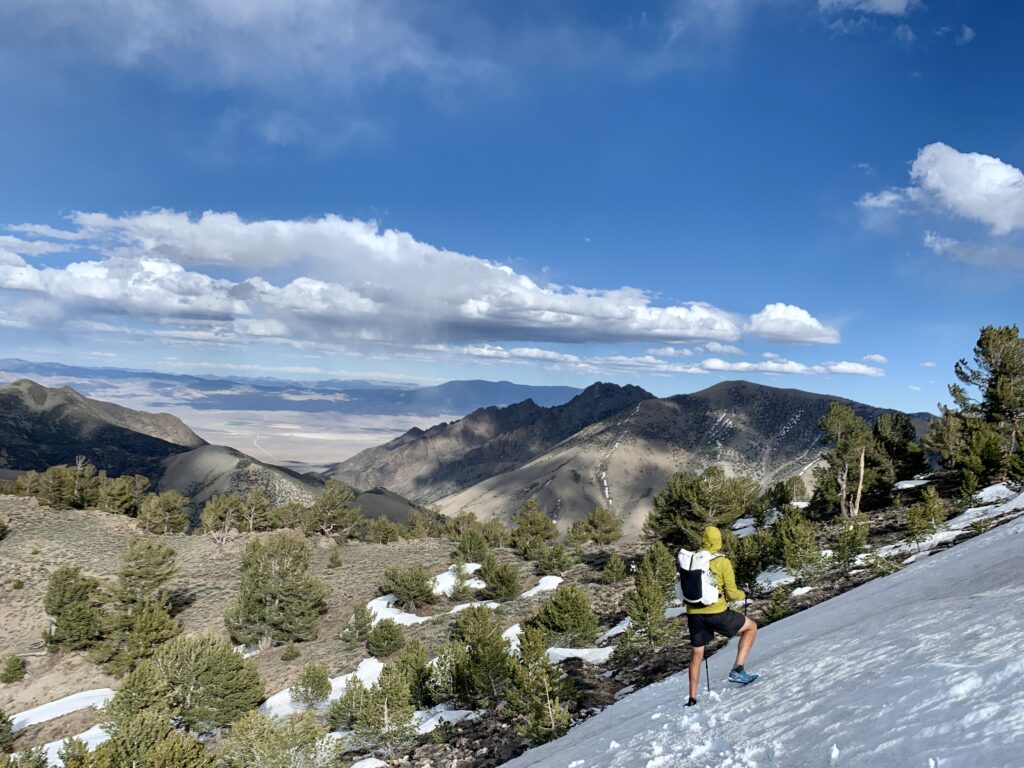
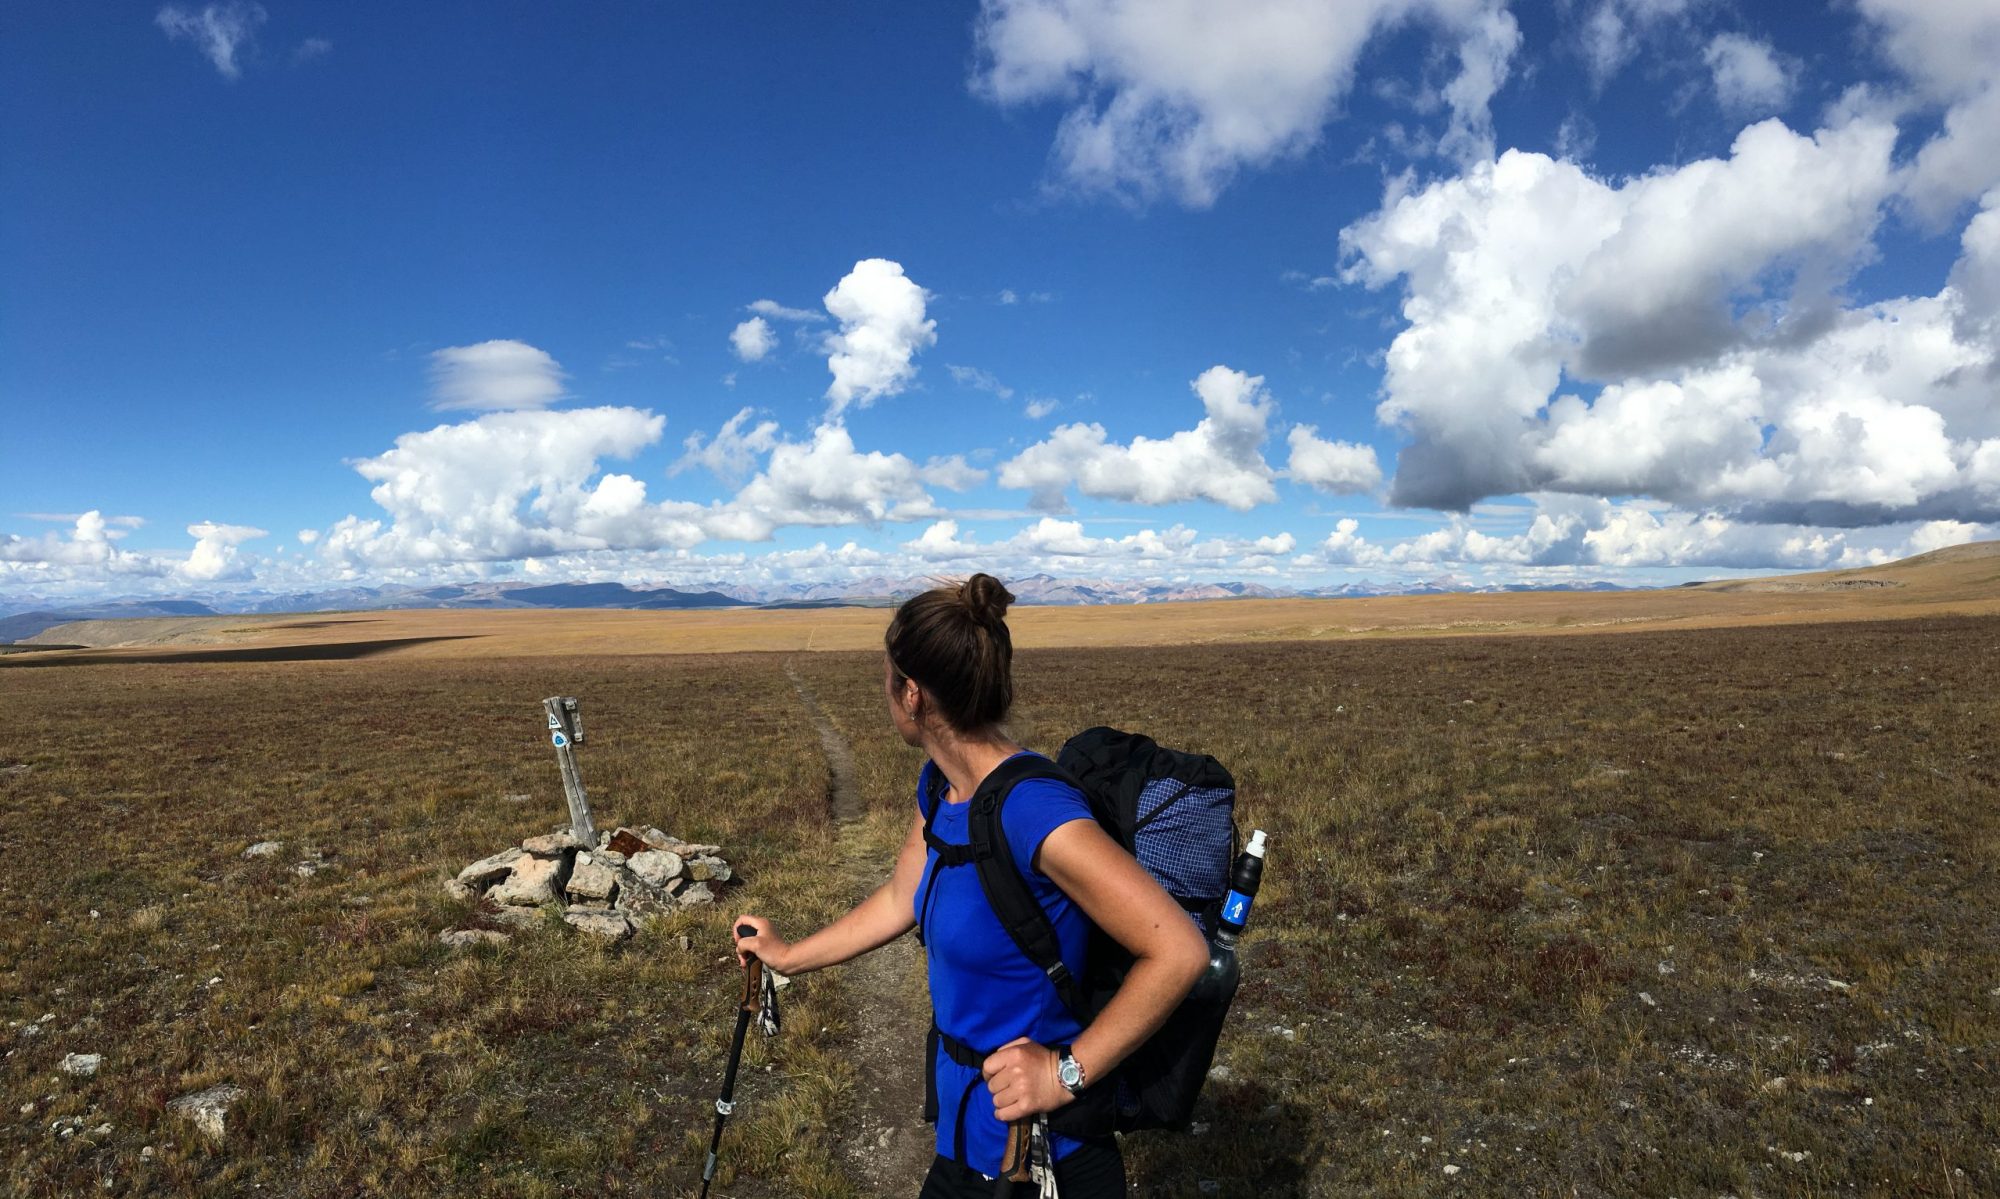
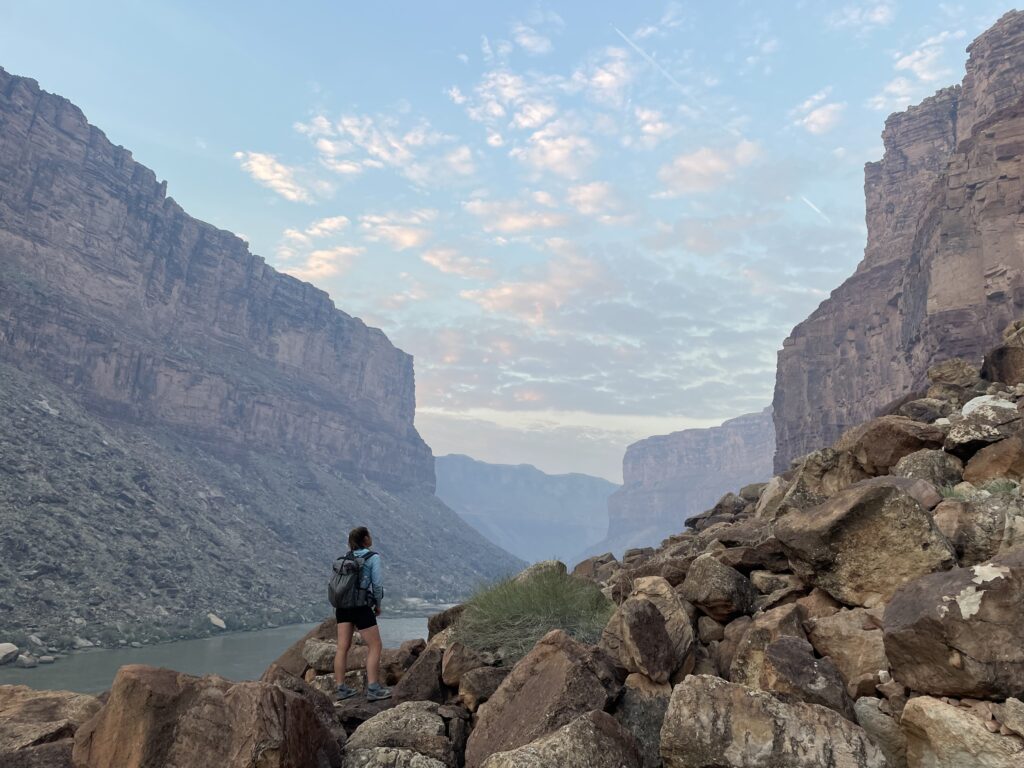
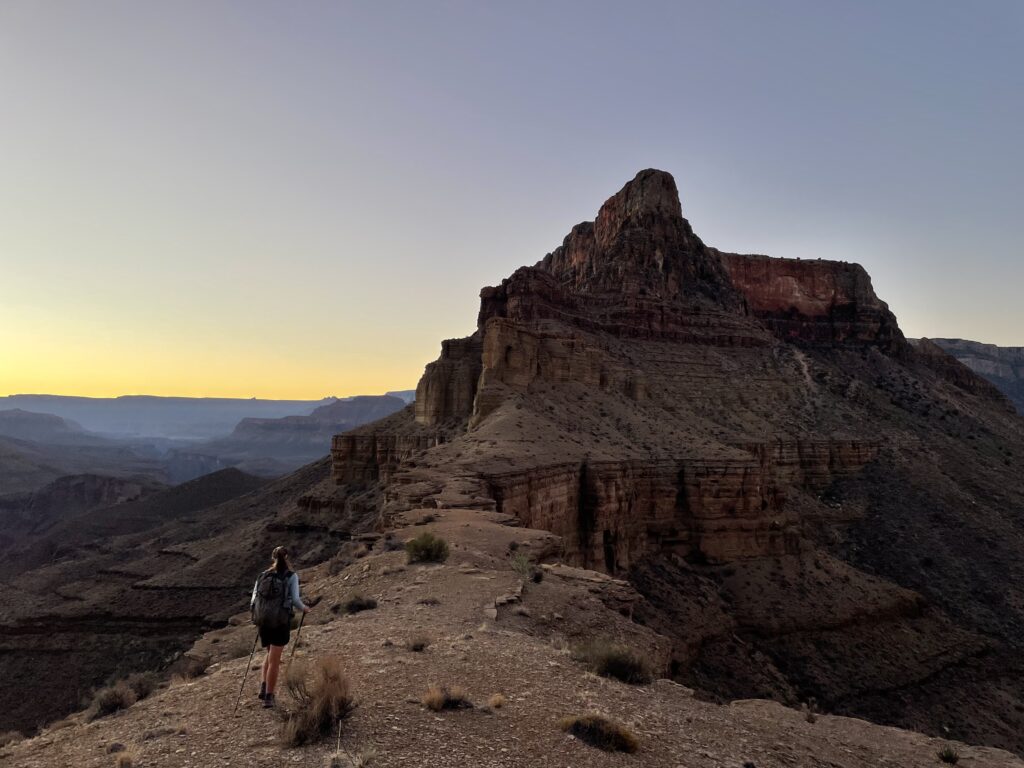
The entire route was off-trail with the exception of roughly 9 miles of maintained trail near Clear Creek. There were also portions of the Tuckup Trail that are well defined and a handful of miles on old ranching roads that were in good condition. Otherwise, we kept our eyes out for sheep trail and read the terrain to find the best path through. Travel included beach walking, boulder hopping, creek wading, scrambling up and down layers and along ledges, traversing steep talus slopes and loose ravines, and stepping over, through, and under cacti, mesquite, sagebrush, catclaw acacia, saltcedar and all sorts of other pokey vegetation.
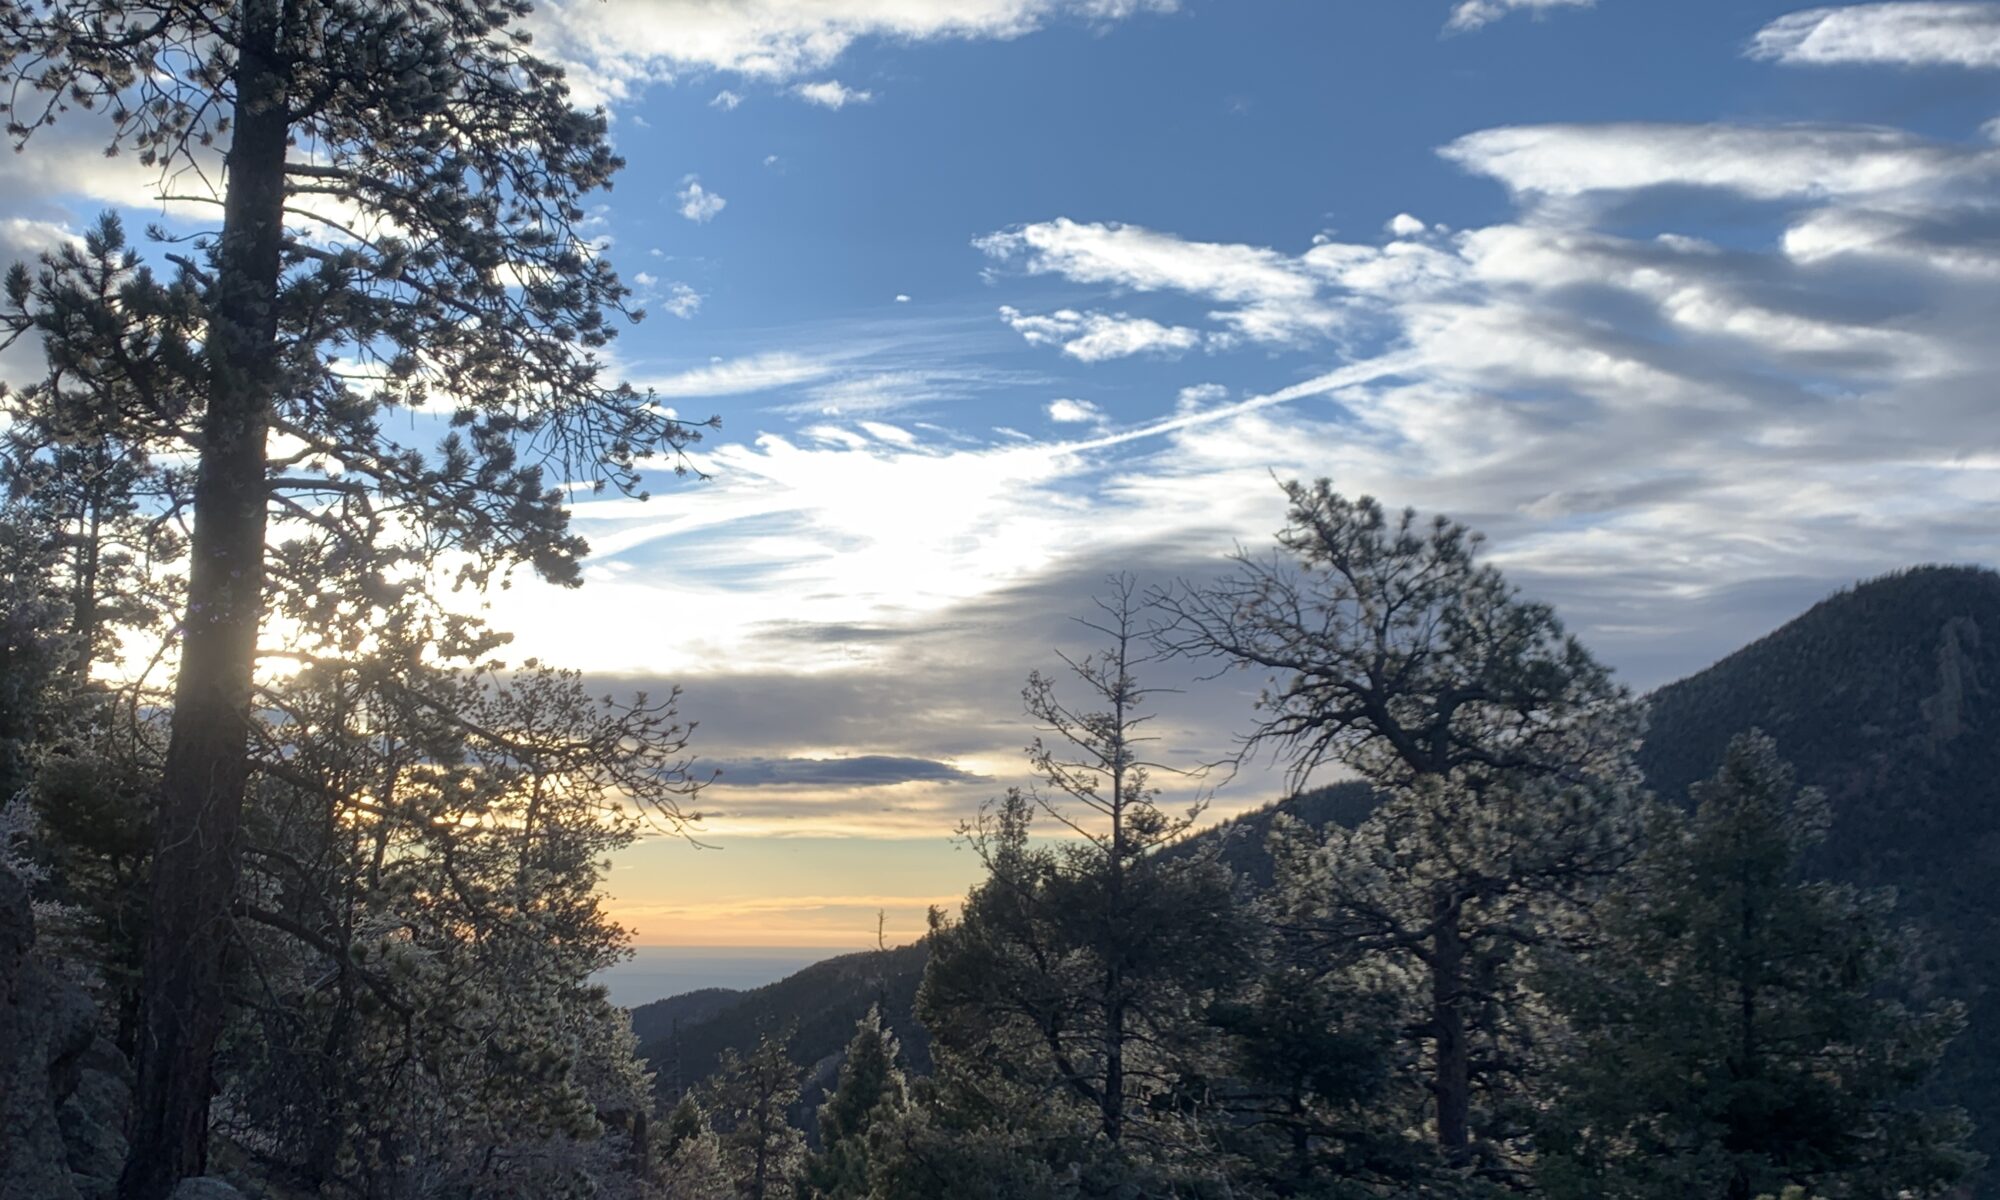
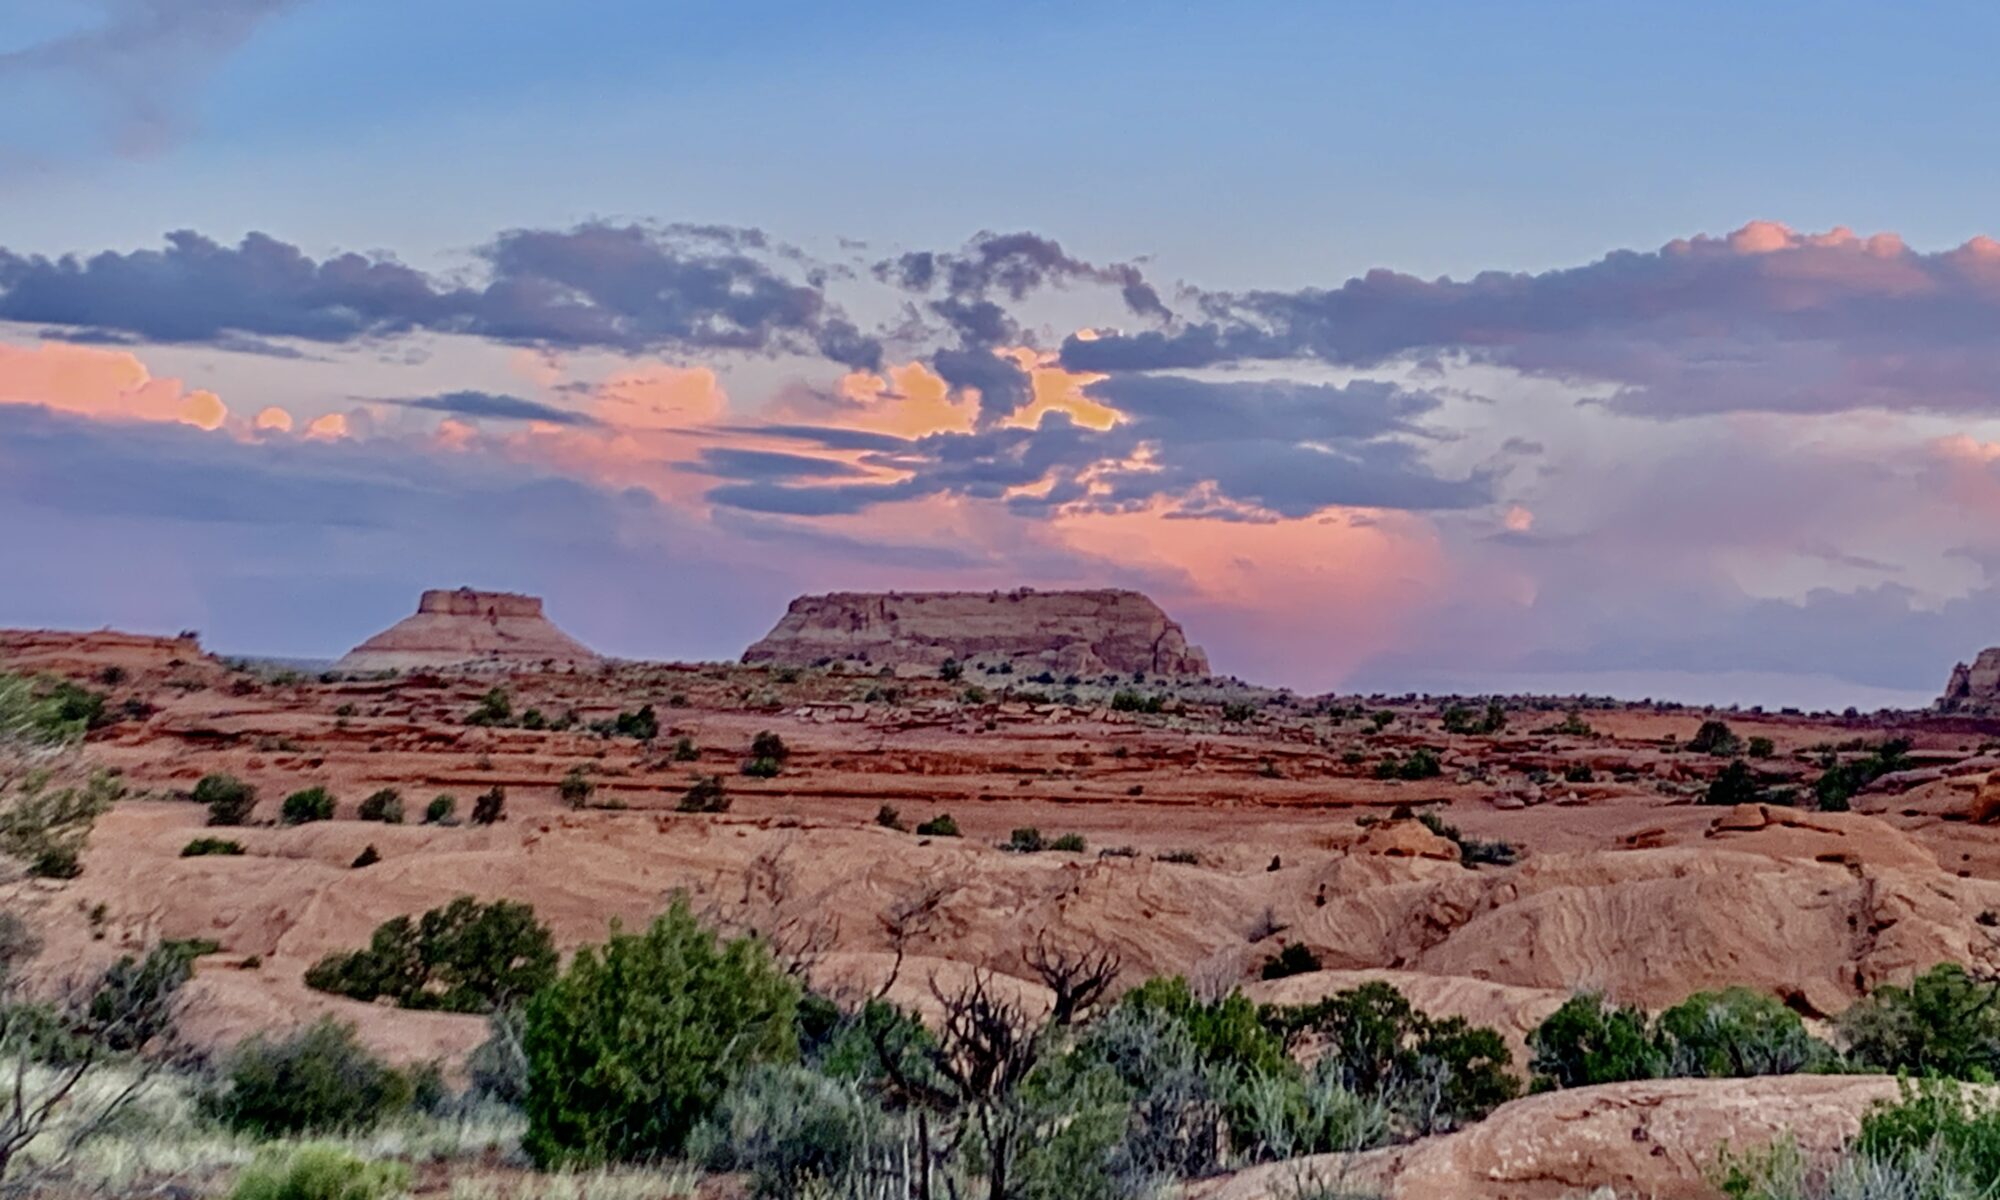
Our route traversed through three ecoregions, including the Mojave Desert, the Great Basin, and the Colorado Plateau. These different habitats are the result of geologic variations and elevations that range from 2000’ to 8000’. We walked through desert washes at the lowest elevations to Mojave desert scrub, sagebrush steppe, pinyon-juniper woodland, and ponderosa pine forest as one ascends in elevation.
Natural & Human History
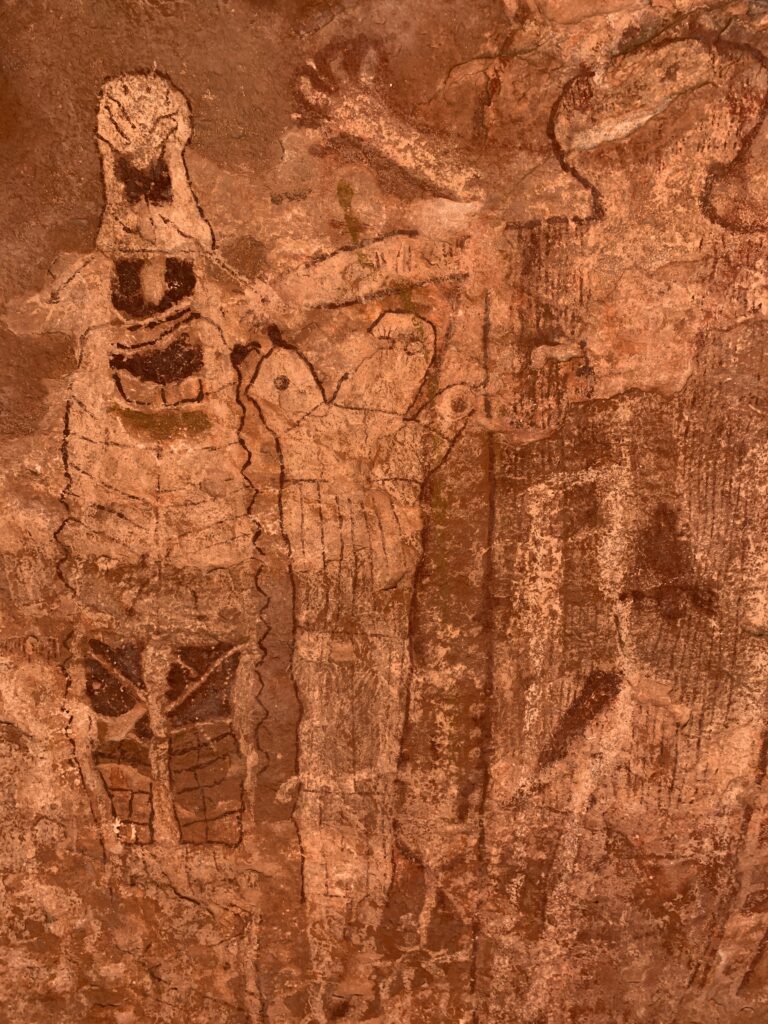
Humans have inhabited the Grand Canyon for thousands of years. The Havasupai, Navajo, Southern Paiute, and Hualapai communities live inside the Canyon or along the rim. Hopi, Zuni, and Apache live nearby. Later, Mormon ranchers, miners, and early explorers lived in and around the Canyon. We relished seeing remnants of early inhabitants, particularly the indigenous communities. This included granaries, pictographs, and agave roasting pits.
A wide variety of animals, insects, birds, and plants also inhabit the Grand Canyon. I won’t name them all, but our wildlife sightings included bighorn sheep, squirrels, chipmunks, rattlesnakes, mice, mule deer, bats, tarantulas, black widows, lizards, scorpions, coyotes, burros, toads, and a mountain lion, to name a few.
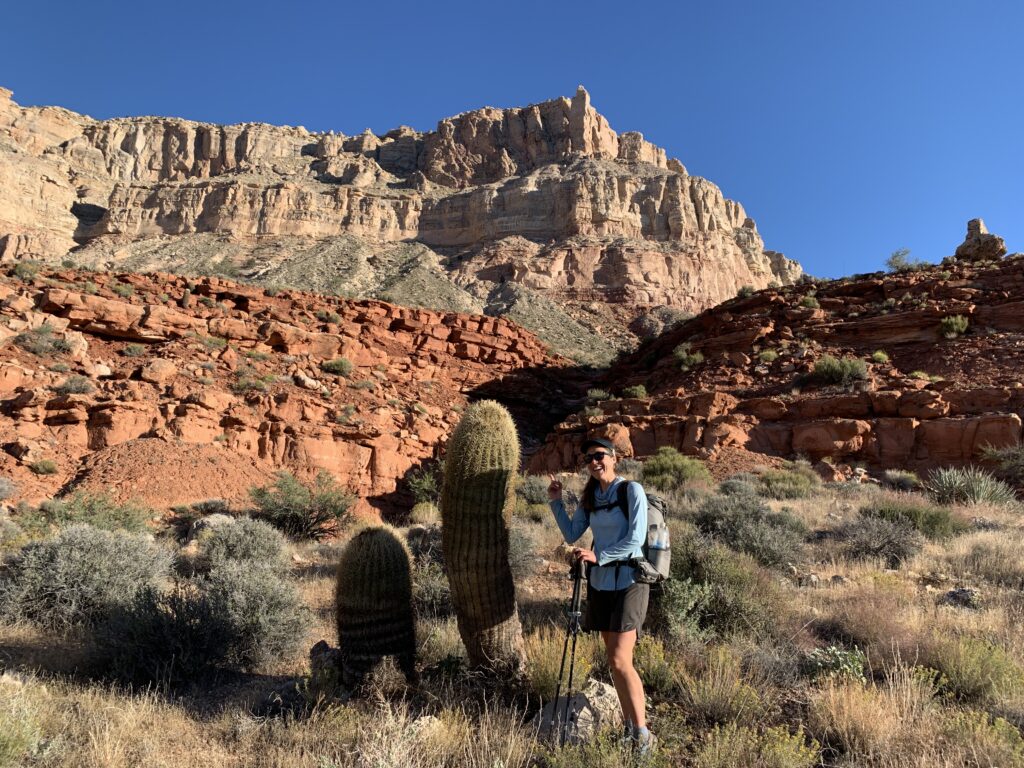
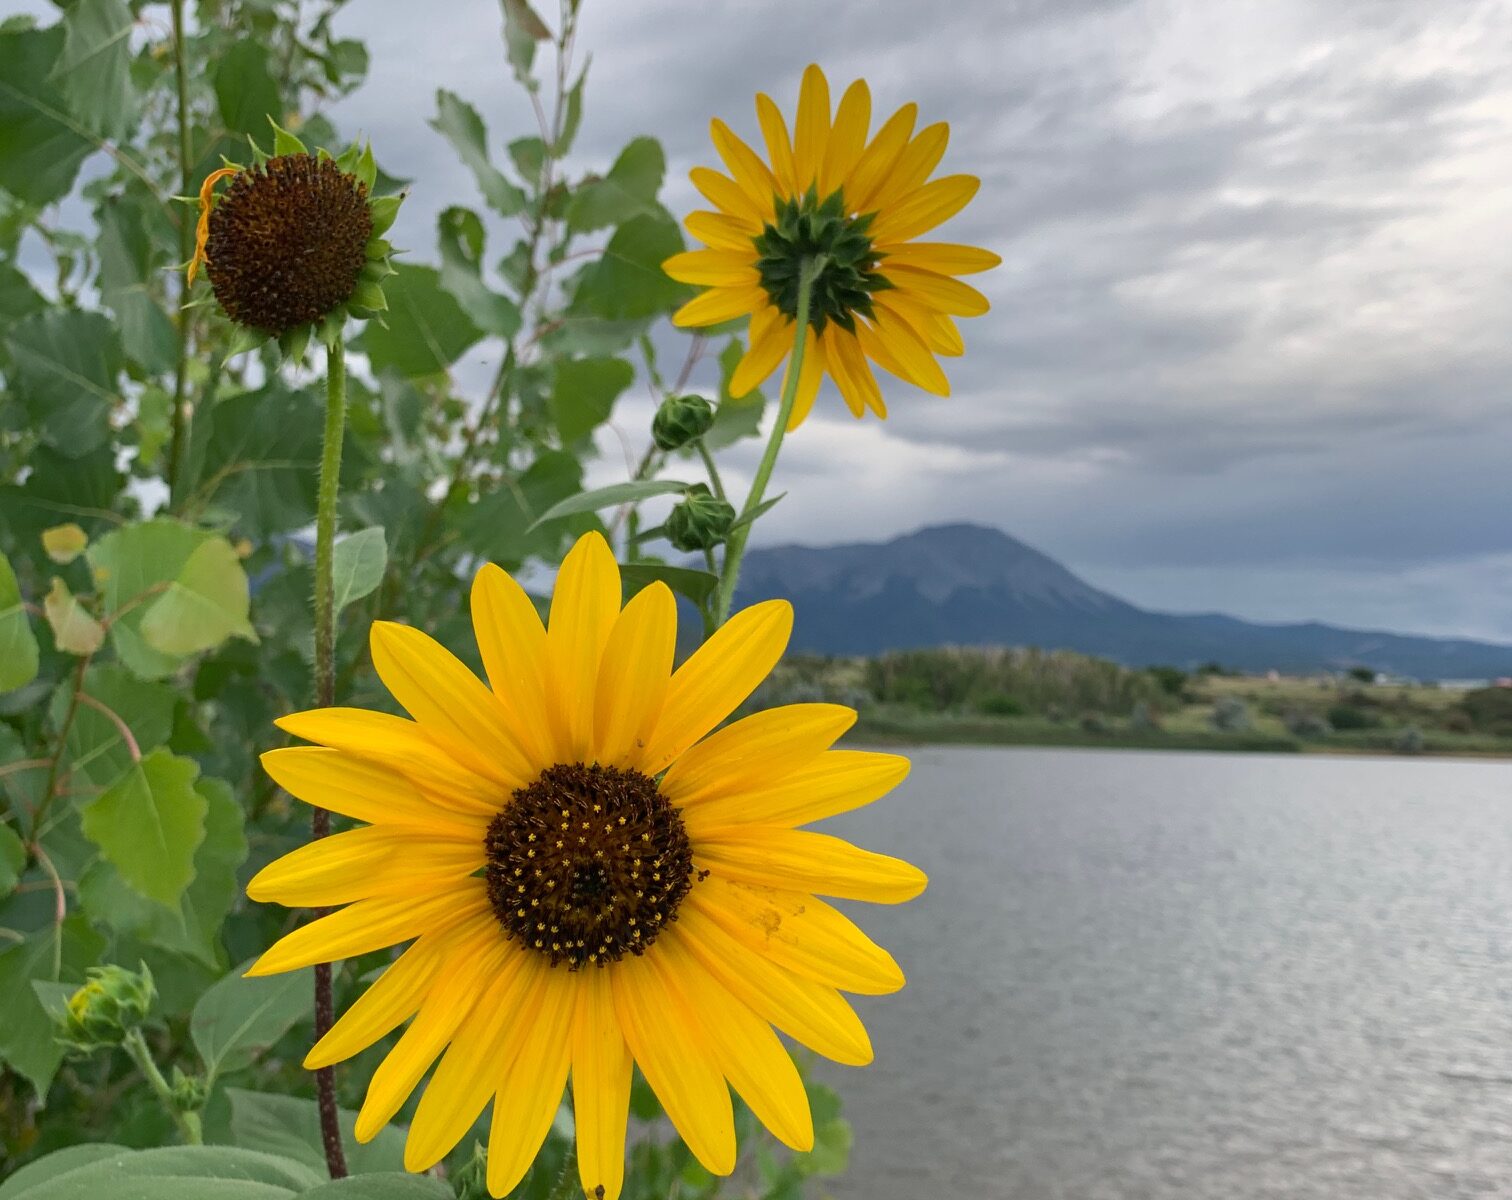
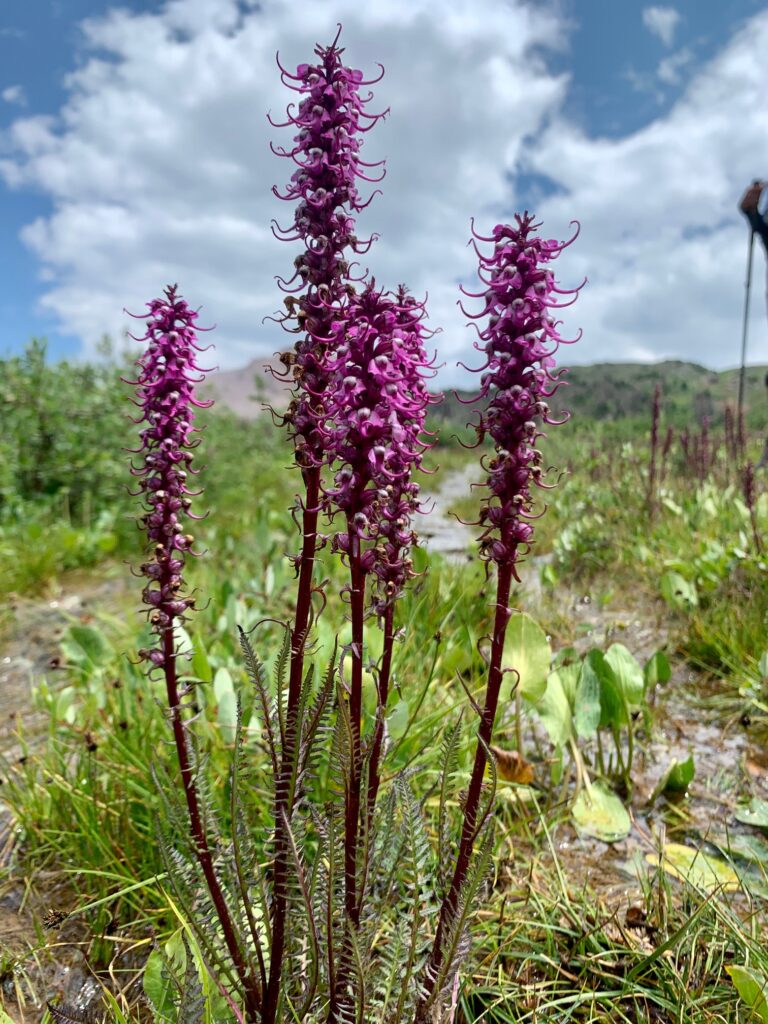
Plant observations were extensive as well. There are nearly 2,000 species of plants, mosses, and lichen in the Grand Canyon. Different vegetation communities are seen at different elevations and in different parts of the Canyon. Some of the species we saw the most include sagebrush, Juniper, Pinyon pine, aspen, ash, lupine, catclaw acacia, Mormon tea, western honey mesquite, willow, broadleaf milkweed, indian paintbrush, snakeweed, Utah agave, banana and narrowleaf yucca, snakeweed, creosote, white bursage, brittlebush, ocotillo, four-wing saltbush, big sagebrush, blackbrush, rabbitbrush, and various cacti, such as California barrel, fishhook, beavertail, desert prickly pear, hedgehog, and cholla.
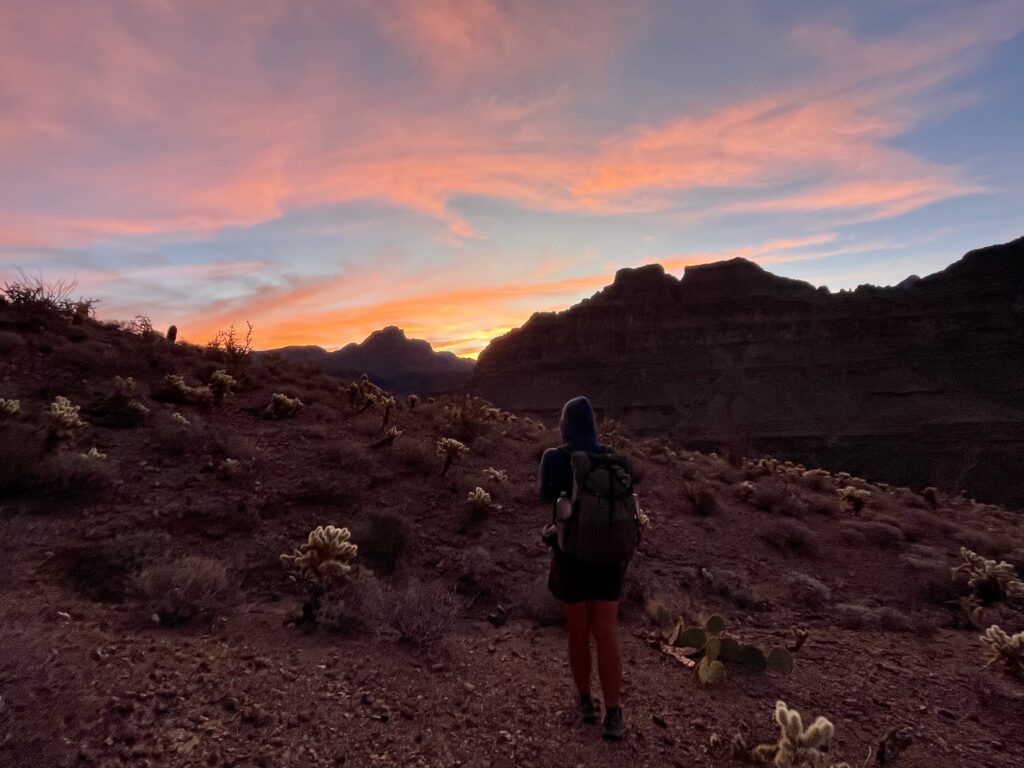
Climate
Heat, water, and remoteness are the biggest challenges of backpacking in the Grand Canyon. Temperatures ranged from over 100-degree highs during our first week of hiking in late September to lows around 20-degrees on a few chilly mornings in early November. Obviously temperature ranges are vast when you’re traveling at elevations ranging from 1,500’ to nearly 8,000’. We would have benefited by delaying our start date until mid-October, when summer’s sweltering heat had begun to wane. Generally speaking however, the temperature range was quite comfortable. Daytime temperatures were in the mid-50s to mid-70s, and nighttime temperatures were in the high 40s to low 30s. Other than adding a down jacket for the last half of the trip, which I probably could’ve gone without, I carried the same kit for the entire trip.
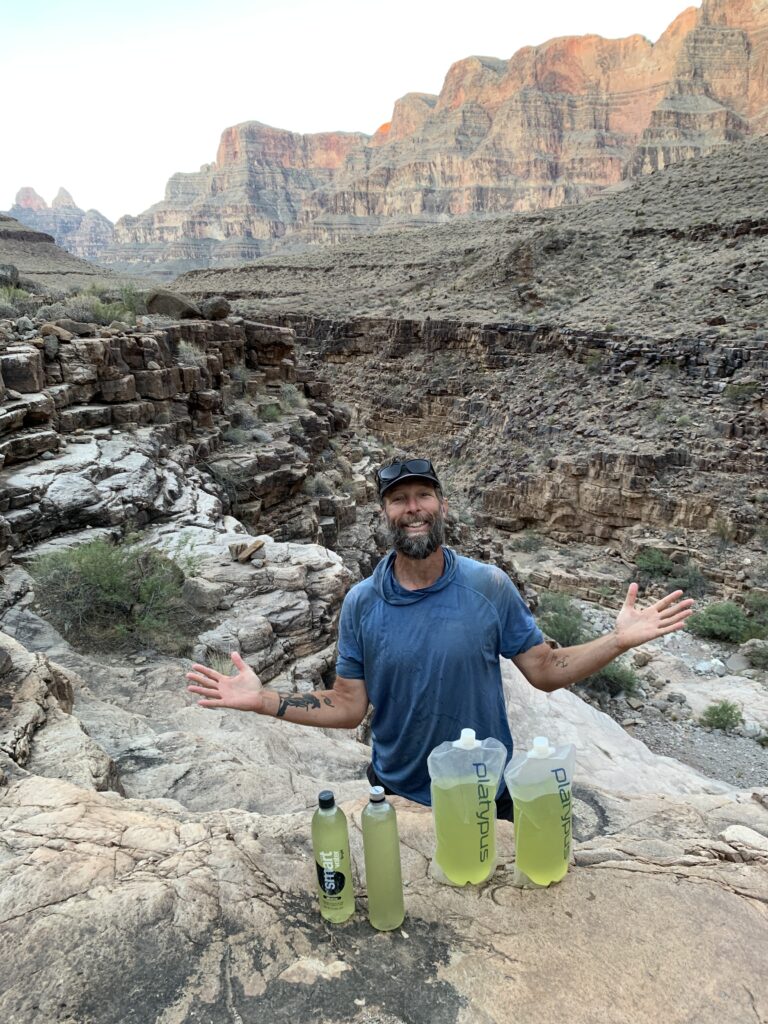
Water
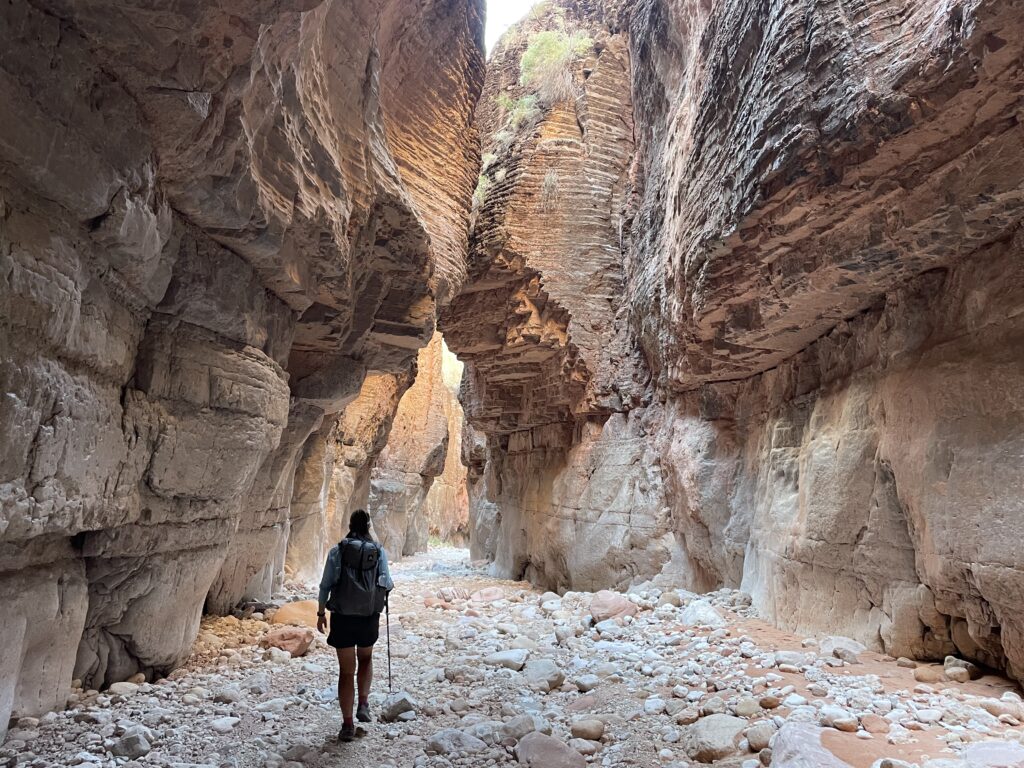
Water is constantly on one’s mind while traveling in the Grand Canyon. Our schedule coinciding with the occurance of several decent storms was quite fortuitous. Not only did we begin our hike at the tail end of a strong monsoon season, we also received a few well-timed storms that filled the potholes. As a daily practice, we were always looking ahead and making educated predictions about where we might find water again, how likely it was to be there, and how long it’d take us to get there. This wasn’t always easy, as we were traveling off trail through difficult terrain that we hadn’t seen yet. Additionally, we found that it was not uncommon to encounter an obstacle that ate up precious daylight, such as getting pinched off at a cliff and needing to backtrack to find a different way or encountering an area covered in prickly pear cactus that required us to tiptoe through for miles.
As part of the research and planning phase, I created a spreadsheet of all of our potential water sources and their reliability. This was used in conjunction with maps and beta from other Canyon travelers, alongside our observations of the weather and the terrain we were traveling through to ensure we had enough water. For example, in addition to knowing where our next reliable water source was, we knew that we commonly found water in side canyons with steep walls that shaded the pools below pour offs. After a heavy storm, it was likely those pools and others would have good water. It was not uncommon for us to carry 6-8 liters, drink green water from potholes, and ration when we didn’t make it to our anticipated source in time.
Resupply
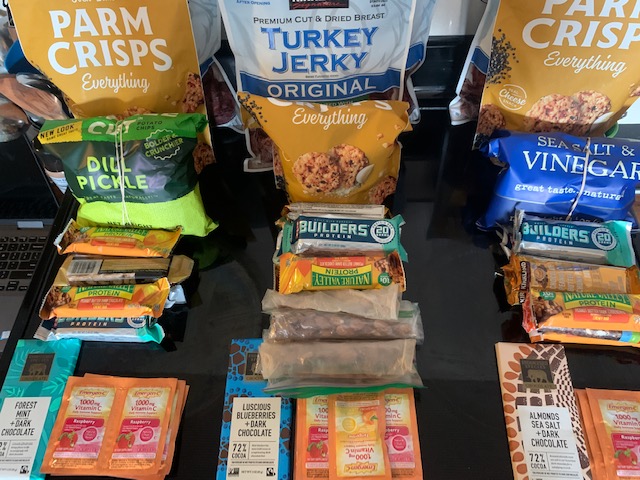
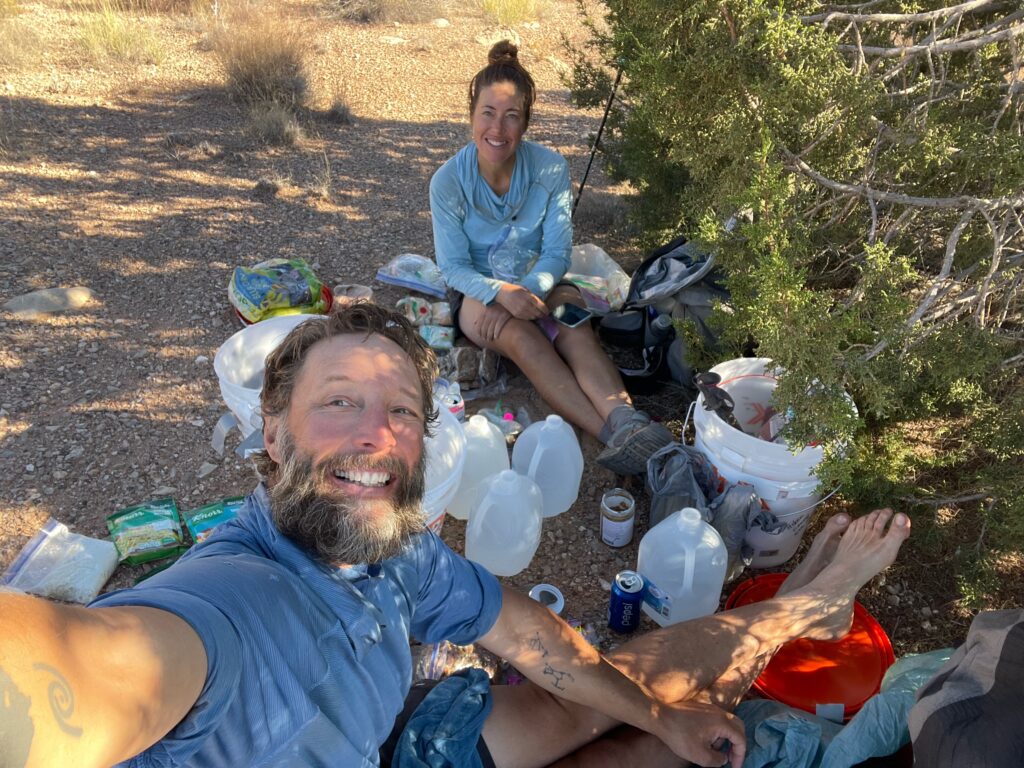
Options to resupply food and replace or repair gear were limited. There are no town stops inside the Canyon and getting into and out of it is time-consuming and strenuous. More thought went into self-sufficiency on this trip than on any of my previous outings, particularly hikes on well-traveled trails like the PCT. I was conservative with gear decisions and beefed up my first aid and repair kits. We planned for contingencies upon contingencies.
Caching food, water, and gear replacements was critical to our success. The distance between caches and our speed of travel determined how much food we carried at any given time, with food carries raging from 5-11 days. Caching required a lot of driving and time. We opted to set 3 caches: South Canyon (which we didn’t utilize due to Ryan’s heat illness on day 2), Thunder River Trailhead, and Tuweep Campground.
Continue to Part 2: Highlights and Lessons
For step by step guidance on preparing for your next backcountry trip, our online courses are the best place to start:
- Adventure Ready Physical Preparation
- Performance Nutrition and Meal Planning for Backpackers
- Stay Safe in the Backcountry
- Become a Better Backcountry Navigator