How to Create a Healthy Resupply in a Tiny Town

oregon desert trail

What to Eat When the Healthy Choices are Non-existent or Obscure

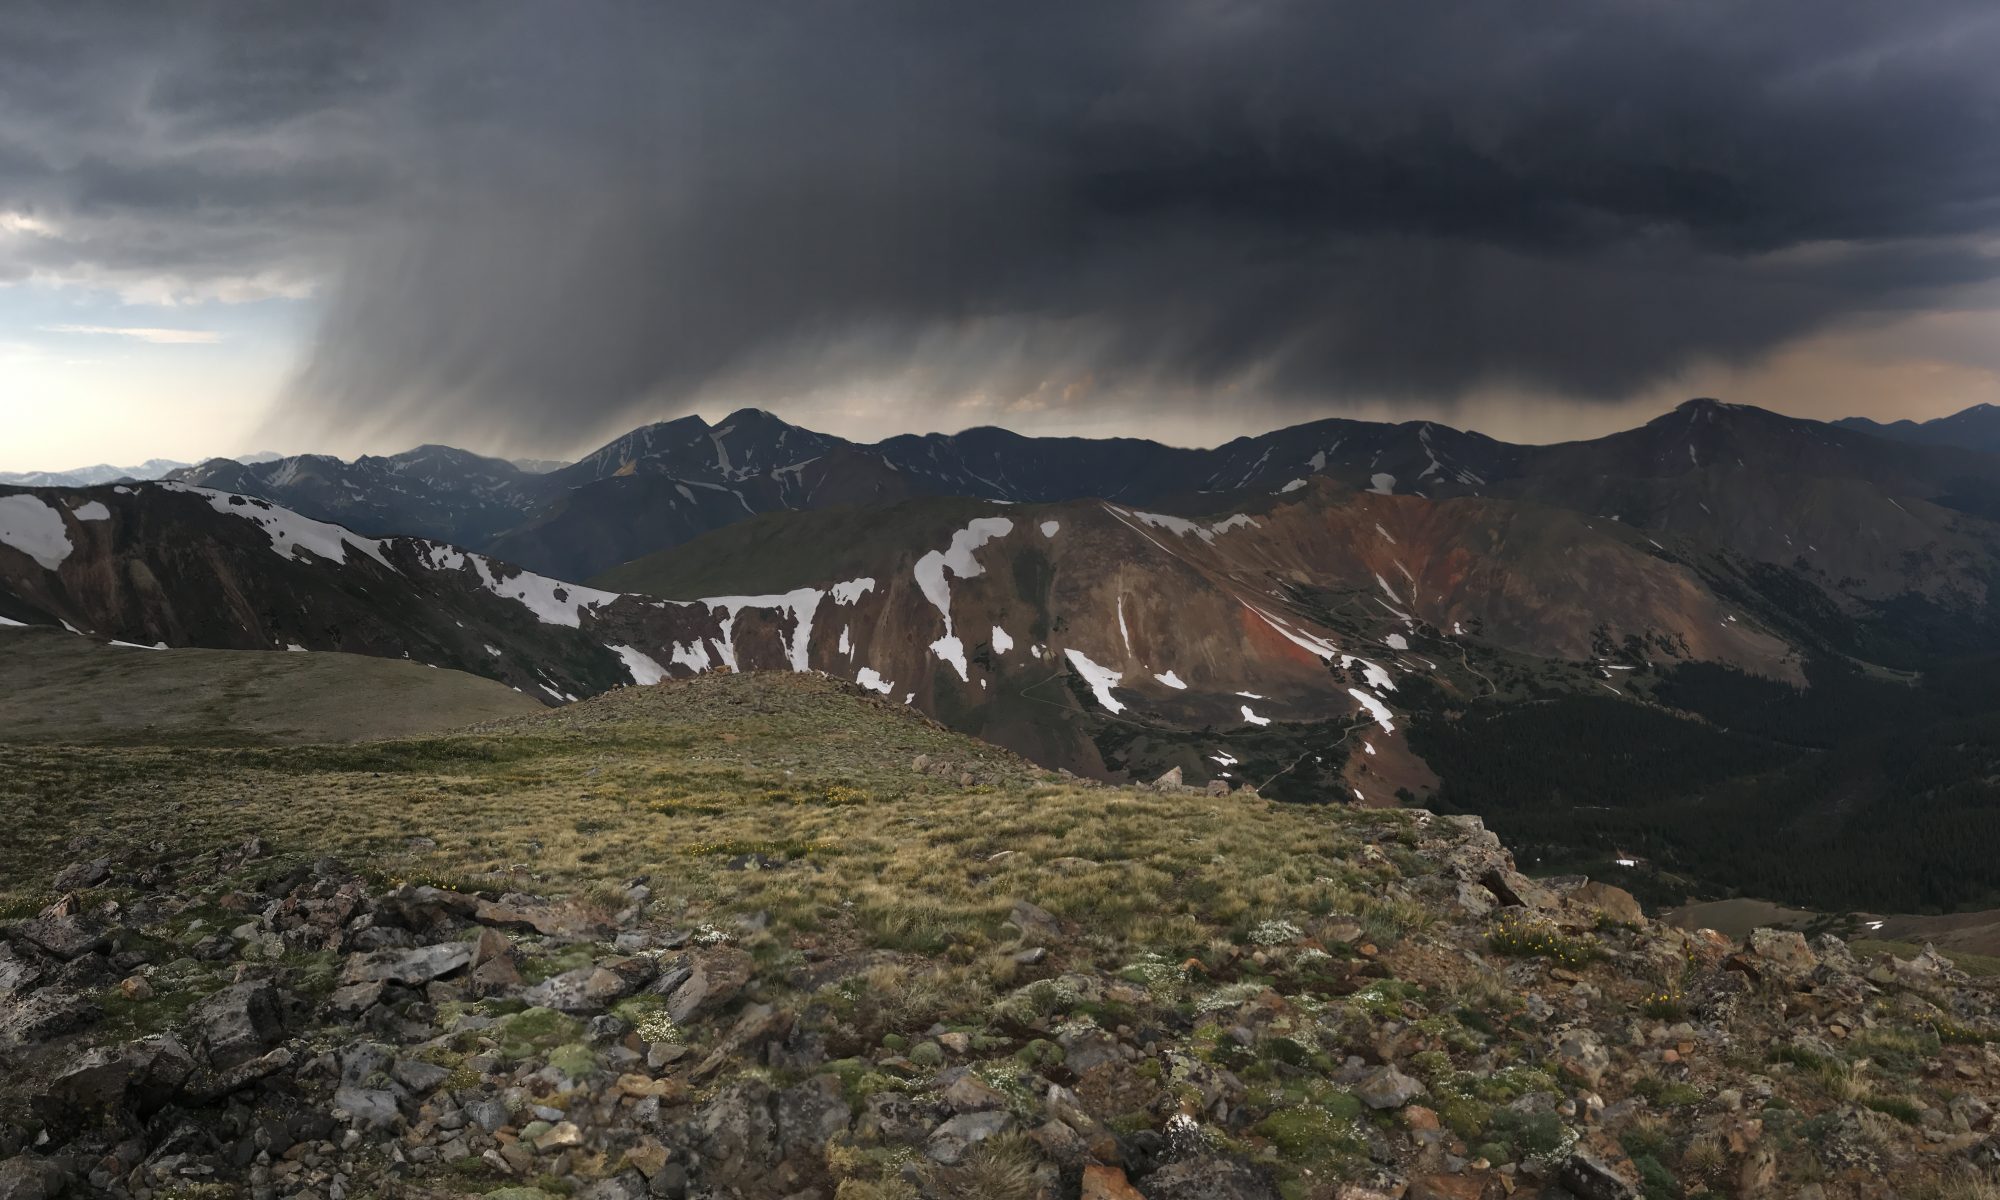
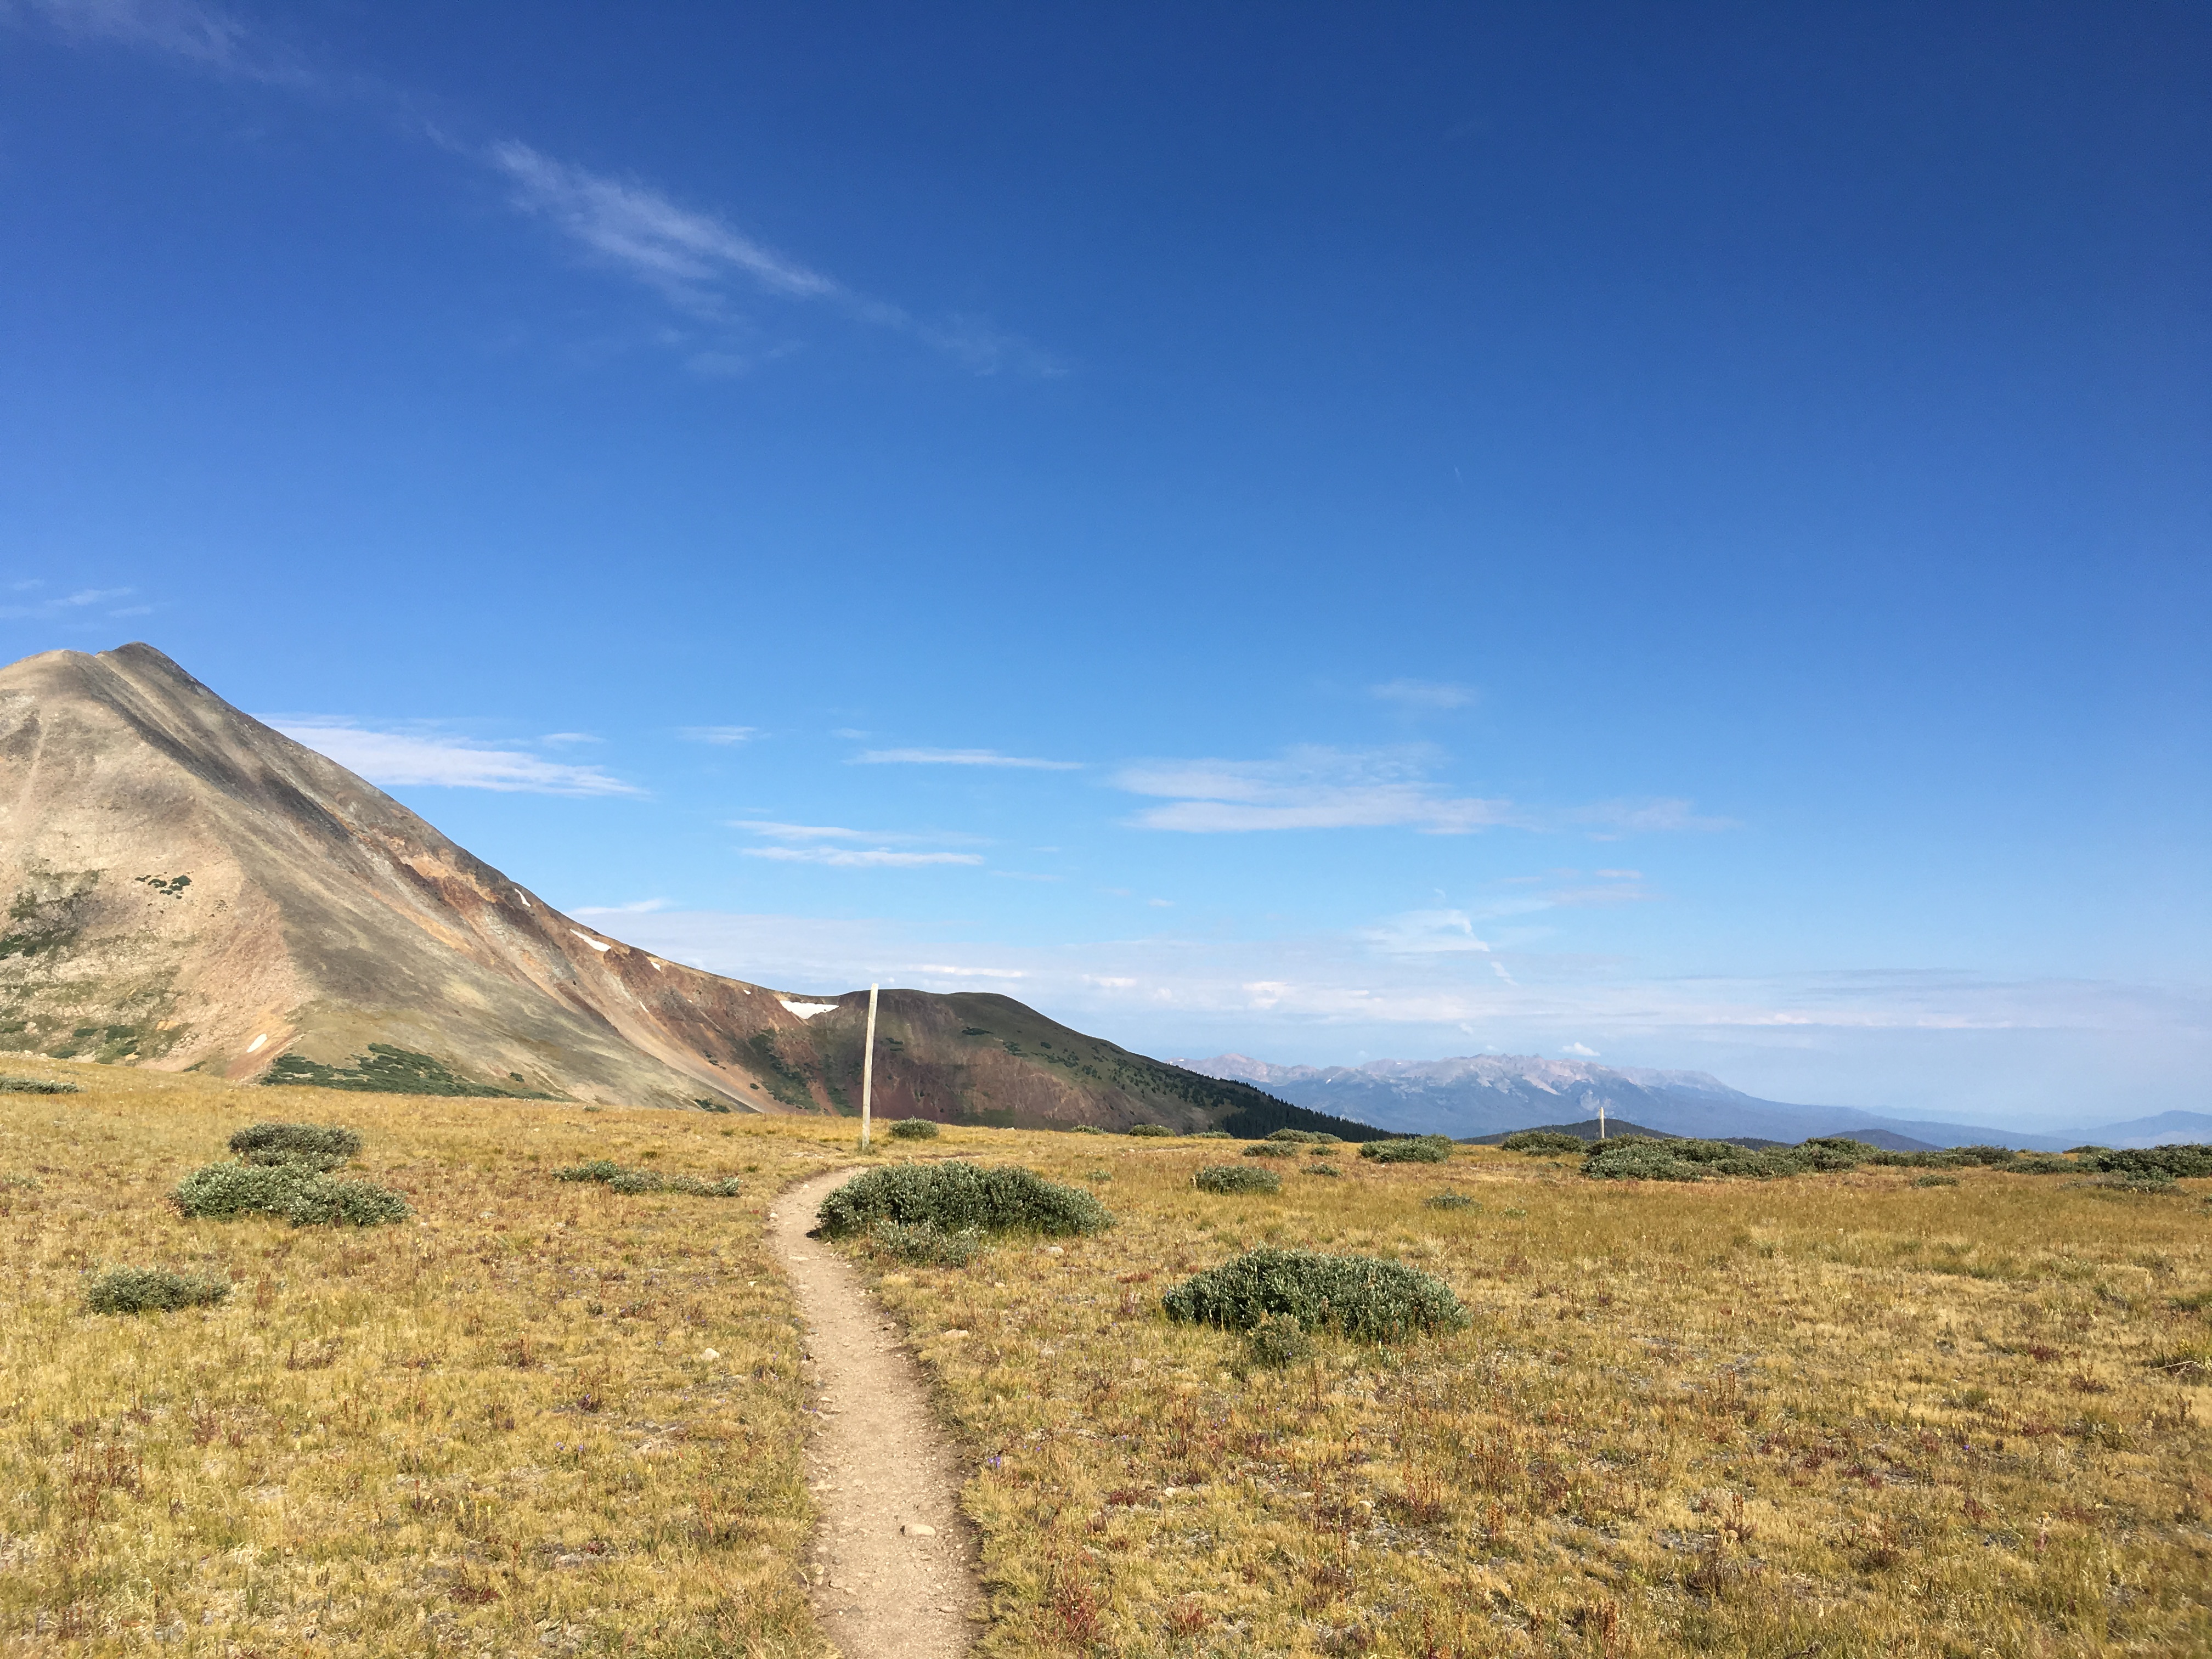
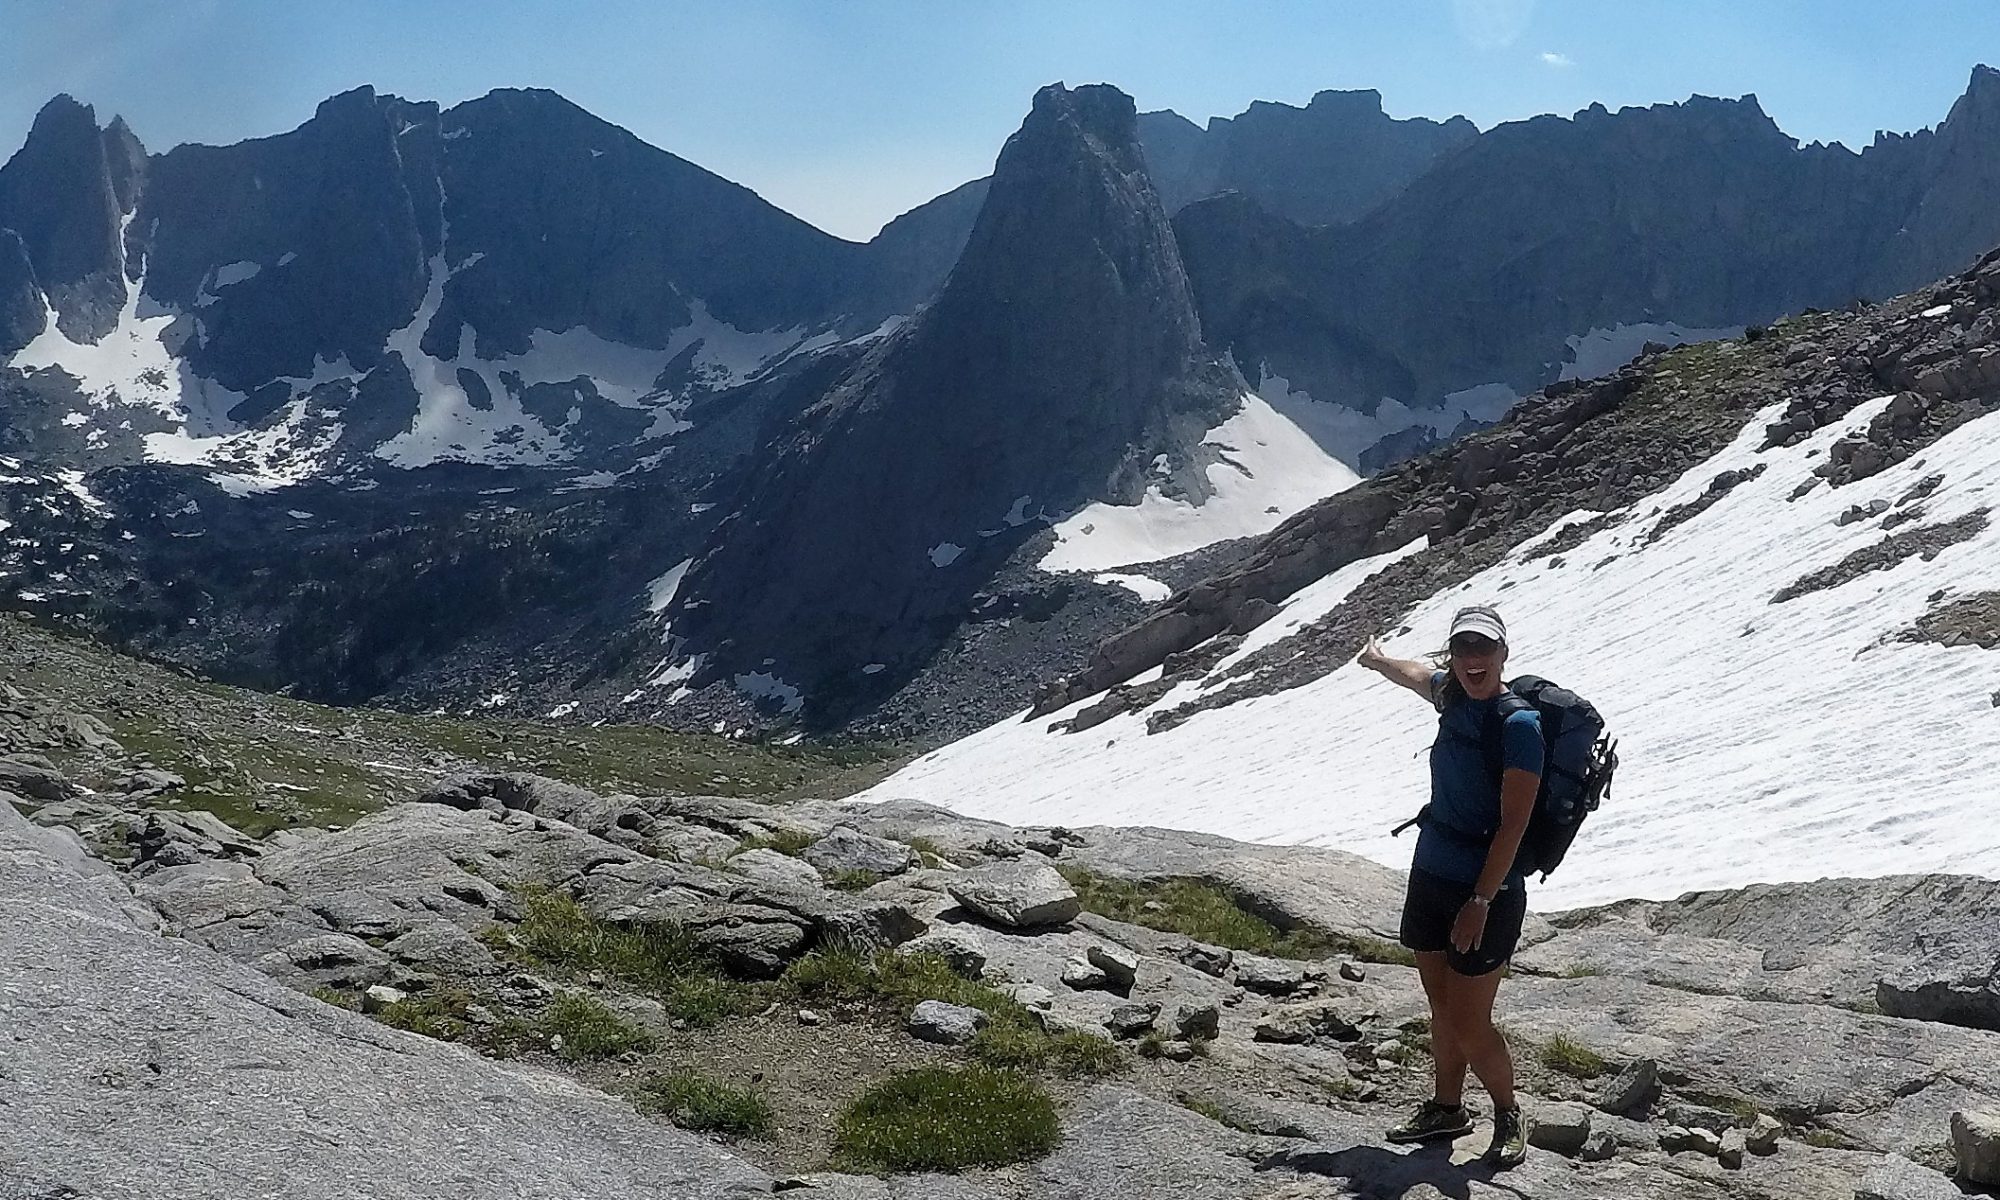
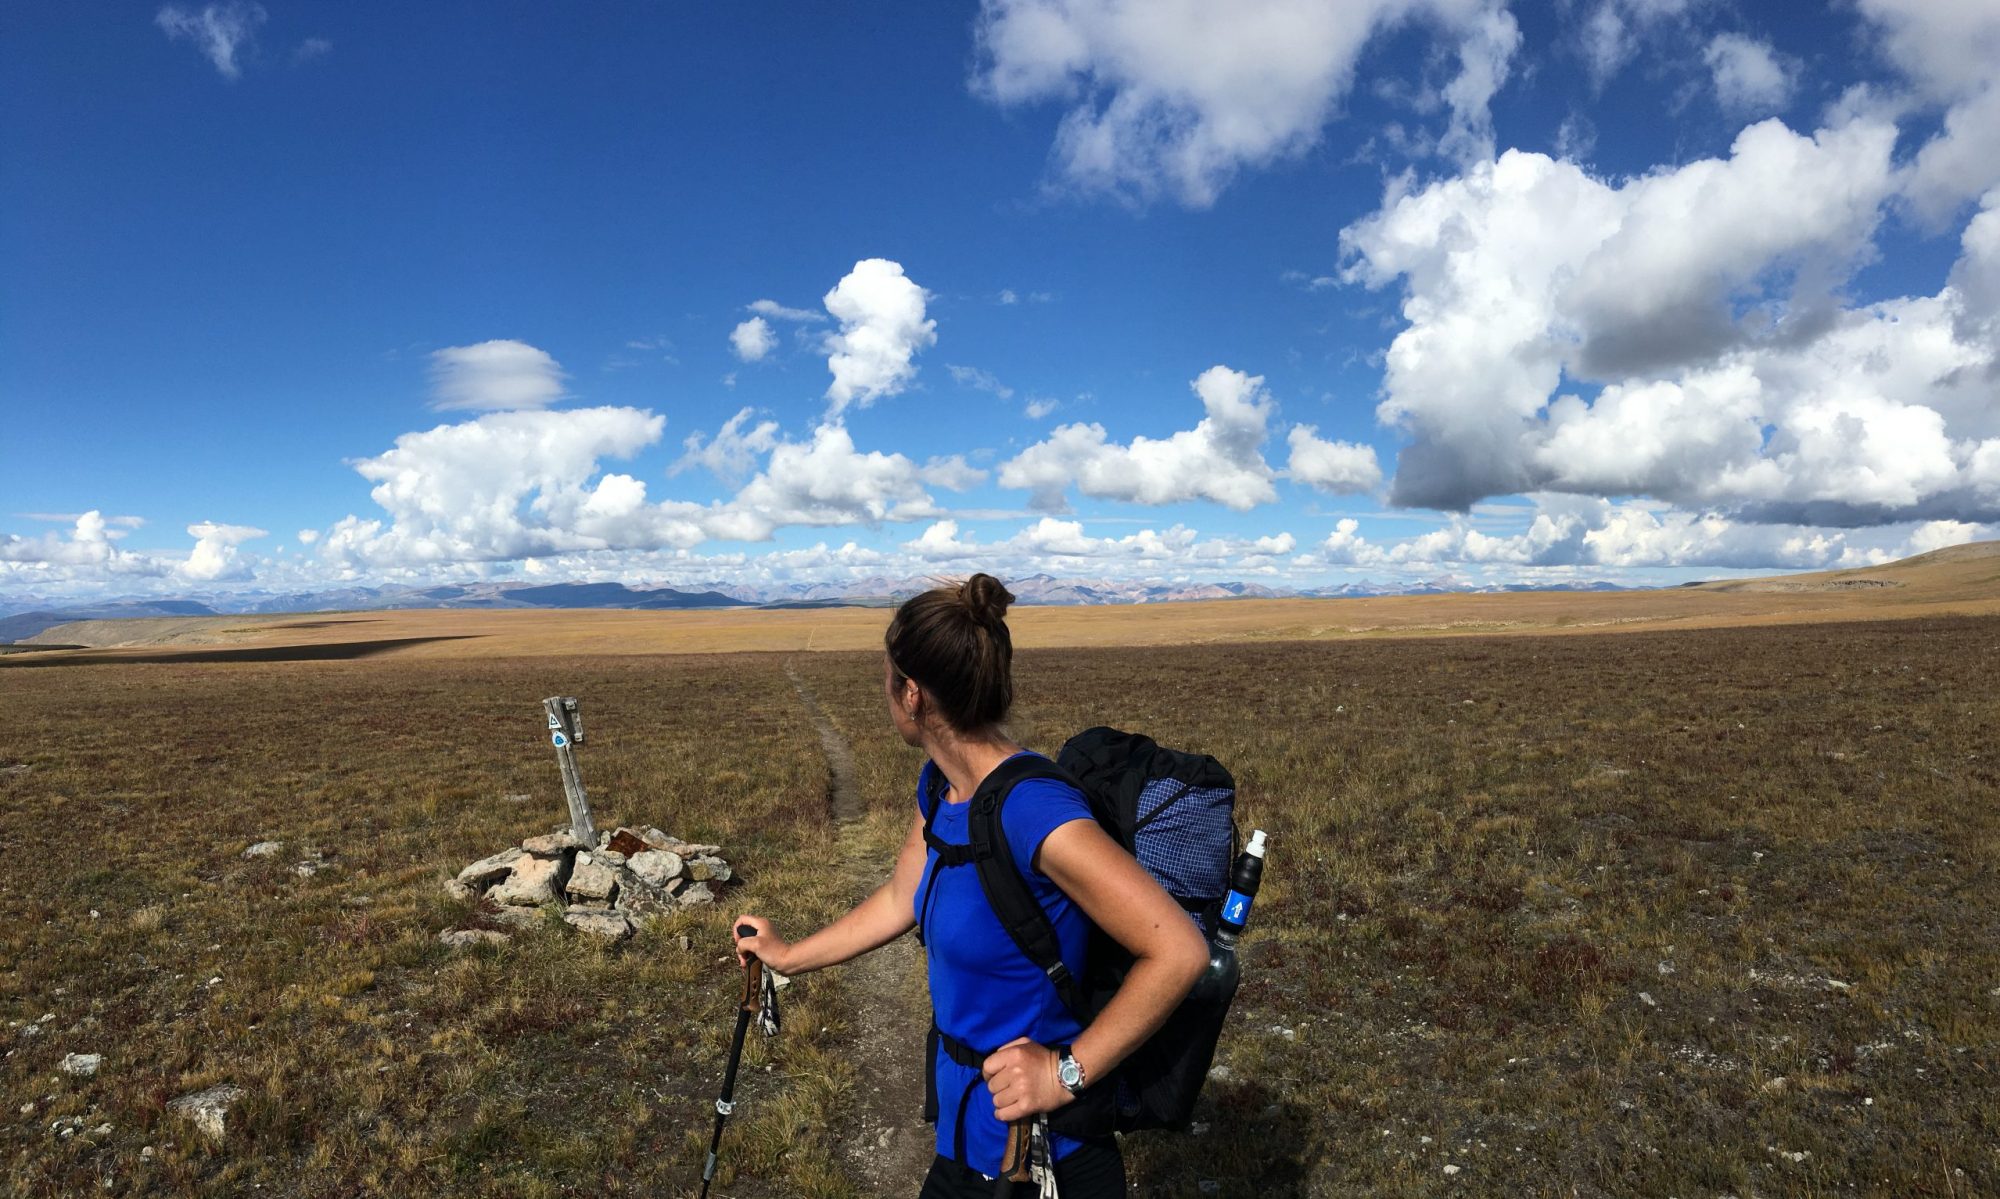
Let’s start with a quick story of an experience I had like this on the Oregon Desert Trail. We had just walked the remaining 7 miles into McDermitt, NV, arriving around 8am for what would be the closest day we’d have to a zero on this 750-mile route through the very sparsely populated region of eastern Oregon.

It’d been 10 days of 90-degree dusty desert hiking since we’d had a shower, and 6 days since we’d had any meals other than backpacking food. I was jonesing for some vegetables. I’d been dreaming of a big bowl of dark leafy greens with tomatoes, beets, walnuts, avocado, olive oil, and balsamic vinegar.

Alas, as much as I’d prayed to the desert gods for some real, healthy food, I knew I wasn’t going to find it here. McD is a ranching, farming, and mining town that straddles the NV/OR border. It consists of a motel, a cafe/casino, a PO, a high school, and an all-in-one gas station/market/convenience store. This was one of the few places I didn’t mail myself a resupply box on the ODT and I was immediately regretting it.

tiny town resupply
Veggies were sparse in McDermitt, NV.

After our first (of four) meals at the Say When Casino and Cafe, it was time to create our resupply for the next 5 days. We walked into the small gas station/market/c-store and I saw about 8 rows of packaged foods, some coolers of soda and beer, and a small stand of “fresh” produce (Hey, at least there’s some produce at all!). Time to get creative.

There are many such towns from which you may have to resupply, especially if you are going to hike any trails or routes off the beaten path. And especially if you decide to hike in one of the most remote regions of the country.

convenience store

How to Approach Eating for Optimal Health and Energy in a Tiny Town C-Store

First, accept that you’ll have to make some compromises, but don’t give up on the goal of healthy eating entirely! It may all look like junk, but some choices are better than others here. Let’s look more closely.

Don’t make the process overwhelming. The process is simple.

  • Make Your List

Until you get the hang of what items you need for a healthy resupply, and before going into the store, write a short list of ideas for breakfast/lunch/dinner/snacks/beverages. For efficiency and cost, choose items that can be used in multiple ways for different meals (like corn chips you’ll eat with PB for lunch and again with beans for dinner OR trail mix that can be added to oatmeal for breakfast or used as a stand alone snack). Keep your list general: nut butter, salami, breakfast bars, oatmeal, nut butter, etc. Be sure to have a mixture of flavors and textures as well as macronutrients (aiming for about 20% protein, 40% fat, 40% carb-or whatever feels best for your body).

  • Choose Your Food

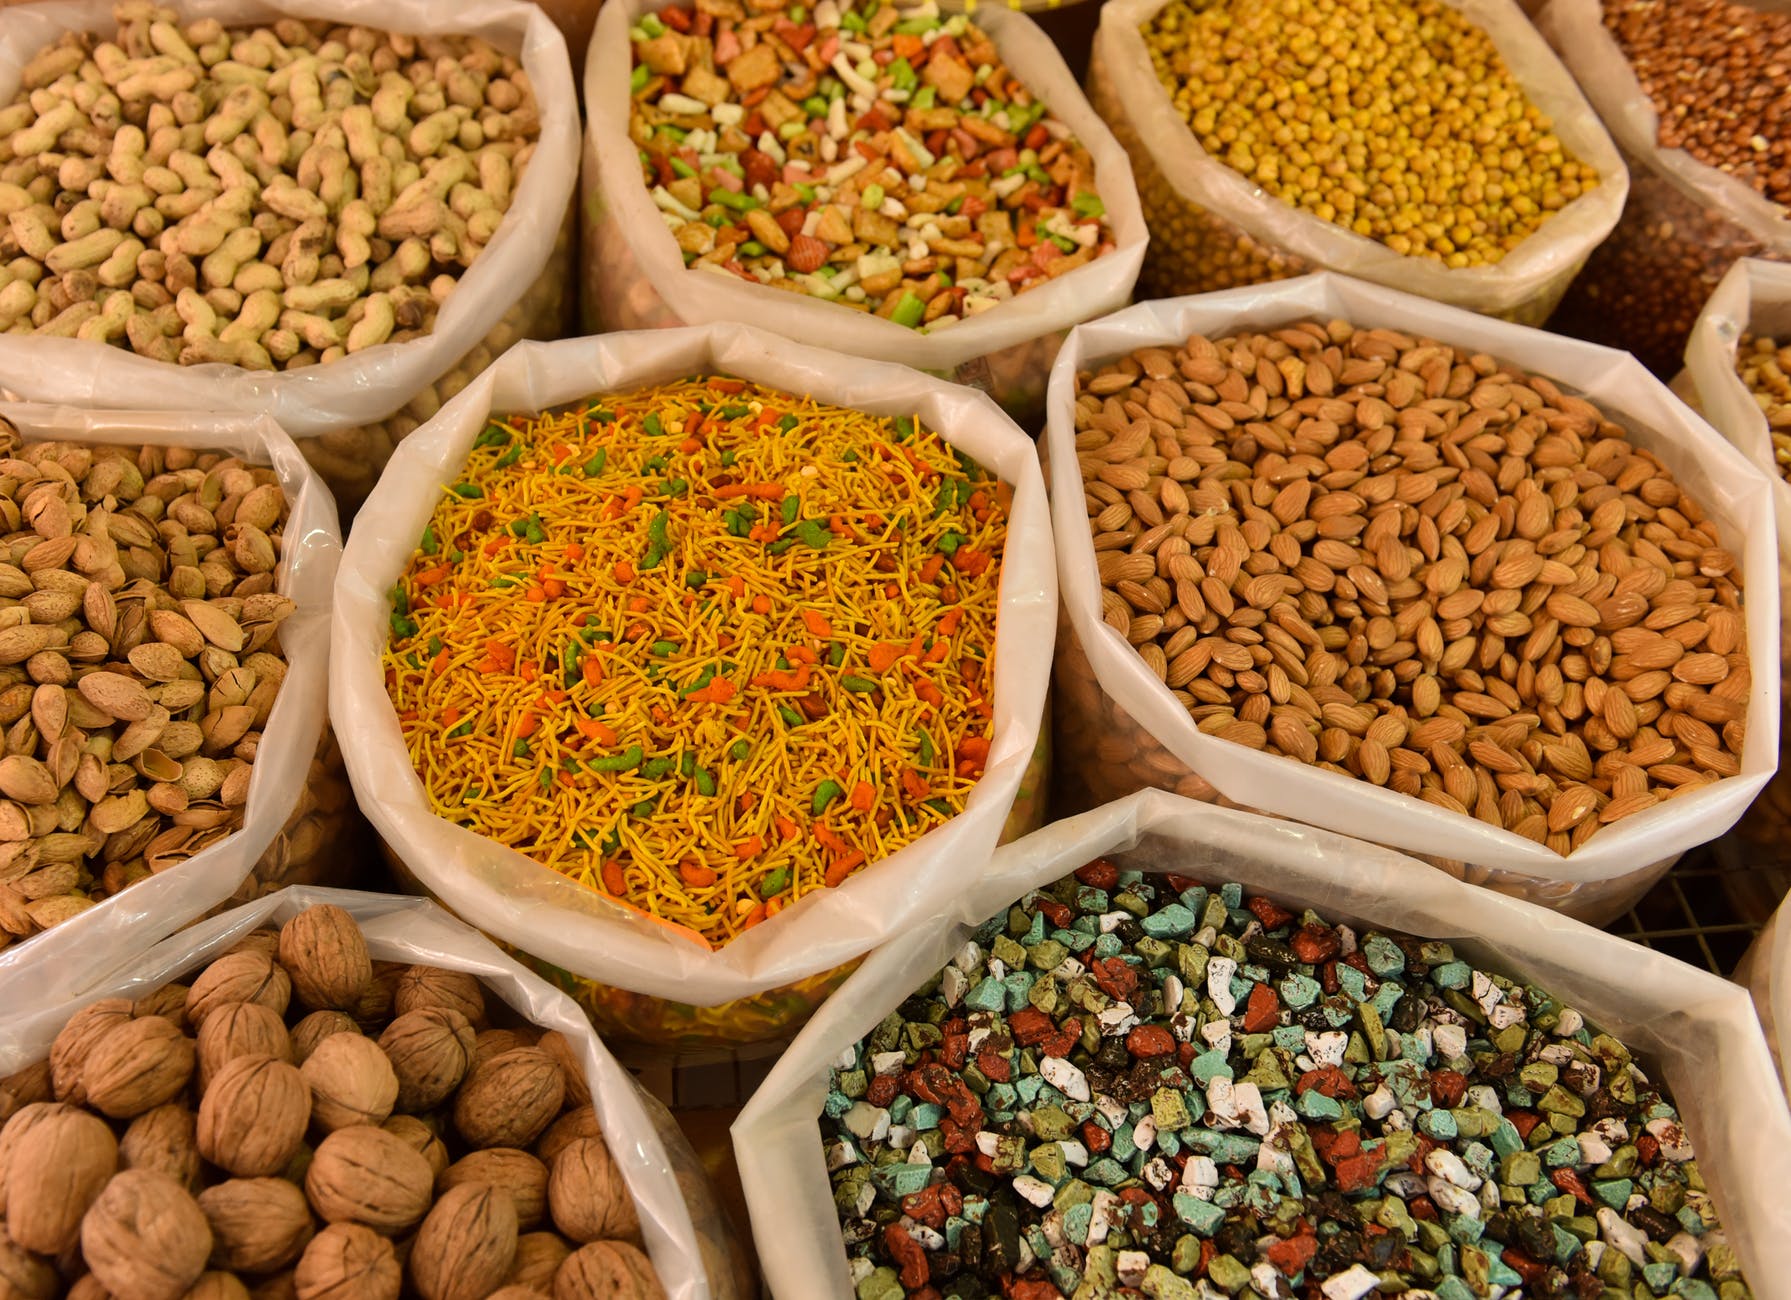
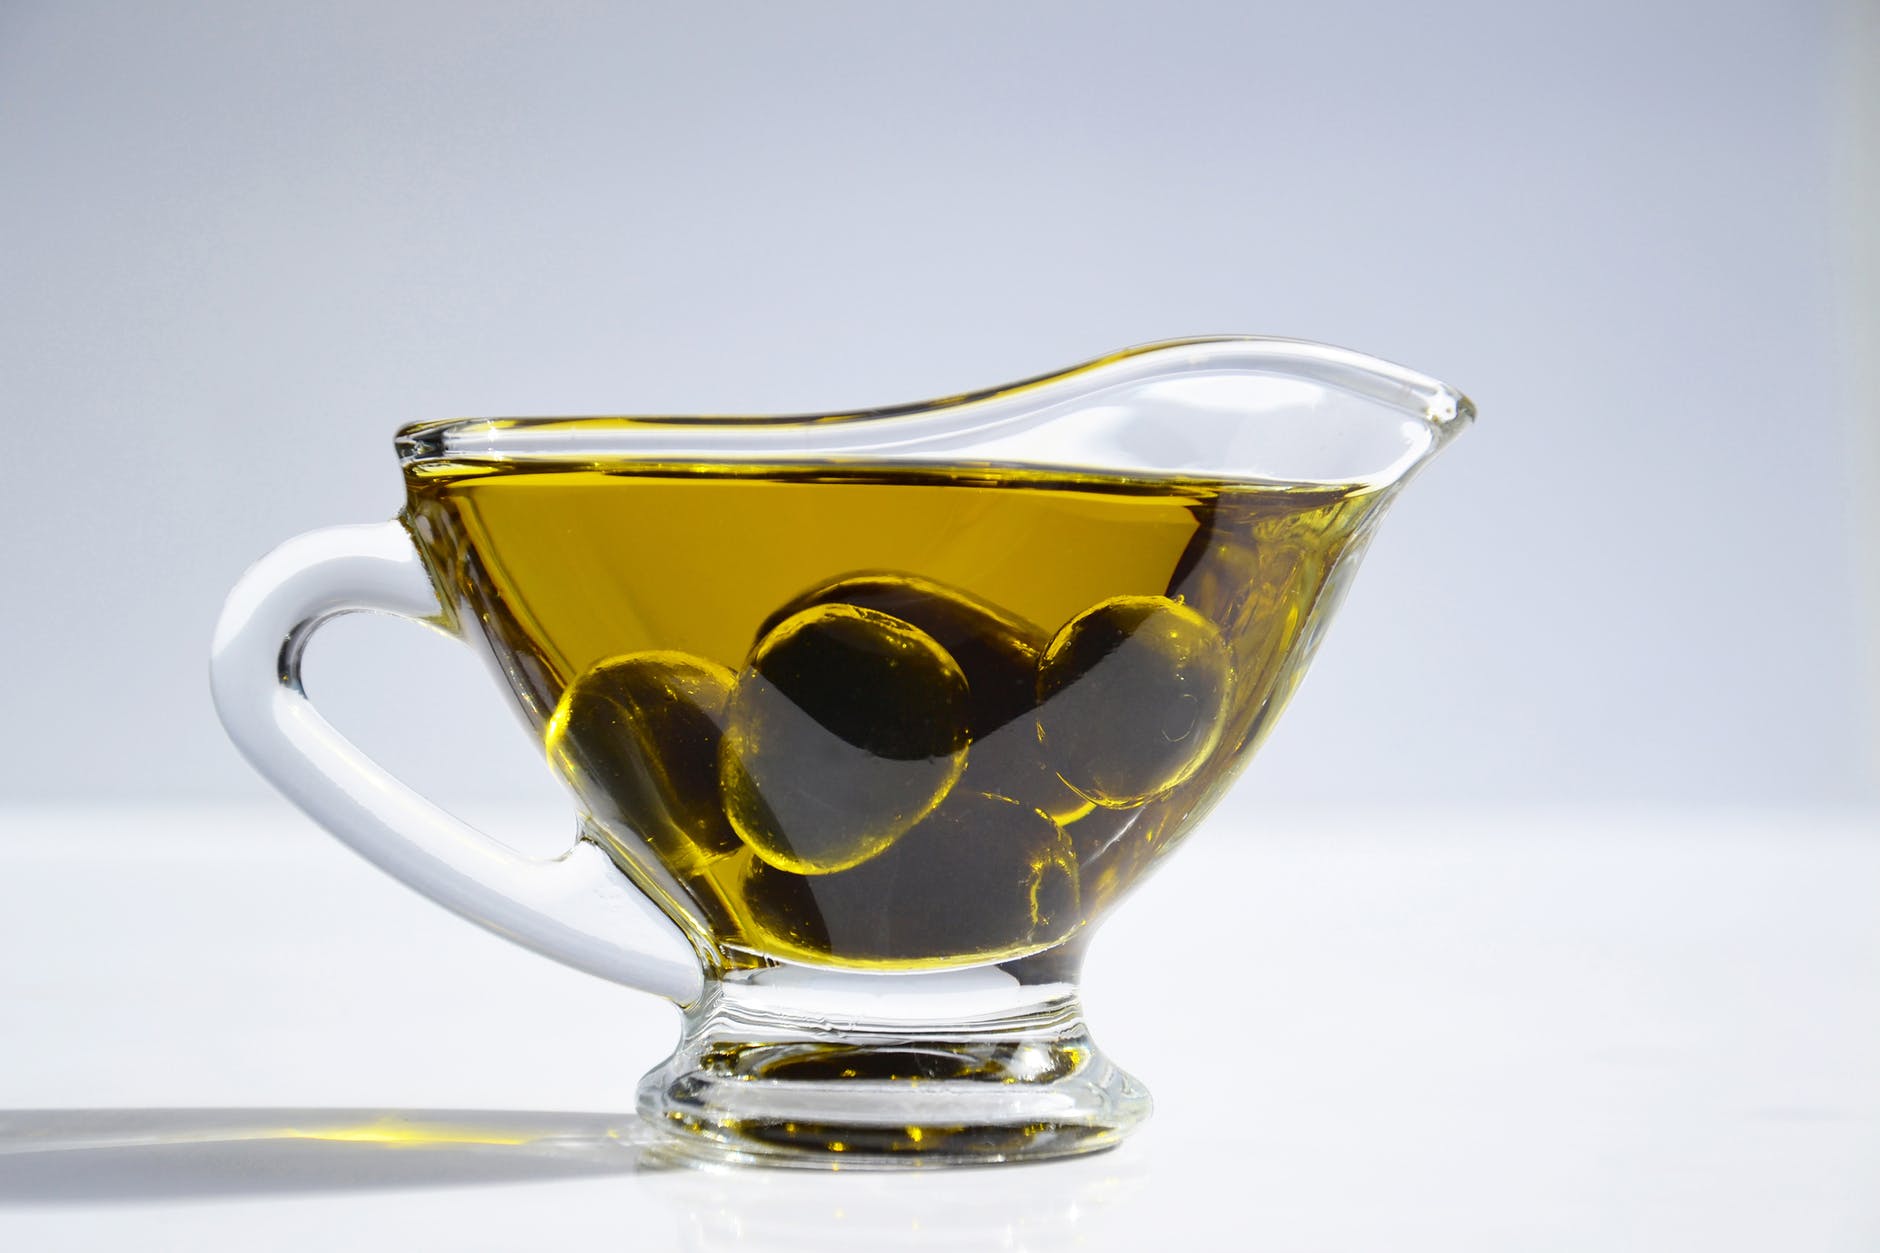
Browse the shelves. When you see an item from your list, you’ll likely see multiple different varieties (chips/pb/trail mixes/etc). Which to choose? Look at the ingredient label. You are looking for the least number of ingredients possible. You are also looking to avoid added industrial oils, preservatives, food colorings, and high fructose corn syrup when possible. Unfortunately, it’s not always possible in these tiny stores, but do your best. You are also looking for items in their most whole food/least processed form. Focus on proteins, healthy fats (olive oil, avocados, coconut oil, nuts), and low sugar carbs.

If there is a produce section, look for the freshest (not wilted or bruised), most nutrient-dense items to either pack out or eat before leaving town. Amazingly, many of these tiny places sell avocados (great for potassium, fiber, antioxidants). Bags of spinach or carrots are also widely available and easy to pack out.

  • Calculate Your Calories

Before leaving the store, use your phone calculator to quickly get an estimate of the calories. This takes less than 5 minutes and can help you avoid overspending on (and carrying) food you don’t need and/or assure you that you have enough if you’re feeling uncertain.

For the amount of calories you need each day, that will take a bit of experimentation, but use this calculator (or something similar) to get in the ballpark, and adjust from there depending on terrain, climate, and whether you’re losing a bunch of weight or not. Add up the calories in your basket and divide by the number of days you plan to be out. Voila. If you want to go above and beyond, calculate your macros to be sure you have the right ratios of fat, protein, and carbs. This would likely be easiest by entering the foods into a free app, such as MyFitnessPal.

tiny town healthy resupply

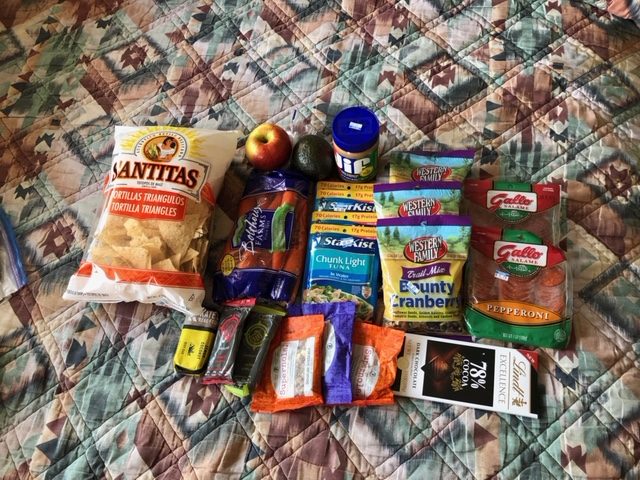
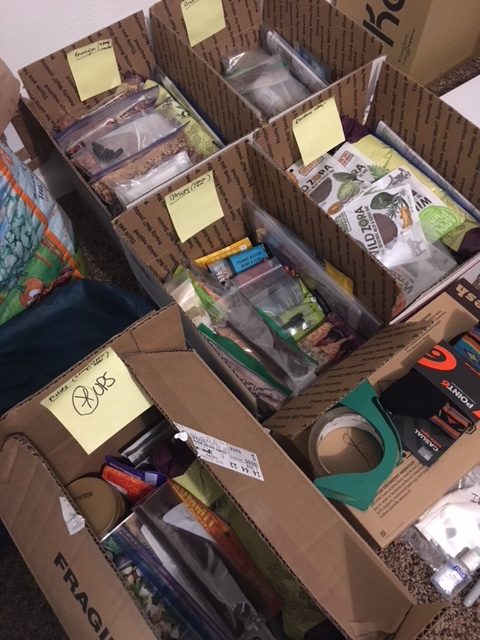
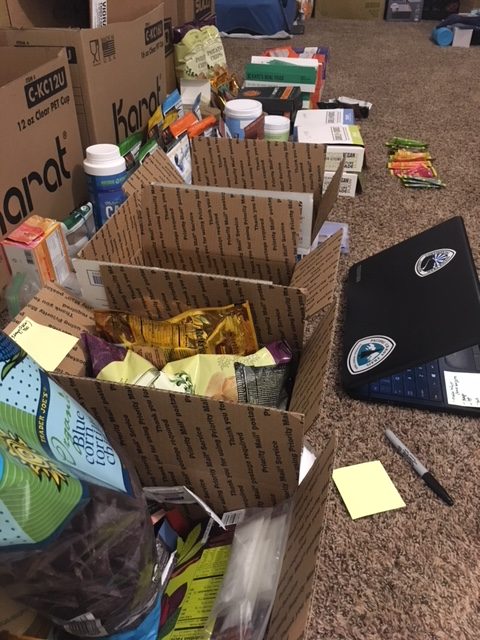
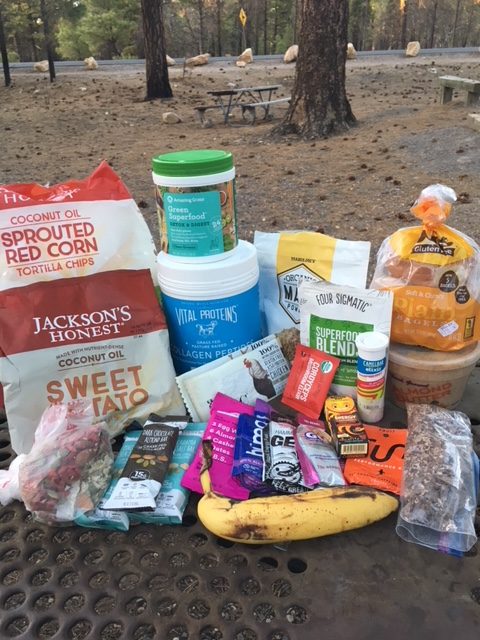
What I Chose in McD for my 5-Day Resupply

My calorie goal for 5 days early in the trip was about 11,500, or 2,300 per day. Here’s what I found in the convenience store. A couple items, where noted, were leftover from my last box, but these calories could have been substituted with other bars or trail mix or another avocado from the c-store.

1 lb bag Tortilla Chips=1500 calories

1 lb whole carrots=150 calories

1 large avocado=300 calories

1 apple=100 calories

Dehydrated Refried Beans=300 calories

2 Coconut Oil packets (leftover from my last resupply)=240 calories

3 coconut-greens-collagen smoothie mixes (leftover from last resupply)=600 calories

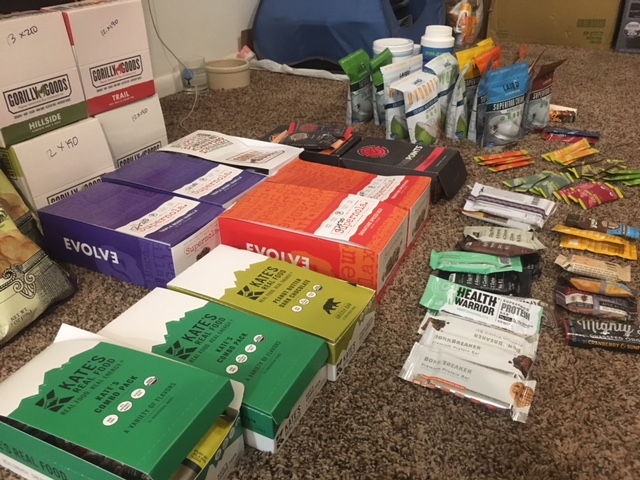
3 Kates/Fourpoints bars (leftover from last resupply)=900 calories

3 Granola packets (leftover from last resupply)=750 calories

4 tuna pouches=300 calories

1 lb peanut butter=2600 calories

3 bags of fruit/seed/nut trail mix=2300 calories

Chocolate Bar=600 calories

Pepperoni=800 calories

Salami=700 calories

Electrolyte drink mix=50 calories

Kombucha (drank in town)=80 calories

total= ~12,200 calories

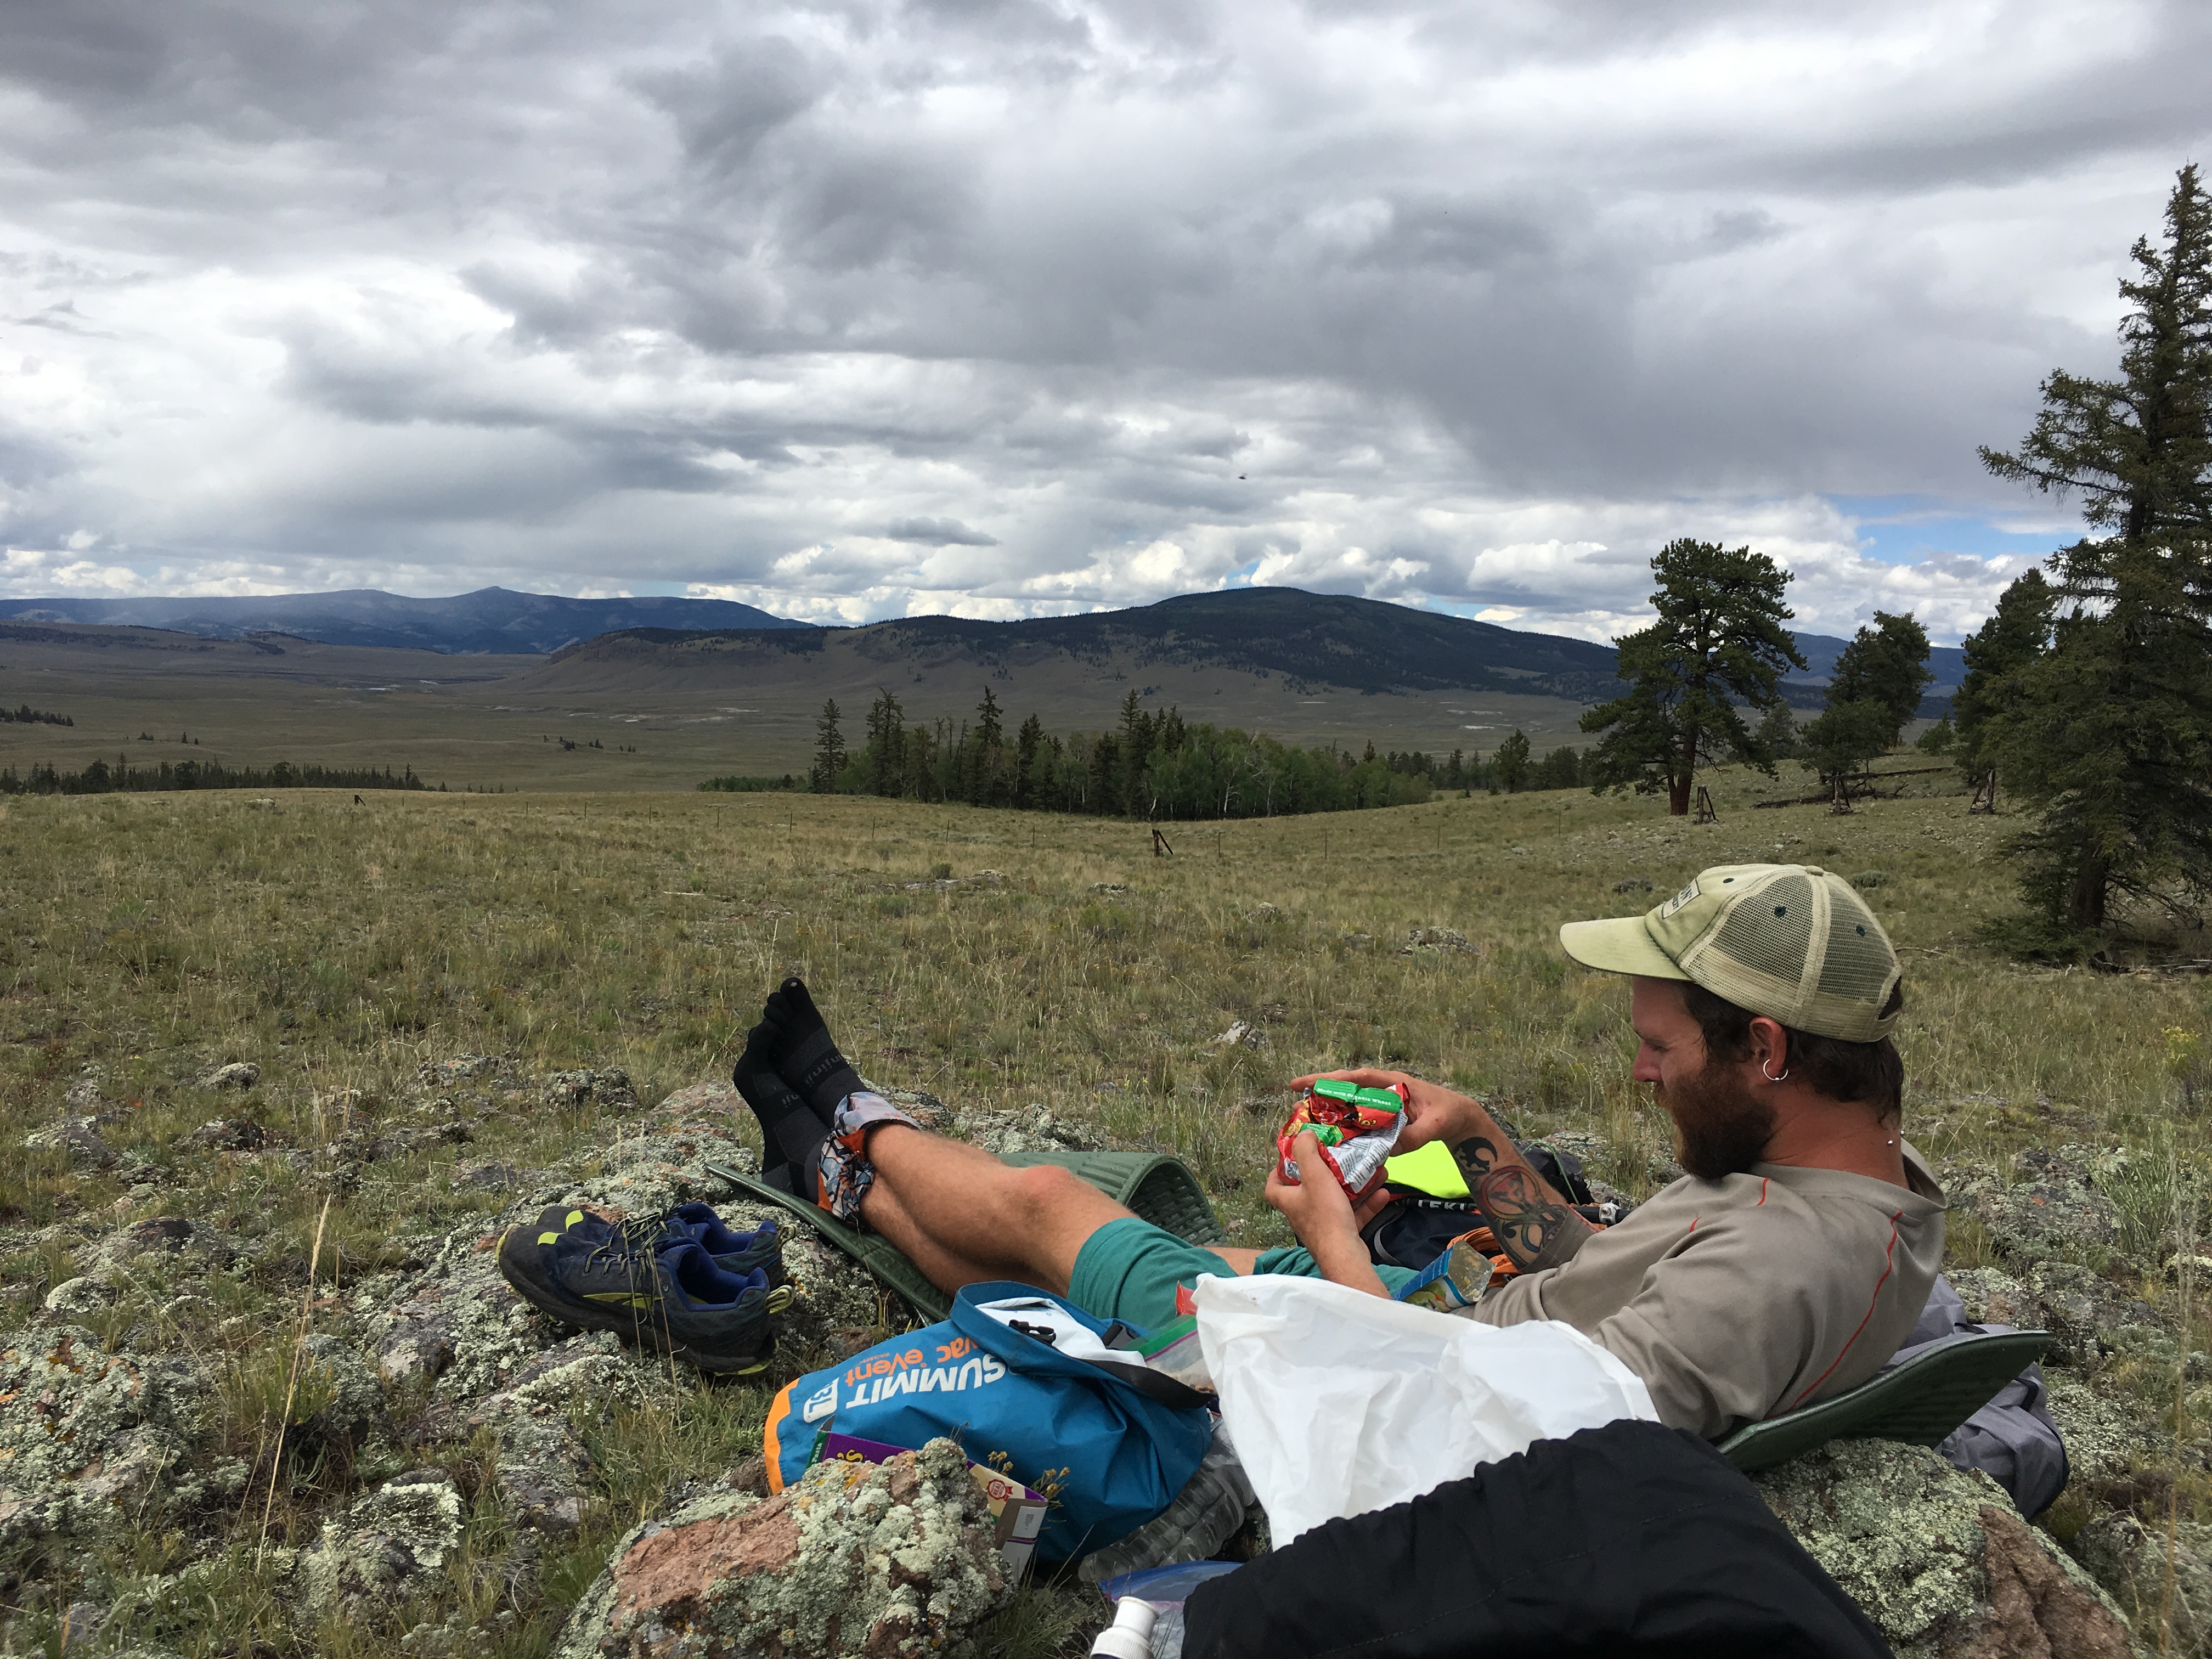
I usually pack just a little bit extra, such as a couple bars, for calories in case I’m hungrier than expected or take longer to reach the next town than expected.

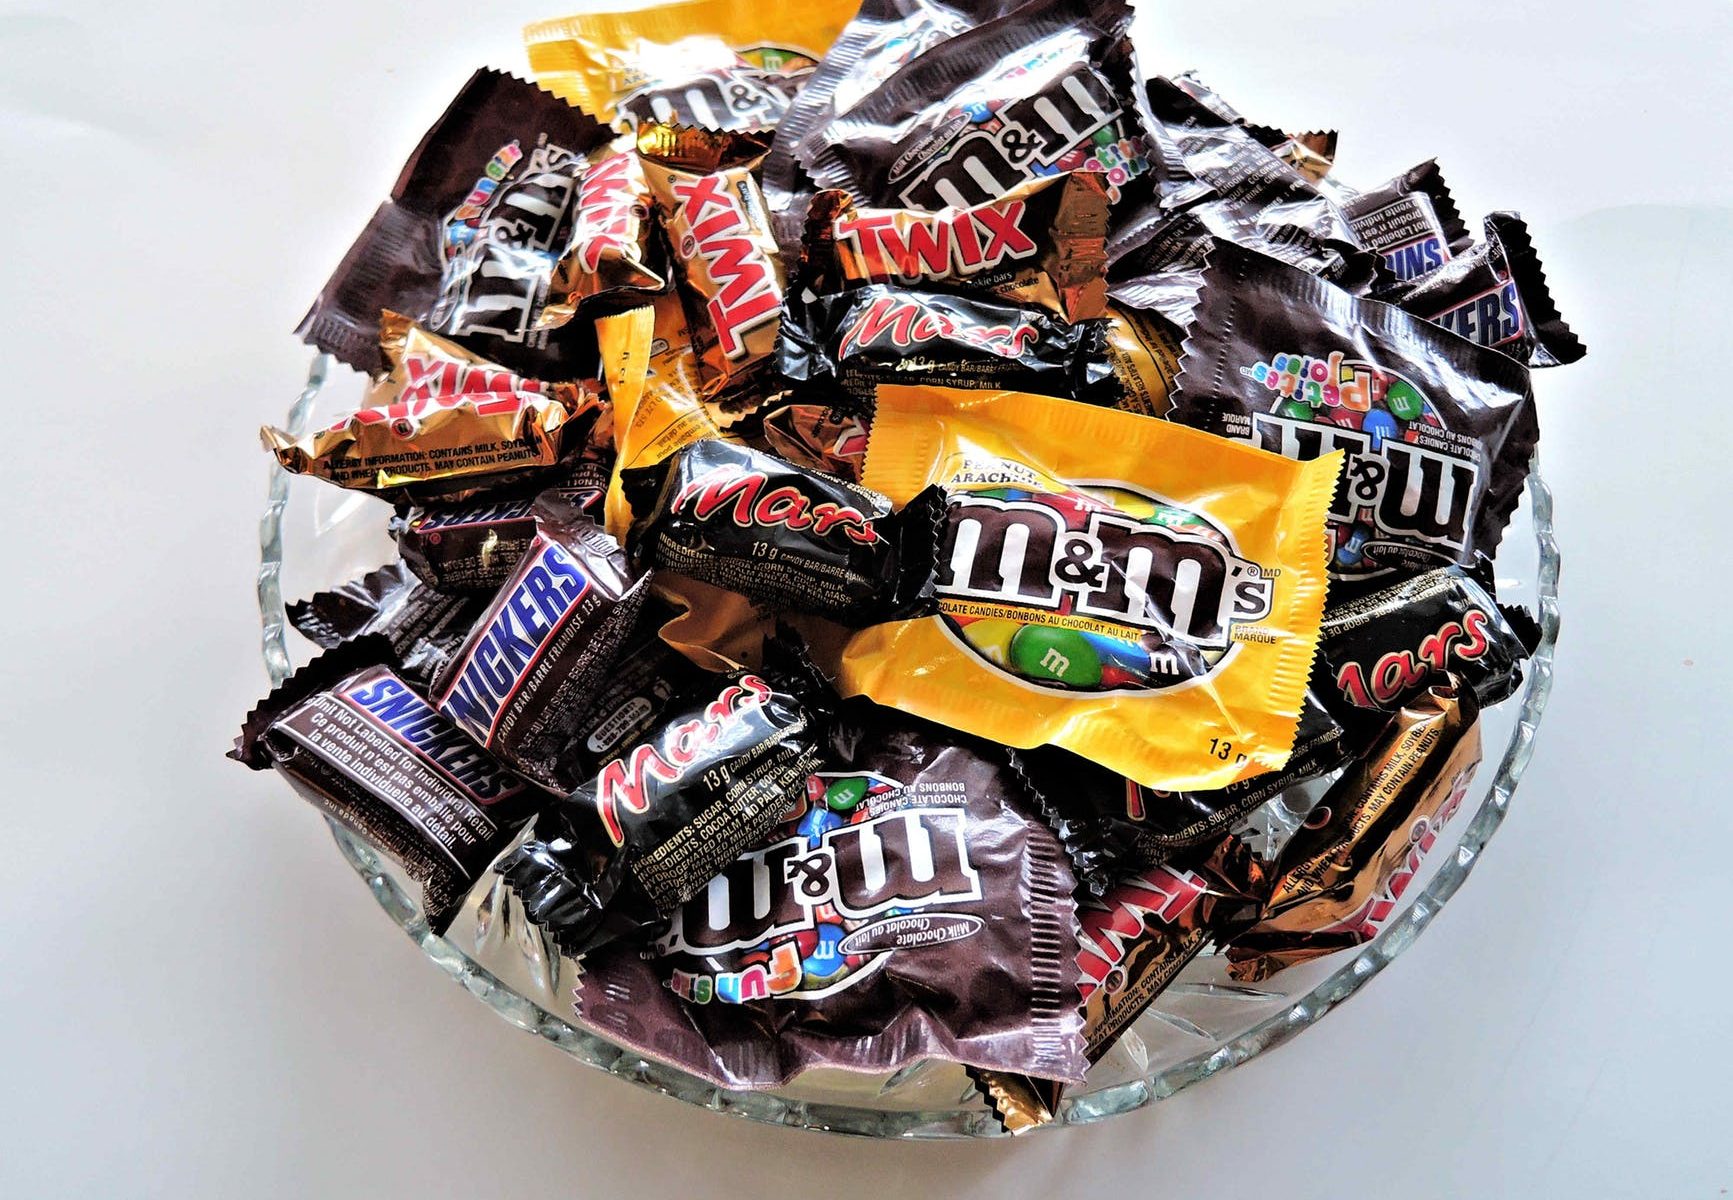
As you can see, it’s not ‘perfect’ in terms of being organic, super high quality food, but it covers my nutritional bases, and it’s far from the typical pop-tarts/snickers/doritos resupply that could be purchased from the same store.

Even when options are limited, you can still make good choices that will fuel you for optimal energy and endurance!

For a deep dive into performance nutrition and meal planning for backpackers, check out our online course on the topic.

Oregon Desert Trail Resupply Planning

ODT resupply

Food Resupply Plan for the Oregon Desert Trail

This post details how I planned my food for the Oregon Desert Trail. I’ll post more on general trail information and planning resources in a separate post. This one is all about where, what, and how much I planned for food resupply for the ODT. I’ll do a follow-up post when I return about how this plan worked out.

Grab a cup of coffee. This is a long one, but hopefully you’ll find it’s jam-packed with useful info.

The following table details where I sent each box, the calorie goals for each day, the specific food I sent, and how that broke down in term of macronutrients (percentages of fat, carbs, and protein), as well as total food weight carried.

The calorie goal for each resupply box is in the top left corner of the table for each location. The actual calories in the box are at the bottom of the table for each section, which is also where you’ll find the macro breakdown and the food weight of the box.

ODT resupply

Determining Goal Calorie Intake

I loosely track daily calories and nutrients with the app MyFitnessPal. To create my calorie goals, I used that data of my current intake and expenditure, coupled with knowledge from previous hikes.

The numbers may seem low considering that I’m 5’7″, have a normal BMI, and I’ll be hiking 25-30 miles per day. However, I made them low for a couple reasons:  1) I’m still recovering from a hypo-thyroid issue, and the thyroid is the master regulator of metabolism, so my current basal metabolic rate (BMR) is lower than it has been in the past. I know this because I track my calorie intake and weight. While some might consider the downside of this being that ‘I have to’ eat less food to maintain my weight, the upside of a currently lower BMR is that ‘I get to’ eat less food to maintain my weight. That’s convenient when you’re backpacking and you have to carry it all on your back 🙂 And reason 2) The time frame (30 days) is relatively short, so I won’t get into full on hiker hunger, and if I do go into a calorie deficit, it won’t be for long.  You’ll also notice that in each box I include several hundred additional calories above the goal amount, just in case.

Macronutrient Percentages

Let’s start by saying that I strongly believe in bio-individuality. Every body is different. Figure out what works best for you. I mean that in terms of both what your diet is made up of, as well as in terms of calories and macronutrients, and in terms of specific foods you do or do not tolerate well. Food quality and a focus on whole foods is the constant and the details are variable.

I’ve found that I thrive when I eat a diet higher in healthy fats, moderate in protein, and slightly lower in carbs. The numbers in this chart show my diet as generally being 50-60% fat, 10-20% protein, and 30-40% carbohydrate. Off trail, the fat number tends to be higher and the carbs lower, but this is how it settled out for the trail and I’m comfortable with that. We’ll see how I feel.

Also, I’m aware that in the table, the macro percentages don’t always add up to 100%. In a couple spots they add up to 102 or 105%. I believe this is due to averaging values for different varieties/flavors of granola, bars, etc. While this is not ideal, the data is still accurate enough to give a good reflection of what the nutritional spread looks like.

Food Planning on a ‘Restricted Diet’ while Going Stoveless

All foods in this resupply plan are gluten free and dairy free. This list does also not rely heavily on grains or added sugars, though there are a few in there. The focus is on including real foods with either no ingredient list or very short ingredient lists made up of recognizable foods. To avoid toxin exposure, most of these foods are organic.

I firmly believe in doing the best you can, and not obsessing about being perfect. While I’m all for eating a high-quality diet on trail, don’t let the idea overwhelm you to the point where you give up before you start. Start where you’re at and any small improvements you can make in food choices and quality will translate into feeling better on trail and supporting a cleaner environment.

Supplements & Other Items in Each Box

There are a few items that went into each box that aren’t listed in the chart. This includes maps for each section, wet wipes, and supplements. Oh, and resupply baggies of coarse celtic sea salt 🙂

Supplements I’m carrying: Magnesium Citrate Powder to help with muscle relaxation and sleep; Turmeric capsules to reduce overall inflammation; Vitamin C for electrolyte replacement and antioxidants; and probiotics to maintain optimal gut health.  Not a ton, just the basics.

I also have cordyceps mushroom powder in my morning smoothie mix, along with the coconut creamer, collagen, chia, and spices. The cordyceps is for improved oxygen utilization and endurance. The spices, while not necessarily  supplements, serve similar anti inflammatory and medicinal roles.

For a deep dive into performance nutrition and meal planning for backpackers, check out our online course on the topic.

ODT resupply

Specific Brands I Carried

In the table, I left most food descriptions fairly general because I want to convey that in many instances you don’t have to choose one specific brand, and you can often find healthy substitutions that are either more available to you or suit your preferences better. I want the focus to be on the overall quality of the food and the idea that you can fuel a long distance hike with whole foods, made up of real ingredients.

The following are the specific brands I carried on this hike. While some of this food was donated to me, these are all brands I had tried in advance and approve of the ingredients and nutrition profile. Trust me, I wouldn’t be carrying them if I wasn’t certain they would fuel my hike properly. Having gone through adrenal and thyroid issues in the past, I’m well aware that my energy and my body are my greatest asset on any long distance hike.

It’s worth it to me to be thoughtful in my food choices, as well as in what brands I support. I like to feel aligned with the brands behind the products I consume to the extent that I can. This also goes for the gear I purchase.

Laird Superfood Coconut Creamer

Laird Superfood Hydrate Coconut Water

Vital Proteins Collagen Powder

Amazing Grass Greens Powder

Nutiva Chia Seeds

Trader Joe’s Almond Butter

Trader Joe’s Organic Tortilla Chips

Supernola Granola

Gorilly Goods Trail Mix

Wild Zora Meat & Veggie Bar

Trader Joe’s 85% Cocoa Chocolate

Wild Zora Meals

Sante Fe Dehydrated Beans

Natural Grocers Dehydrated Bulk Veggies

Trader Joe’s Individual Coconut Oil Packets

Kate’s Real Food Bars

Four Points Bars

Trail Nuggets

Cusa Premium Organic Instant Tea

If you want ideas for additional foods on my shopping list beyond what’s listed here, download my free Healthy Hiker Grocery Guide here

Without further ado, the data…

calories/serving fat g/serving carb g/serving protein g/serving weight/ serving (grams) servings taken total calories total fat (g) total protein (g) total carbs (g) total weight (g)
Start/eastern terminus (5 days) @ 2000 cal/day = 10000 cal
coffee/tea 0 0 0 0 0 0 0 0 0 0 0
laird superfood creamer 75 3 3 0 4 5 375 15 0 15 20
greens powder, cinnamon, ginger, cordyceps 30 5 7 1 10 5 150 25 5 35 50
collagen powder 70 2.5 1 10 15 5 350 12.5 50 5 75
chia seeds (1 tbl) 60 5 5 3 13 5 300 25 15 25 65
almond butter 190 17 7 7 32 14 2660 238 98 98 448
organic corn tortilla chips 140 8 15 2 28 8.5 1190 68 17 127.5 238
trail mix 200 17 6 12 34 6 1200 102 72 36 204
granola 210 16 14 6 42 4 840 64 24 56 168
bars 260 12 31 10 70 4 1040 48 40 124 280
chocolate 250 20 13 4 2.5 625 50 10 32.5 0
jerky 110 6 10 7 31 4 440 24 28 40 124
beans 130 0 24 7 35 6 780 0 42 144 210
mixed veg 30 1 8 3 13 5 150 5 15 40 65
coconut oil 120 14 0 0 15 4 480 56 0 0 60
spices 0 0 0 0 0 0 0 0 0 0 0
wild zora dinner 310 7 38 35 85 1 310 7 35 38 85
TOTAL 9715 662 381 736 4.20
Calories from F/C/P 5958.00 1524 2944 pounds
Percent of Total 61.33 15.69 30.30
ROME (5.5 days) @ 2200/day =12,000 cal
coffee/tea 0 0 0 0 0 0 0 0 0 0 0
laird superfood creamer 135 3 3 0 4 5 675 15 0 15 20
chia seeds (1 tbl) 60 5 5 3 13 5 300 25 15 25 65
greens powder, cinnamon, ginger, cordyceps 30 5 7 1 10 5 150 25 5 35 50
collagen powder 70 2.5 1 10 15 5 350 12.5 50 5 75
hydrate mix 40 0 10 0 12 9 360 0 0 90 108
0
almond butter 190 17 7 7 32 14 2660 238 98 98 448
organic corn tortilla chips 140 8 15 2 28 8.6 1204 68.8 17.2 129 240.8
granola 200 16 14 6 42 6 1200 96 36 84 252
jerky 110 6 10 7 31 4 440 24 28 40 124
bars 260 12 31 10 70 8 2080 96 80 248 560
trail mix 210 17 6 12 34 6 1260 102 72 36 204
chocolate 250 20 13 4 2.5 625 50 10 32.5 0
0
wild zora dinner 340 2 32 41 85 1 340 2 41 32 85
beans 130 0 24 7 35 6 780 0 42 144 210
mixed veg 30 1 8 3 13 5 150 5 15 40 65
coconut oil 120 14 0 0 15 4 480 56 0 0 60
spices 0 0 0 0 0 0 0 0 0 0 0
TOTAL 13054 815.3 509.2 1053.5 5.73
Calories from F/C/P 7337.70 2036.8 4214 pounds
Percent of Total 56.21 15.60 32.28
(MCDERMITT: BUY IN TOWN)
FIELDS (3 days) @ 2500 cal/day =7500 cal
coffee/tea 0 0 0 0 0 0 0 0 0 0 0
laird superfood creamer 75 3 3 0 4 3 225 9 0 9 12
greens powder, cinnamon, ginger, cordyceps 30 5 7 1 10 3 90 15 3 21 30
collagen powder 70 2.5 1 10 15 3 210 7.5 30 3 45
chia (1 tbl) 60 5 5 3 13 3 180 15 9 15 39
0 0 0 0
almond butter 190 17 7 7 32 14 2660 238 98 98 448
potato chips 140 7 17 2 28 7 980 49 14 119 196
bars 260 12 31 10 70 3 780 36 30 93 210
trail mix 210 17 6 12 34 4 840 68 48 24 136
granola 210 16 14 6 42 2 420 32 12 28 84
jerkey 110 6 10 7 31 3 330 18 21 30 93
0 0 0 0
wild zora meal 310 2 32 41 85 1 310 2 41 32 85
beans 130 0 24 7 35 6 780 0 42 144 210
mixed veg 30 1 8 3 13 5 150 5 15 40 65
coconut oil 120 14 0 0 15 4 480 56 0 0 60
spices 0 0 0 0 0 0 0 0 0 0 0
TOTAL 8435 550.5 363 656 3.82
Calories from F/C/P 4954.50 1452 2624 pounds
Percent of Total 58.74 17.21 31.11
FRENCHGLEN (4 days) @2500 cal/day =10,000 cal
coffee/tea 0 0 0 0 0 0 0 0 0 0 0
laird superfood creamer 75 3 3 0 4 5 375 15 0 15 20
greens powder, cinnamon, ginger, cordyceps 30 5 7 1 10 5 150 25 5 35 50
collagen powder 70 2.5 1 10 15 5 350 12.5 50 5 75
chia (1 tbl) 60 5 5 3 13 5 300 25 15 25 65
0 0 0 0
almond butter 190 17 7 7 32 14 2660 238 98 98 448
potato chips 100 7 17 2 28 10 1000 70 20 170 280
trail mix 210 17 6 12 34 5 1050 85 60 30 170
granola 200 16 14 6 42 4 800 64 24 56 168
bars 250 12 31 10 70 8 2000 96 80 248 560
chocolate 250 20 13 4 2.5 625 50 10 32.5 0
jerky 110 6 10 7 31 3 330 18 21 30 93
0 0 0 0
wild zora dinner 370 8 33 36 85 1 370 8 36 33 85
beans 130 0 24 7 35 6 780 0 42 144 210
mixed veg 30 1 8 3 13 5 150 5 15 40 65
coconut oil 120 14 0 0 15 4 480 56 0 0 60
spices 0 0 0 0 0 0 0 0 0 0 0
TOTAL 11420 767.5 476 961.5 5.24
Calories from F/C/P 6907.50 1904 3846 pounds
Percent of Total 60.49 16.67 33.68
PLUSH (2 days) @ 2500 cal/day = 5000 cal
coffee/tea 0 0 0 0 0 0 0 0 0 0 0
laird superfood creamer 75 3 3 0 4 5 375 15 0 15 20
greens powder, cinnamon, ginger, cordyceps 30 5 7 1 10 5 150 25 5 35 50
collagen powder 70 2.5 1 10 15 5 350 12.5 50 5 75
chia (1 tbl) 60 5 5 3 13 5 300 25 15 25 65
0 0 0 0
wild zora breakfast 520 36 43 10 92 1 520 36 10 43 92
trail mix 210 17 6 12 34 4 840 68 48 24 136
granola 200 16 14 6 42 4 800 64 24 56 168
bars 250 12 31 10 70 10 2500 120 100 310 700
jerky 110 2 220 0 0 0 0
nut butter 180 14 8 9 32 1 180 14 9 8 32
wild zora dinner 370 8 33 36 85 1 370 8 36 33 85
TOTAL 6605 387.5 297 554 3.18
Calories from F/C/P 3487.50 1188 2216 pounds
Percent of Total 52.80 17.99 33.55
(LAKEVIEW: BUY IN TOWN)
PAISLEY (2 days) @ 2500 cal/day = 5000 cal
coffee/tea 0 0 0 0 0 0 0 0 0 0 0
laird superfood creamer 75 3 3 0 4 5 375 15 0 15 20
greens powder, cinnamon, ginger, cordyceps 30 5 7 1 10 5 150 25 5 35 50
collagen powder 70 2.5 1 10 15 5 350 12.5 50 5 75
choc coconut creamer 35 1 2 0 3 12 420 12 0 24 36
wild zora breakfast 520 38 40 11 92 1 520 38 11 40 92
trail mix 200 17 6 12 34 4 800 68 48 24 136
granola 200 16 14 6 42 4 800 64 24 56 168
bars 260 12 31 10 70 10 2600 120 100 310 700
jerkey 110 6 10 7 31 2 220 12 14 20 62
wild zora dinner 340 7 38 35 85 1 340 7 35 38 85
TOTAL 6575 373.5 287 567 3.18
Calories from F/C/P 3361.50 1148 2268 pounds
Percent of Total 51.13 17.46 34.49
CHRISTMAS VALLEY (4 days) @ 2500 cal/day=10,000
coffee/tea 0 0 0 0 0 0 0 0 0 0 0
laird superfood creamer 75 3 3 0 4 5 375 15 0 15 20
greens powder, cinnamon, ginger, cordyceps 30 5 7 1 10 5 150 25 5 35 50
collagen powder 70 2.5 1 10 15 5 350 12.5 50 5 75
choc coconut creamer 35 1 2 0 3 12 420 12 0 24 36
almond butter 190 17 7 7 32 14 2660 238 98 98 448
potato chips 100 7 17 2 28 10 1000 70 20 170 280
trail mix 200 17 6 12 34 6 1200 102 72 36 204
bars 260 12 31 10 70 7 1820 84 70 217 490
chocolate 250 20 13 4 2.5 625 50 10 32.5 0
jerky 110 6 10 7 31 5 550 30 35 50 155
beans 130 0 24 7 35 6 780 0 42 144 210
mixed veg 30 1 8 3 13 5 150 5 15 40 65
coconut oil 120 14 0 0 15 4 480 56 0 0 60
spices 0 0 0 0 0 0 0 0 0 0 0
TOTAL 9685 647 362 811.5 4.35
Calories from F/C/P 5823.00 1448 3246 pounds
Percent of Total 60.12 14.95 33.52

Despite my best efforts, this chart is a bit difficult to read. For a copy of the chart, as well as a template for your own resupply planning, click here: ODT resupply.

Questions? Post them in the comments below.

Need help planning your own resupply? Learn more here.

Coconut Walnut Cookies

coconut walnut cookies

I don’t eat many cookies, but when I do, I’m looking for high fat, low sugar snacks that pack well for long days in the mountains.

I’ve been hiking 14ers a lot on the weekends this summer and keeping a batch of these coconut walnut cookies in the freezer has been key to getting me out the door quickly with healthy fuel in tow. I throw a few of these in my food bag, along with some nuts, and I’m out the door. I like knowing that I have a clean, home-made snack that’s going to fuel me for the day. No more processed, sugary, chewy bars.

coconut walnut cookies

These cookies can be whipped up in about 30 minutes, including bake time, and they are gluten free and dairy free. The high fat content keeps me satiated on long hikes.

They are definitely less sweet than your average cookie, having just a hint of sweetness from the honey. In addition to the high fat content, the cinnamon also adds a blood sugar balancing effect. The sea salt on top replaces minerals lost through sweat and, well, it just tastes delicious. I like to have big chunks of walnuts in mine, but you could grind the walnuts to a finer consistency. Alternatively, you could substitute other nuts or seeds there.

I believe I found the original version of these on a keto forum and then adjusted it to suit my needs. If anyone knows the original source, please feel free to comment below.

coconut walnut cookie

Coconut Walnut Cookies

1/3 cup hemp seeds

1/2 cup shredded coconut, unsweetened

3 large eggs

1/2 cup coconut flour (or almond flour)

1/4 cup coconut oil, melted (or ghee or grass-fed butter)

2 teaspoons cinnamon (or pumpkin pie spice mix)

1/2 cup walnuts, toasted, chopped

1/8 teaspoon himalayan salt

1/8 cup honey

Mix all ingredients together in mixing bowl. Portion 1-2 Tablespoon size balls onto a parchment-lined cookie sheet. Top with coarse sea salt.

Bake at 325*F for 12-15 minutes, until lightly golden brown.

cookie batter

cookies

How to Eat Healthy on a Thru-Hike

hiker eating

Of the many tasks hikers must think about before a long distance hike, food is at the top of the list.

Where will you resupply? How much food will you need? What will you eat? How do you choose which food to carry?

Either because they see no other option or because they don’t see the benefits of choosing healthier foods, many hikers settle on the standard diet of highly-processed packaged foods by default.

In this video, I give you a glimpse into what a sample day of eating might look like on trail for hikers who prefer simple to prepare, whole food options for increased energy, faster recovery, and better endurance.

Like this? Sign up for my bi-weekly newsletter and be the first to know when new posts come out!

Trail Food Makeover: How to Eat for Optimal Energy & Endurance

Besides gear, there are few other topics hikers like to discuss as much as food. The ins and outs of resupplying are often one of a hiker’s primary concerns before embarking on any long distance trail. In this 2 part series, we break down the before and after diet changes to optimize performance, as well as compare cost, calorie density, and overall nutrition.

This ‘trail food makeover’ is a collaboration between Chris and Katie. In 2017, Chris hiked the Continental Divide Trail (CDT) eating wh

at most would consider a typical ‘thru-hiker’ diet (i.e. cheap, highly-processed foods). How did he feel? He had days where he felt great, and days where he felt completely fatigued, especially towards the end of the hike. Chris recalls one particularly rough day:

It was barely noon, and he felt lethargic, like he was in “zombie-mode”. He kept pushing through, but finally had to stop for an early dinner around 4 pm. He gorged himself because he was so hungry.

That day was an eye-opener, and he thought, “Man, I’m not doing something right here.” He wasn’t sure whether his resupplies contained enough calories, he lost a lot of weight, and by the end of the trail he was feeling worn down. Read more about his hike here.

Enter Katie. As a nutritionist, health coach, and fellow long distance hiker, Katie understands the specific concerns of thru hikers and the physical demands of a long distance hike on the body. After working through adrenal fatigue and autoimmune issues herself, Katie now helps other hikers fuel for optimal energy, endurance and performance with meal planning, personalized coaching, and through her website.

continental divide trail

Heading into the 2018 hiking season, Chris knew he needed to revamp his trail diet to have the energy necessary for hiking big miles and climbing peaks. His goal was to eat for sustained, consistent energy throughout the day, and to make sure he was getting enough calories, and the right kind of calories, for long term health.

In this post, Chris breaks down what his diet looked like on the CDT, and Katie adds insight into what he could change to eat for improved energy, endurance, and optimal performance.

Chris:

In April of 2017 I was brand new to thru-hiking. I planned to thru-hike the CDT and my preparations were constantly on my mind. One of my biggest concerns was resupply. Would I have to send myself resupply boxes? How much food would I need? What would I eat? What foods would last on trail?

The logistics of food resupply quickly sorted themselves out once I was actually on trail. I spoke to fellow thru hikers who had way more experience than I did. I pieced together bits of their resupply strategies to create my own. (Nobody I met ate what might be considered a “healthy” trail diet). Before long I was carrying a food bag of what might be considered a thru hiker’s traditional resupply: Snickers, cheese, summer sausage, rice sides, chips of varying kinds, and candy.

After 2,000+ miles of hiking, I had dialed in my food plan.  Below is what I ate in a typical day on trail.

Katie:

Remember, you don’t have to completely overhaul your diet all at once. Nor do you have to give up all your favorite foods. Even small improvements, substitutions, and tweaks can make a big impact on your health and how you feel. Below are my suggestions for how Chris can meet his energy goals by adjusting his diet.

continental divide trail desert

Breakfast

Chris:

I typically start my day around 5:30-6:00 am. The night before I usually filled a powerade bottle ¾ of the way full with water, add an instant coffee pouch and a Swiss Miss hot chocolate pouch, then give it a good shake. I’d wake up to a nice, cool, caffeinated drink in the morning.  

I’d also eat a 20-gram protein bar from either Power Bar or Gatorade. This temporarily eased my immediate hunger upon waking. I’d also eat a caffeine-containing Clif Bar (Mint Chocolate or Toffee Buzz). Another part of my morning food intake became cookies, most often Nutter Butters!

Here was the breakfast breakdown:

  • Swiss Miss Hot Chocolate Packet
  • Starbucks Via Instant Coffee Packet
  • Either a Power Bar or Gatorade Bar containing 20g of protein
  • Clif Bar containing caffeine
  • 5-6 Nutter Butter cookies

Katie:

When eating to sustain energy levels throughout the day, I find that many hikers feel best starting the day with fat and protein. By eating a lot of sugar first thing in the morning, you may feel an initial surge of energy as glucose enters the bloodstream, but you’ll soon experience a “crash” as insulin shuttles glucose into cells and blood glucose levels rapidly decline. This is experienced as bonking, fatigue, and hitting the wall. For more sustained energy, consider fat and protein, which do not spike glucose and insulin levels as much, thereby giving you longer-lasting energy without the crash.

For Chris, I suggest cutting back on the sugar at breakfast and increasing healthy fats. By healthy fat, I’m referring to saturated fat and unsaturated fat from whole foods, as opposed to the harmful trans fats found in many commercial products.

Chris can keep his instant coffee drink, but consider having it black, with powdered full fat coconut milk, or even with just half the Swiss Miss packet. He’s doing great by eating a bar with at least 20g of protein first thing. This will help satiate him. Ideally, if he can find one with fewer processed ingredients, he can further reduce inflammation. Finally, rather than reaching for artificial energy with the caffeine Clif Bars and sugary cookies, Chris could save himself stress on his adrenals, and fuel with healthy fats instead.

Makeover:

hiker eating

Snacks/Lunch

Chris:

I’ll start by saying I never had a specific lunch-type meal. Instead, I carried several snacks to munch on throughout the day during several short breaks, rather than taking a longer lunch break. So, from the time I broke down camp until the time I stopped to cook dinner, it was all about a variety of snack foods!

Here is what I snacked on:

  • Chips
    • Ranch Doritos
    • Pringles
    • Cheetos
    • Fritos
    • Frito Twists
  • Bars
    • Nature Valley
    • Power Bars
    • Pro Bars
    • Beef Jerky
    • Slim Jims

Katie:

Most of Chris’s snacks are highly-processed foods, consisting of simple carbs. Many of these foods have preservatives, artificial colorings, trans fats, and high fructose corn syrup, which can all create inflammation. This leads to greater fatigue, as the body tries to keep up with the physical demands of hiking all day coupled with the demands of combating chronic inflammation. Also, relying solely on simple carbs without adequate protein and healthy fats will keep Chris on the blood sugar roller coaster of energy swings.

Snacking throughout the day can be a great way to maintain energy, and carbohydrates are essential for fueling a long distance hike; however, I’d suggest choosing more whole food sources, and pairing them with protein, fat, and fiber for stable blood sugar. For chips, look for varieties with less than 5 ingredients, ideally without vegetable oils, such as canola (though that can be hard to find). For jerky, look for grass-fed sources, raised without antibiotics, with no added nitrates, MSG, or gluten.

Makeover:

  • Other
    • Granola, ideally homemade (higher in nuts/seeds, low in added sugars)
    • Nut/seed butters, such as peanut, almond, sunflower, without added sugars or oils
    • Dried Fruit
    • Nuts & Seeds
    • Homemade trail mix, with dried fruit, nuts, seeds, coconut, chocolate chips, etc. (Go down the bulk bin aisle and choose your favorites for endless variety)

trail

Dinner

Chris:

I would tend to stop and cook my one hot meal of the day around 5:30pm. I often ate a Knorr rice side or Idahoan dehydrated potatoes with chunks of cheese and summer sausage. After dinner I’d continue to hike on and treat myself to some candy when I set up my camp for the night.

My Usual Dinner Options:

  • Various Flavors of Rice Sides
  • Various Flavors of Pasta Sides
  • Various Flavors of Idahoans
  • Cheese
  • Summer Sausage
  • Skittles

Katie:
Chris could upgrade his dinners by looking for less processed versions of these staples, which would help keep inflammation lower. Consuming carbs at the end of the day helps restore muscle glycogen, so he’ll be ready to hike again the following day. Having protein with those carbs can further aid in restoring muscle glycogen. Aiming for a 3:1 or 4:1 ratio of carbs to protein works well for many athletes. Additionally, I would suggest adding in a healthy fat, such as olive oil or coconut oil, to help replenish calories and aid in satiation. Chris’s diet also contains virtually no fruits or veggies, so I would suggest adding dehydrated veggies to his dinner and/or a greens powder sometime during his day. Dinner is also a great place to add in spices, which can boost the overall nutrition and antioxidant content of his meal. Finally, I would swap out the highly processed skittles, for a dessert such as dried fruit or dark chocolate, which are loaded with the antioxidants your body desperately needs to repair.

Makeover:

  • Rice noodles (just the noodles, without the preservatives)
  • Couscous
  • Instant Potato Flakes (just the potatoes, without preservatives, like this one)
  • Dehydrated Veggies
  • Cheese
  • Summer Sausage (grass fed sources)
  • Coconut Oil
  • Olive Oil
  • Spices such as garlic powder, curry powder, turmeric, cumin, and cayenne
  • Dark Chocolate  (85% cacao or higher)
  • Dried fruit

In part 2, we’ll discuss how these resupplies compare in terms of calories, macronutrients, and nutrition. We’ll discuss the importance of considering both calorie dense and nutrient dense foods and compare common options. We’ll look at the weight of each of these resupplies, and finally, we’ll address the all-important concern of price and budget when it comes to the standard thru-hiker diet versus the healthier thru-hiker diet.

To follow Chris’s progress this year as he takes on the JMT and LT, subscribe to his blog here and follow him on Facebook and Instagram.

For a deep dive into performance nutrition and meal planning for backpackers, check out our online course on the topic.

Are you carrying the most calorie-dense foods?

junk food

Looking for the most calorie-dense backpacking provisions to reduce the food weight you have to carry? Double check those labels before filling your food bag with the common ultra-processed fare.  If you’re looking to eat healthy and reduce the food weight you’re carrying, read on.

eat calorie dense food

A common objection I hear about healthy eating on trail is that healthy foods do not have enough calories to fuel such a demanding physical endeavor as thru-hiking.

Hikers assume that all ‘junk food’ is going to be the better option to get the most calories per ounce. While many of the junk food staples are calorie dense, deeper investigation reveals that not all junk foods are as energy dense as assumed, and that many healthy foods pack as much of a punch, if not more, than many common ultra-processed backpacking foods.

trail mix calorie

The purpose of this post is to illustrate that even if calorie density is the only metric being looked at when it comes to choosing your backpacking food, healthy foods still come out higher in calories than many of the junk foods. Side note: caloric density should not be used as the sole metric because healthy foods add a lot of other benefits to the diet beyond calories.

For reference, hikers are often encouraged to aim for 125 calories or more per ounce. Packing items with more calories per ounce allows the hiker to carry less overall food weight.

Check out the following list to get an idea of which foods meet the calorie mark and which fall short. I randomly chose 10 common processed hiker foods and 10 unprocessed alternatives. I actually wasn’t sure exactly how the options would shake out, so the results were interesting and affirming to me.

Foods are presented in order of descending calorie content. For ease of reading, calorie density values are in bold, as are whole food choices. Processed food options are italicized. I’ve linked to some of my favorite brands, in case you’re curious. 

  • Olive Oil
    • Serving = 13.5g= 119 cal=248 cal/oz
  • Coconut Oil
    • Serving=14g= 120 cal =240 cal/oz
  • Walnuts
    • Serving=1 oz=185/oz
  • Nut butters
    • Serving=32g=210 cal= 184 cal/oz
  • Almonds
    • Serving=1 oz=163 cal/oz
  • Fritos
    • Serving=1oz= 160 cal/oz
  • Sweet Potato Chips, with just sweet potatoes, coconut oil, sea salt
    • Serving=1oz= 150cal= 150 cal/oz
  • Snickers
    • Serving=48g= 248 cal= 145 cal/oz
  • Doritos
    • Serving=1oz= 140 cal/oz
  • Oreos
    • Serving=34g=160 cal= 133 cal/oz
  • Top Ramen
    • Serving=42g=190 cal=126 cal/oz
  • Trail Mix
    • Serving =45g= 200 cal= 125 cal/oz
  • Knorr Rice Side
    • Serving=63g=240 cal= 106 cal/oz
  • Instant Oatmeal
    • Serving=40g=150 cal= 105 cal/oz
  • Poptarts
    • Serving= 55g= 200 calories= 100 cal/oz
  • Instant Mashed Potatoes
    • Serving=29g=97 cal= 97 cal/oz
  • Dehydrated Refried Beans
    • Serving=35g =116 cal= 93 cal/oz
  • Flour tortillas
    • Serving=70g=210 cal=84 cal/oz
  • Dried Apricots
    • Serving=1oz=68 cal/oz
  • Tuna
    • Serving=2.6 oz= 80 cal= 31 cal/oz

calorie dense olive oil

Overview

This review is admittedly brief and it does not definitively suggest that packing all healthy food will be the most calorie dense route or that packing all junk food will be either. Interestingly though, the top 5 most calorie dense options are whole foods.

Again, while this post was primarily looking at calorie density as the only metric, it’s worth noting that the whole food options are packed with more vitamins, minerals, and healthy fat than the junk food alternatives.

This demonstrates that you don’t need to sacrifice calorie density while getting all the benefits that come from eating whole foods, and avoiding the pitfalls of junk food, such as inflammatory preservatives, dyes, and trans fats.

I do realize that this is by no means an exhaustive list of backpacking foods, either from the processed list or the whole foods list. I randomly chose 10 of each to compare. Also, exact values may vary slightly depending on the brand selected, or the specific variety in the case of items like trail mix, nut butters, rice sides, etc.

However, the exact values will not be far off those listed above, and I believe those listed are clear enough to illustrate the point that junk food isn’t always better when it comes to caloric density.

What are your favorite foods? Does this list make you rethink your back country food choices?

Like what you’re reading? To stay in the loop when new content is released, subscribe to my monthly newsletter here.

Boulder Skyline Traverse

green mountain boulder

A version of this post originally appeared on the Trek website here

I love this hike (or run–depending on how fit I am). It’s a convenient and easy option when I want a longer day on trails, with respectable elevation gain, but I don’t have the time to get deeper into the mountains. Planning is easy and I also don’t have to fight traffic.

I’ve done this hike a few times. The photos here are from a hike in early April 2018 while we were still getting occasional spring snow in the front range. The morning was chilly and there were light snow flurries in Boulder. I hiked through fog up Shadow Canyon and arrived to sun and the most beautiful inversion (see photos below) at the saddle between South Boulder Peak and Bear Peak. The sea of clouds remained for most of the day.

The intention for this particular Skyline Traverse, beyond just an enjoyable day in the foothills, was to test my fitness level for a bigger hike I had in mind.

skyline south boulder peak

The Basics

Length: Ranges from 16-26 miles, depending on which trails you choose and whether you hike point to point or create a loop. 

Location: Located in the iconic Rocky Mountain Flatirons, this hike hits the five highest peaks in the foothills surrounding Boulder, CO. The peaks include South Boulder Peak, Bear Peak, Green Mountain, Flagstaff Mountain, and Mount Sanitas.

Trail Type: Due to its proximity to an urban setting, this hike can start and finish in several different locations, depending on your logistics and the level of challenge you’re seeking.

Scenery: A mosaic of ecosystems from grassland to mixed ponderosa pine-douglas fir forests to rocky outcroppings and mountain streams. The traverse also showcases views to the east overlooking Boulder, Denver, and the plains beyond.

Terrain: Moderate to Difficult. There’s a system of well-maintained, connected trails throughout the area. With a total elevation gain of about 6000’, this hike makes for a solid day. However, if you’re heading south to north, once you climb the initial 3000’ to your first peak (South Boulder Peak), you’re mainly hiking rolling terrain along the ridgeline until you drop back down to Boulder before ascending your final peak of the day (Mount Sanitas).

Navigation: Straightforward. Check out a trail map of the area in advance and know your turn-offs. The trails are not particularly well-marked, but if you’ve looked at a trail map in advance, you should have no problem. The city of Boulder provides a good interactive map of the trails on Open Space and Mountain Parks land here. You could print out a map of the area and highlight your route or plot it on a mapping app.

 skyline strava

skyline elevation

Getting There: Depending on which direction you hike and whether you want to make it a loop, there are many options for where to park, including South Mesa Trailhead, NCAR, Shanahan Trailhead, Chautauqua Park, or Mount Sanitas Trailhead. For a point to point hike, park at either South Mesa or Mount Sanitas and get a shuttle to the other end (or bring a buddy with a second car). If you have non-Boulder County license plates, there’s a $5 fee to park at South Mesa.

The Hike 

For my south to north hike, I parked at Mount Sanitas Trailhead and rode with a friend to South Mesa trailhead. I chose south to north to get the biggest climb of the day behind me early. It’s about a 3,000’ climb up Shadow Canyon to South Boulder Peak. From there I crossed the saddle over to Bear Peak, and descended via the Bear Peak West Ridge Trail. At the fork, I turned left on Green Bear Trail and hiked about 1.5 miles to the Green Mountain West Ridge Trail. I took that to Green’s Summit then backtracked to Ranger Trail, which descends about a mile until it forks left towards Flagstaff Road. Once over the underwhelming Flagstaff summit, I found Flagstaff Trail, which I followed down to View Point Trail, then down into Eben G. Fine park. After crossing Boulder Creek, I made my way towards Sanitas via Sunshine Canyon, hit the summit, and returned to my car via the East Ridge Trail.

 skyline

Why Hike This Trail: If you live in the area, this is a classic run or hike. The Boulder County Open Space and Mountain Parks are arguably some of the best in the country. Planning this hike is simple enough to be done in an afternoon and the logistics are easy. The terrain is challenging enough to keep you engaged, but not overwhelmingly difficult. This trail allows you to put in a good day of miles and elevation gain, travel through the beautiful foothills ecosystems, and be rewarded with views of the city. Plus, you get to relax and refuel afterwards in Boulder, with it’s many good restaurants and breweries.

 ranger trail boulder

Climate and Weather: This hike can be done year-round. Microspikes are recommended in the winter, as snow and ice often remain on the peaks, even when the ground is clear in town. Late spring and summer are beautiful times for wildflowers, and fall is a great time to spot golden aspens along the trail.

Beware of afternoon showers in the summer. Due to the change in elevation, weather and temperatures can be quite different from your car to the peaks, so bring layers, and always have at least a wind/rain jacket. Don’t let your proximity to town cause you to be careless. It’s still a mountain environment with common dangers like sudden thunderstorms and snowstorms, slippery rocks, sun exposure, and areas with steep terrain.

 flagstaff mtn boulder

Camping & Water Sources: While there is no overnight camping along this traverse, there’s a lot of national forest near Boulder where you can camp before or after. A Google search will provide several options. In terms of water sources, there are a few creeks along the traverse where you could collect water if needed, but since it’s a day hike, it’s also easy to just bring the couple of liters you’ll need.

 green mountain

Closing Thoughts: The length and elevation gain of the Boulder Skyline Traverse are ideal for a challenging day hike. Logistics are a breeze due to the accessibility of the trailheads and the proximity to town. The diverse ecosystems, the stunning views of Boulder, and the availability of post hike libations make this hike a great activity for well-trained visitors and locals, alike.

Much has been written about the Skyline Traverse, so you’ll have no trouble finding more information. If you’re in the area, do a bit of planning, then get out there and hike (or run) this classic Boulder traverse. You won’t regret it!

skyline boulder


Like what you’re reading?

To stay in the loop with the latest posts, and musings that don’t make it onto the blog, sign up for my newsletter here

Rim to Rim to Rim in a Day: Nutrition

Fueling for a long day on trail can make or break the outcome of your hike. As you can imagine, I’m pretty intentional about giving my body what it needs to succeed, especially when I’m undertaking a physically stressful endeavor, such as hiking 40+ miles with 11k’ of elevation gain in a day. This post covers my Rim to Rim to Rim (R2R2R) nutrition strategy.

If you’re interested in reading a full account of my hike, please see this post, where I discuss the gear I wore/carried as well as details from my day of hiking in the Grand Canyon.

What follows is a list of what I ate during my day of hiking R2R2R. Of course, how I eat, move, sleep, etc. on a daily basis has a greater overall impact on performance than what I do in one 24 hour period, but for those interested, here’s how I approach fueling a long day of hiking.

I’ll also explain a bit about why I chose what to eat and why I chose to eat it when I did. The intention is to provide insight into how I eat for endurance and lasting energy, and hopefully you can take some tips away to use on your own adventures.

rim to rim to rim food

This photo provides a general idea of the food I brought with me to the Grand Canyon, from which I would choose what to carry on my R2R2R hike. I didn’t take all of this and I only carried a serving or two of the items pictured in bulk (e.g. the greens powder, the protein powder, the almond butter). Some of it I didn’t take at all (e.g. the bagels and the coconut chocolate).

To determine how much to carry, I used calories as the primary metric. Because I wanted to be sure I had plenty for an over-nighter should I need to stay in the canyon, I carried a bit extra, and aimed for ~4,000 calories.

Here’s approximately what I ate and when, followed by an explanation of why.

5am: 3 scoops Vital Proteins Collagen Peptides + 1 scoop Trader Joes Organic Maca Powder + Four Sigmatic 10 Mushroom Blend + 1 scoop Amazing Grass Superfood + 1 spoonful almond butter (my favorite is Natural Grocer’s fresh ground… so fluffy and creamy) + 12 oz. strongly brewed Puehr Tea.

Supplements taken with breakfast: 1000 mg Vitamin CSelenium, Zinc, Omega Complex and Cellular Vitality Complex (found here, search lifelong vitality pack).

8am: Primal Kitchen Bar

10am: 1 banana, a couple servings Jackson’s Honest Sweet Potato Chips

12pm: 2 homemade date bites (similar to this recipe)

1pm: More sweet potato chips + 1 spoonful almond butter

3 pm: Primal Kitchen Bar

4pm: 1 date bite

5:30 pm: Good Day Caffeine Chocolate, 2 spoonful almond butter, a couple servings Jackson’s Honest Sprouted Red Corn Tortilla Chips

6 Nuun electrolyte tablets in water throughout day

Explanation

Whatever time you choose to break your fast (breakfast), it’s arguably the most important part of the day, nutritionally speaking. I started the morning with 30 grams of protein and a healthy fat, as I often do, whether on trail or off. This breakfast is satiating, so I don’t have to think about fueling again as quickly, and it also boosts leptin, a hormone which decreases appetite and leaves me feeling more satiated for the rest of the day.

I find that having a high carb/high sugar breakfast puts me on an insulin roller coaster of sugar spikes and crashes. High carb breakfasts cause me to be hungry an hour later, after the sugar has worn off, and I find myself craving more carbs. There’s nothing wrong with carbs, and of course, they’re necessary for glucose-dependent activities such as hiking, but glucose (carbs) is a quick-burning fuel. Adding fat and protein to meals slows down digestion and creates slower-burning, longer lasting, more stable energy. Adding fat and protein to pretty much everything I eat balances blood sugar and helps me have stable energy all day.

In an effort to postpone getting into too much of a calorie deficit, I had a protein bar after I reached the river, while walking through the canyon. Food would be easier to digest during easy walking. Our bodies only process about 200-300 calories per hour, so I try to eat throughout the day, so I can keep moving, as opposed to eating a lot at once.

Right before beginning the climb to the North Rim, I wanted to take in a decent amount of carbs to fuel me, so I had a banana and chips. I also knew I’d be in the sun and beginning to sweat a lot, which is why I chose a salty snack. The potassium from the banana was also helpful for mineral balance while sweating.

About 2 miles from the North Rim, it was getting hot and I was hitting a wall, so I had a couple of date bites, which are high carb, but with a little fat and protein.

At the rim, I took a short break for some chips and almond butter to replenish some salt, and because it’s my favorite trail snack. I also wanted the carbs and fat to fuel me on the way down.

Back at the bottom, walking along the river, I was beginning to get tired, so I had another bar and a date bite to keep me moving.

My last snack was before crossing the river, heading back up to South Rim. I chose caffeine chocolate to give me an extra boost on the 5,000′ climb, chips for the salt and carbs, and almond butter for the fat to fuel the last 7 miles. I probably should’ve snacked again on some carbs a couple miles before the end because I was definitely hitting a wall, but I pushed on instead.

I made sure to drink a lot of water throughout the day, especially at sources, where I would ‘camel up’. I added Nuun tabs to replenish electrolytes lost through sweat.

Whatever your adventure, whether long or short, hopefully this provided some insight into how I think about maintaining energy for a long day outdoors.

For a deep dive into performance nutrition and meal planning for backpackers, check out our online course on the topic.

grand canyon

Fueling a Healthy Adventure on a Budget

wind river hike

This post originally appeared on the Trek


Besides “Do you carry a gun,” one the most common questions on trail is “What do you eat?

From battling constant hunger, to pack weight considerations, to sticking to a budget, planning your food strategy can be one of the most challenging aspects of a long-distance hike. If you want to eat healthy on trail? That can feel even more daunting. Aside from gear, food is one of the biggest expenses of a thru-hike.

A trait I’ve noticed in the most savvy, enduring hikers—those who find the resources to hit the trail again and again—is frugality. I don’t mean simply being cheap—I’m referring to an ability to optimize and use one’s resources wisely. Whether you’ve got a $3,000 budget or a $10,000 budget for your hike, the goal is finding the sweet spot of saving money without feeling deprived.

happy hikers sunset

If you don’t know your budget, try to figure it out. In 2017, running out of money was the second-leading cause of hikers quitting the AT and PCT, second only to injury. Make a plan and do your best to stick to it. More on that in a moment.

Many hikers believe that eating healthy on trail is more expensive than eating junk food. They also assume it’s time-consuming and difficult, which can drive many otherwise healthy eaters to choose readily-available, packaged foods. If you’re not sure how healthy eating can increase your performance on trail, check out this article about the potential dangers of fueling on processed foods.

Tips for hiking healthy on a budget

Yes, it’s possible to eat well on trail without breaking the bank. Once you train your mind to optimize for both healthy and budget-friendly options, they’ll start popping out everywhere. All recommendations are designed to be calorie-dense, nutrient-dense, and as lightweight as possible.

budget

Preparation before hitting the trail

Planning for a thru-hike is a lot of work, but preparing for a life-changing endeavor is part of the excitement. As far as food prep goes, I’m not going to sugarcoat it: healthy eating on a budget involves more effort than winging it and hoping you don’t go broke. Having a plan will prevent impulse spending and easily avoidable budget mistakes.

Many hikers are ambitious Type-A planners anyway, so dig into the details, make a spreadsheet, and have fun optimizing.

How to prepare in advance:

  1. Determine your resupply strategy. Will you be mailing boxes, resupplying in towns, or a combination of both? Do your research and choose what’s right for you. For the purposes of healthy eating and saving money, I’ve found a mix of in-town resupply and maildrops to be optimal. If you prefer hard-to-find items, such as specific supplements or protein powders, or if you have food intolerances, consider sending those items to your resupply location, and buy common items, such as cured meats, nut butters, and trail mix in town.
  2. Look over your potential resupply locations. In the places where a gas station or tiny store is your only option, send a box. Otherwise, you’re stuck paying high prices for less than optimal food. Five dollars for a Snickers bar? No thanks.
  3. Now that you know how many boxes you’re sending and where you’re sending them, it’s time to gather food. It’s beyond the scope of this article to detail how you determine your food requirements, but as a general rule, it will be based on your body size (and correspondingly, your base metabolic rate) plus how many miles you plan to hike per day. For example, I need about 3,500 calories per day—or about two pounds of food—to fuel 25-30 mile days once I’m a few weeks into a thru-hike. If it’s colder or the terrain is particularly rugged, that fuel requirement amount increases. Each person will have different needs based on their size, climate, terrain, etc. Make a list of healthy trail foods you know you’ll enjoy. Consider dried fruit, dehydrated beans and veggies, oats, quinoa, nuts, and nut butters, plus any other whole foods. The shorter the ingredient list, the better. For additional ideas, dive online or reference my ebook.
  4. With this list in hand, search online for the best price. Buying in bulk is a great way to cut costs.
    1. Consider Costco, Trader Joes, and grocery outlets like Shop’n’Kart, where you can find both conventional and organic options at lower prices. Find stores with bulk bins, which not only cuts down on packaging, but is often where you’ll find more whole-food options like nuts, dehydrated beans and grains, and dried fruit.
    2. Watch out for freeze-dried meals or protein bars marketed as “backpacking food.” These are often overpriced and not always particularly healthy. With a little know-how and experimentation, creating your own healthy meals can be easy and inexpensive.
    3. Consider shopping online. Find dehydrated fruits, veggies, and beans here and here . Choose products with nothing added-just the fruit/veggie/bean. Rehydrating these on trail is simple and an easy way to pack in fiber and vitamins. There are many online hubs for healthy snacks including Vitacost and Direct Eats.
    4. Depending on time and budget, you may opt to dehydrate some of your own meals. This is more labor intensive, but can save money in the long run. If you have access to inexpensive organic produce, a dehydrator, and you enjoy the process, consider this option. However, dehydrating your own meals is not essential for eating healthy on a budget.
    5. Brainstorm options based on personal connections, and where you live. Do you have a friend in the restaurant industry? Ask them if you can tack on items to their next wholesale order, or ask if they’ll take you to Restaurant Depot. Pay them back promptly and do them a favor in the future. I worked as a pastry chef before my PCT hike and this strategy is how I made 30 pounds of various trail mixes for much cheaper than purchasing retail.
    6. Once you have all your materials, sort them into location-specific boxes. The amount of food in each box will depend on your daily calorie requirements, your daily mileage, and the distance to the next resupply point. Estimate for now, then dial it in on trail and make adjustments. Supplement your box with town purchases or hiker box snacks. Repackage food into appropriate serving sizes and divvy the food up into boxes. Spreadsheets are great for this.

For the love of whole foods

Eating more whole foods means you need less food. Even if personal and planetary health is low on your list of priorities, pretty much everyone cares about saving money and reducing pack weight. Research suggests that the added fiber, essential fatty acids, protein, and micronutrients in whole foods are more satiating and filling than ultra-processed foods. This means you can eat less, buy less, and carry less. Win win win.

cascade locks pct

On trail and in town

It can be hard not to spend a ton of money when you walk into a town famished. You’ve been dreaming about burgers, pizza, and beer for the last 100 miles. Enjoy yourself, but remember to have a plan.

  1. If you have a resupply box, pick it up before going to the store. Pack your food bag, and use extra food as town snacks. Yes, you’ll want to eat 24/7 while in town, but lessen the blow to your wallet by snacking on food you’ve already paid for.
  2. Take advantage of hiker boxes before you resupply at the grocery store. Sometimes you find gems like nut butters, healthy bars, olive oil packets, and dehydrated veggies. Be judicious, don’t empty the entire box into your food bag, and be sure to pay it forward by donating to hiker boxes down the line.
  3. At restaurants, have a tall glass of water (or three) and a salad before binging on all the pizza and ice cream. Celebrate that you didn’t have to carry that water from the source. When you fill up on veggies and hydrate yourself, not only are you making up for micronutrient deficiencies in your normal veg-poor diet, but you won’t need three large pizzas, two burgers, a case of beer, and a gallon of ice cream to feel full. Plus, the extra fiber will benefit your gut microbiome, which impacts your immunity, energy levels, and mental health.
  4. Buy in-town meals and snacks from the grocery store rather than going to restaurants for every meal. You’ll eat healthier and spend less. Pick up materials for a deluxe salad to make at the hotel room. Grab a bag of veggies to finish before hitting the trail again. Shop at stores with bulk bins, so you can get the exact amount you need and reduce packaging. Team up with your hiking buddy to add variety and split purchases when a desired item comes in a bigger size than you need.
  5. Buy from the grocery store rather than a gas station or small market. You’ll find healthier options, fresher food, and lower prices.
  6. Limit your time in town. Ultimately, spending time in town costs money—everything from lodging to food to transportation, so get in, get your chores done, rest, and get back out.

pacific crest trail

The Most Important Rule: Know Thyself

  • How much prep are you willing to do? Remember that buying is easier than dehydrating your own food.
  • What do you actually like to eat? Test it out before you send it in every resupply box.
  • Do you mind eating the same thing everyday? I don’t, but many people need variety.
  • How much do you eat? Hiker Hunger is real and it will set in eventually.
  • Are you prone to impulse buys in town? Set yourself up for success. Enjoy a good meal or two, but keep your long-term goal in mind.

Sticking with your budget shouldn’t feel like deprivation. It should feel good because you’re being considerate to your future self who wants to have the health and cash to finish the trail.

Pay attention

This final tip is simple, but generally overlooked (on and off trail). Awareness is the first step to behavior modification. Pay attention to where your resources are going. If you’re always looking for ways to optimize eating healthy and cheaply, the opportunities present themselves.

Small improvements in your eating and spending habits add up to big changes. You make it to the end of the 2000-mile trail one step at a time.