Besides gear, there are few other topics hikers like to discuss as much as food. The ins and outs of resupplying are often one of a hiker’s primary concerns before embarking on any long distance trail. In this 2 part series, we break down the before and after diet changes to optimize performance, as well as compare cost, calorie density, and overall nutrition.
This ‘trail food makeover’ is a collaboration between Chris and Katie. In 2017, Chris hiked the Continental Divide Trail (CDT) eating wh
at most would consider a typical ‘thru-hiker’ diet (i.e. cheap, highly-processed foods). How did he feel? He had days where he felt great, and days where he felt completely fatigued, especially towards the end of the hike. Chris recalls one particularly rough day:
It was barely noon, and he felt lethargic, like he was in “zombie-mode”. He kept pushing through, but finally had to stop for an early dinner around 4 pm. He gorged himself because he was so hungry.
That day was an eye-opener, and he thought, “Man, I’m not doing something right here.” He wasn’t sure whether his resupplies contained enough calories, he lost a lot of weight, and by the end of the trail he was feeling worn down. Read more about his hike here.
Enter Katie. As a nutritionist, health coach, and fellow long distance hiker, Katie understands the specific concerns of thru hikers and the physical demands of a long distance hike on the body. After working through adrenal fatigue and autoimmune issues herself, Katie now helps other hikers fuel for optimal energy, endurance and performance with meal planning, personalized coaching, and through her website.
Heading into the 2018 hiking season, Chris knew he needed to revamp his trail diet to have the energy necessary for hiking big miles and climbing peaks. His goal was to eat for sustained, consistent energy throughout the day, and to make sure he was getting enough calories, and the right kind of calories, for long term health.
In this post, Chris breaks down what his diet looked like on the CDT, and Katie adds insight into what he could change to eat for improved energy, endurance, and optimal performance.
Chris:
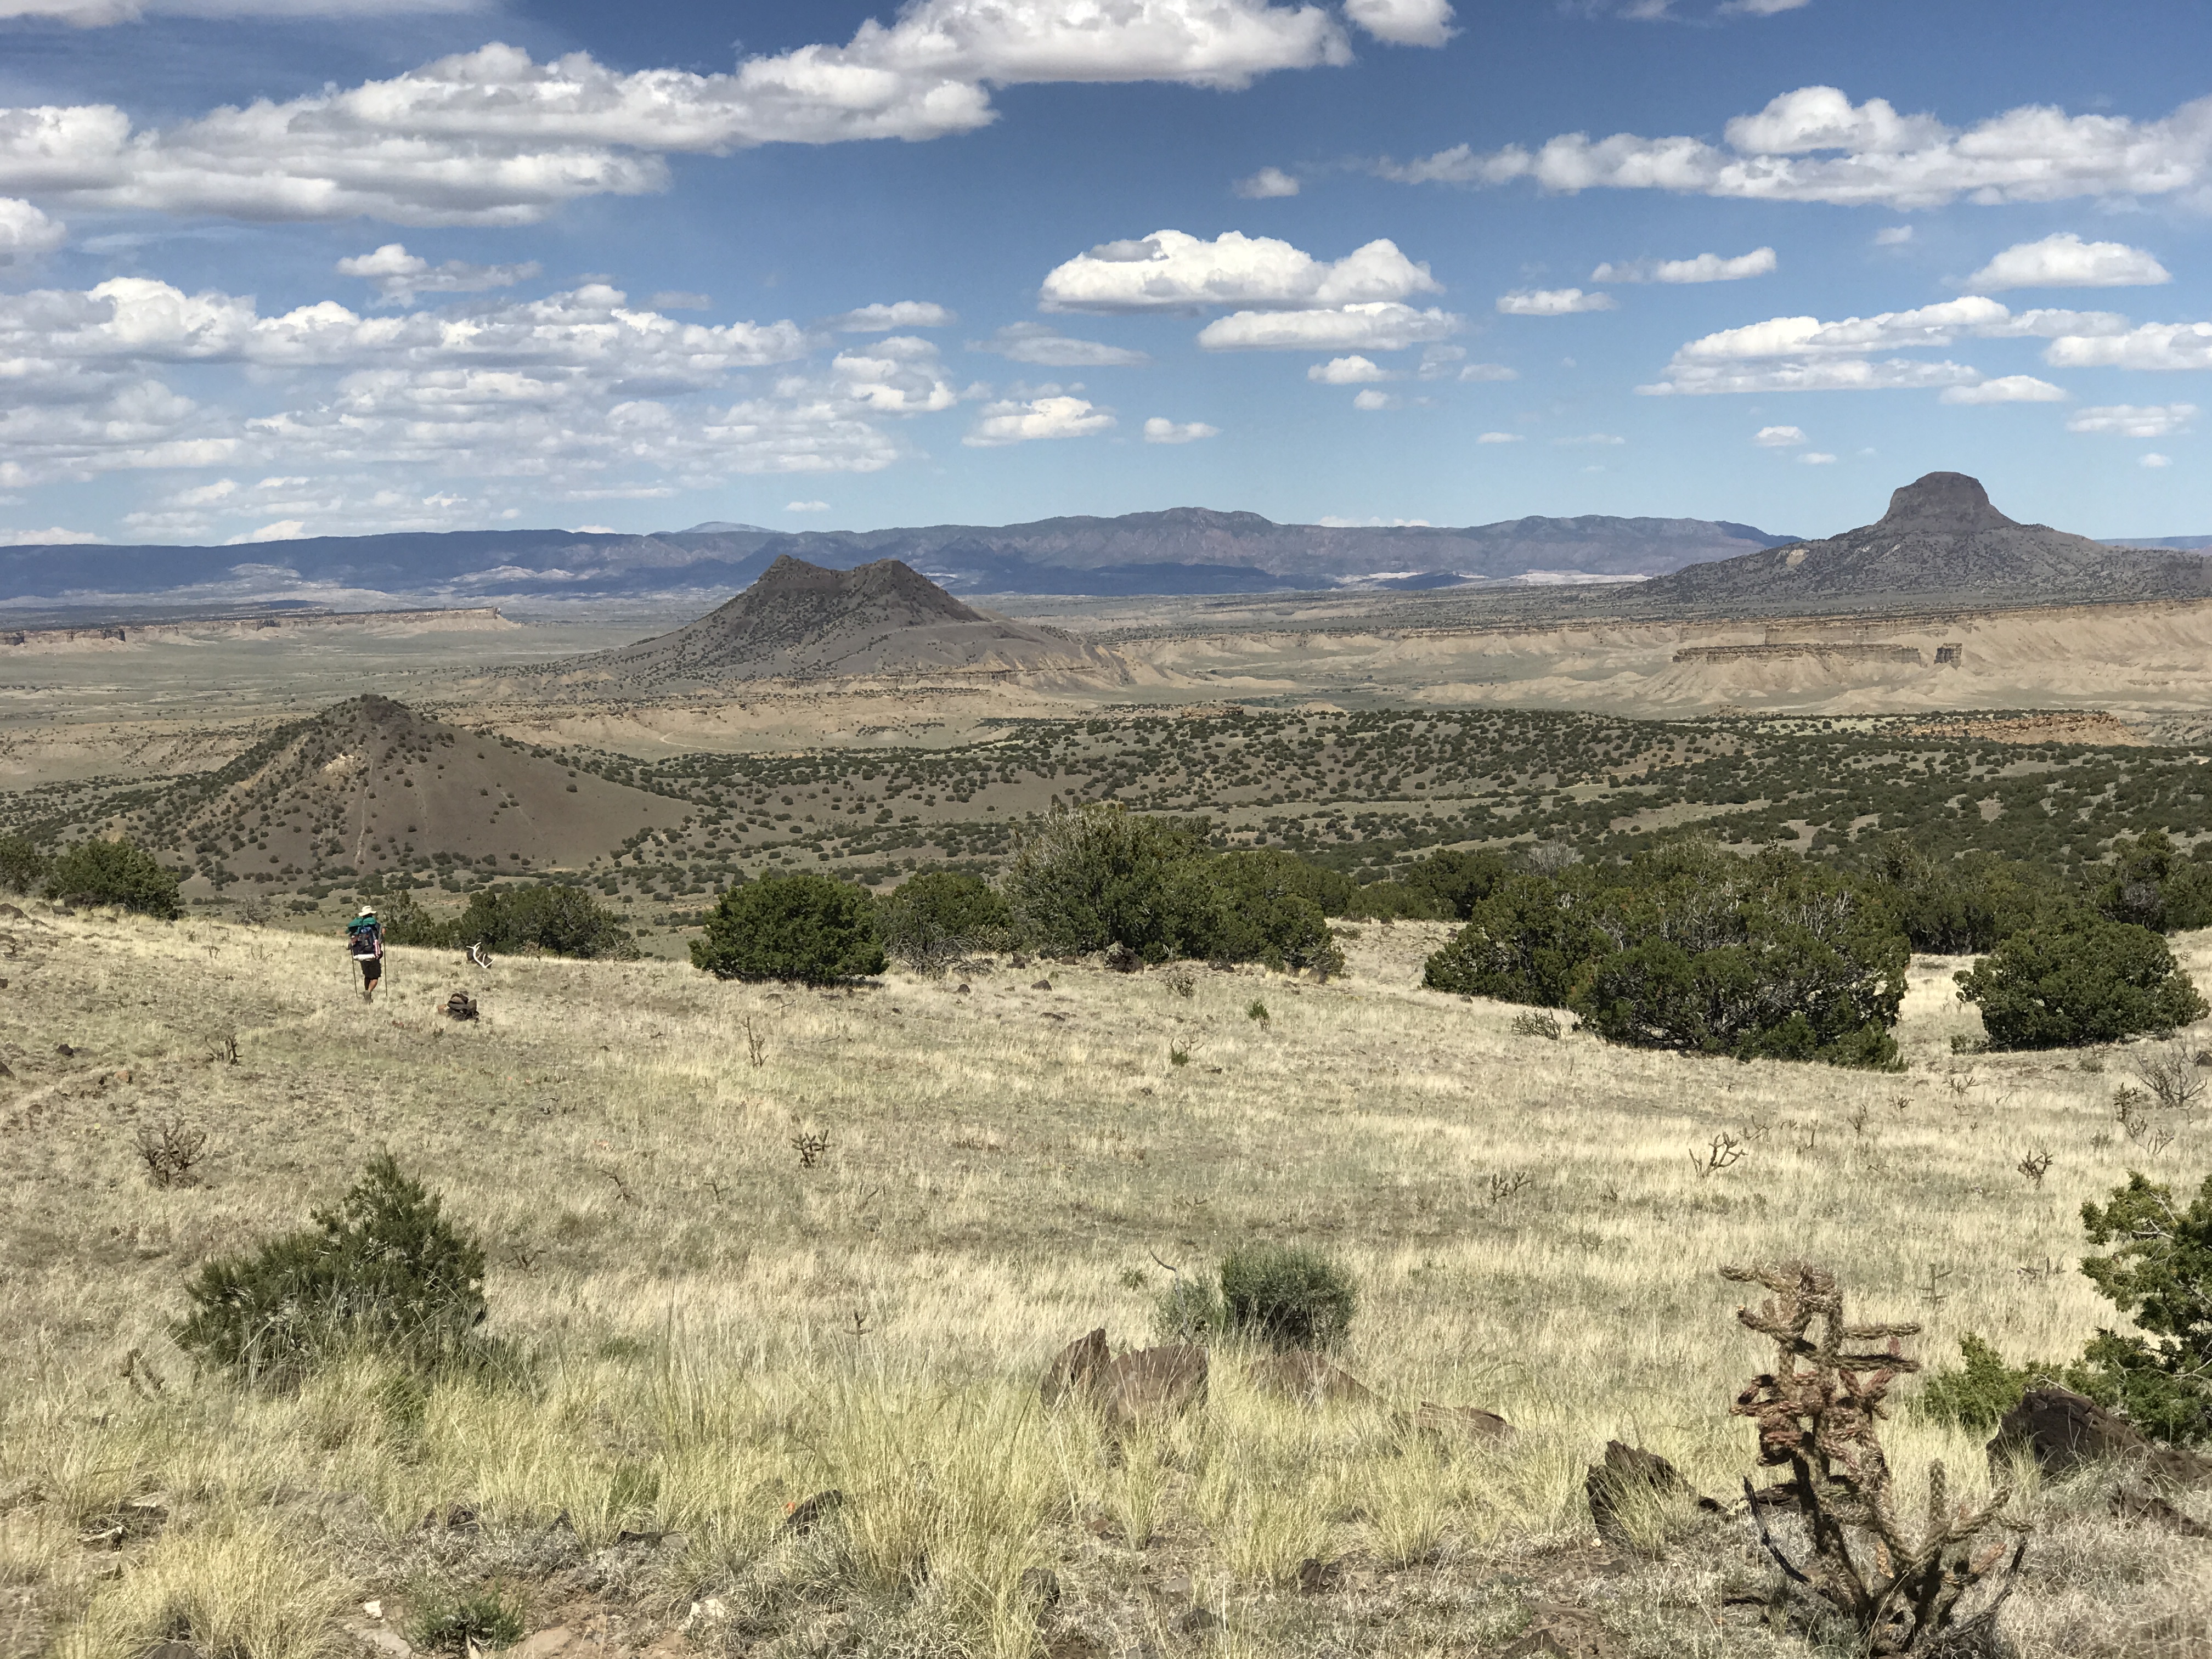
In April of 2017 I was brand new to thru-hiking. I planned to thru-hike the CDT and my preparations were constantly on my mind. One of my biggest concerns was resupply. Would I have to send myself resupply boxes? How much food would I need? What would I eat? What foods would last on trail?
The logistics of food resupply quickly sorted themselves out once I was actually on trail. I spoke to fellow thru hikers who had way more experience than I did. I pieced together bits of their resupply strategies to create my own. (Nobody I met ate what might be considered a “healthy” trail diet). Before long I was carrying a food bag of what might be considered a thru hiker’s traditional resupply: Snickers, cheese, summer sausage, rice sides, chips of varying kinds, and candy.
After 2,000+ miles of hiking, I had dialed in my food plan. Below is what I ate in a typical day on trail.
Katie:
Remember, you don’t have to completely overhaul your diet all at once. Nor do you have to give up all your favorite foods. Even small improvements, substitutions, and tweaks can make a big impact on your health and how you feel. Below are my suggestions for how Chris can meet his energy goals by adjusting his diet.
Breakfast
Chris:
I typically start my day around 5:30-6:00 am. The night before I usually filled a powerade bottle ¾ of the way full with water, add an instant coffee pouch and a Swiss Miss hot chocolate pouch, then give it a good shake. I’d wake up to a nice, cool, caffeinated drink in the morning.
I’d also eat a 20-gram protein bar from either Power Bar or Gatorade. This temporarily eased my immediate hunger upon waking. I’d also eat a caffeine-containing Clif Bar (Mint Chocolate or Toffee Buzz). Another part of my morning food intake became cookies, most often Nutter Butters!
Here was the breakfast breakdown:
- Swiss Miss Hot Chocolate Packet
- Starbucks Via Instant Coffee Packet
- Either a Power Bar or Gatorade Bar containing 20g of protein
- Clif Bar containing caffeine
- 5-6 Nutter Butter cookies
Katie:
When eating to sustain energy levels throughout the day, I find that many hikers feel best starting the day with fat and protein. By eating a lot of sugar first thing in the morning, you may feel an initial surge of energy as glucose enters the bloodstream, but you’ll soon experience a “crash” as insulin shuttles glucose into cells and blood glucose levels rapidly decline. This is experienced as bonking, fatigue, and hitting the wall. For more sustained energy, consider fat and protein, which do not spike glucose and insulin levels as much, thereby giving you longer-lasting energy without the crash.
For Chris, I suggest cutting back on the sugar at breakfast and increasing healthy fats. By healthy fat, I’m referring to saturated fat and unsaturated fat from whole foods, as opposed to the harmful trans fats found in many commercial products.
Chris can keep his instant coffee drink, but consider having it black, with powdered full fat coconut milk, or even with just half the Swiss Miss packet. He’s doing great by eating a bar with at least 20g of protein first thing. This will help satiate him. Ideally, if he can find one with fewer processed ingredients, he can further reduce inflammation. Finally, rather than reaching for artificial energy with the caffeine Clif Bars and sugary cookies, Chris could save himself stress on his adrenals, and fuel with healthy fats instead.
Makeover:
Snacks/Lunch
Chris:
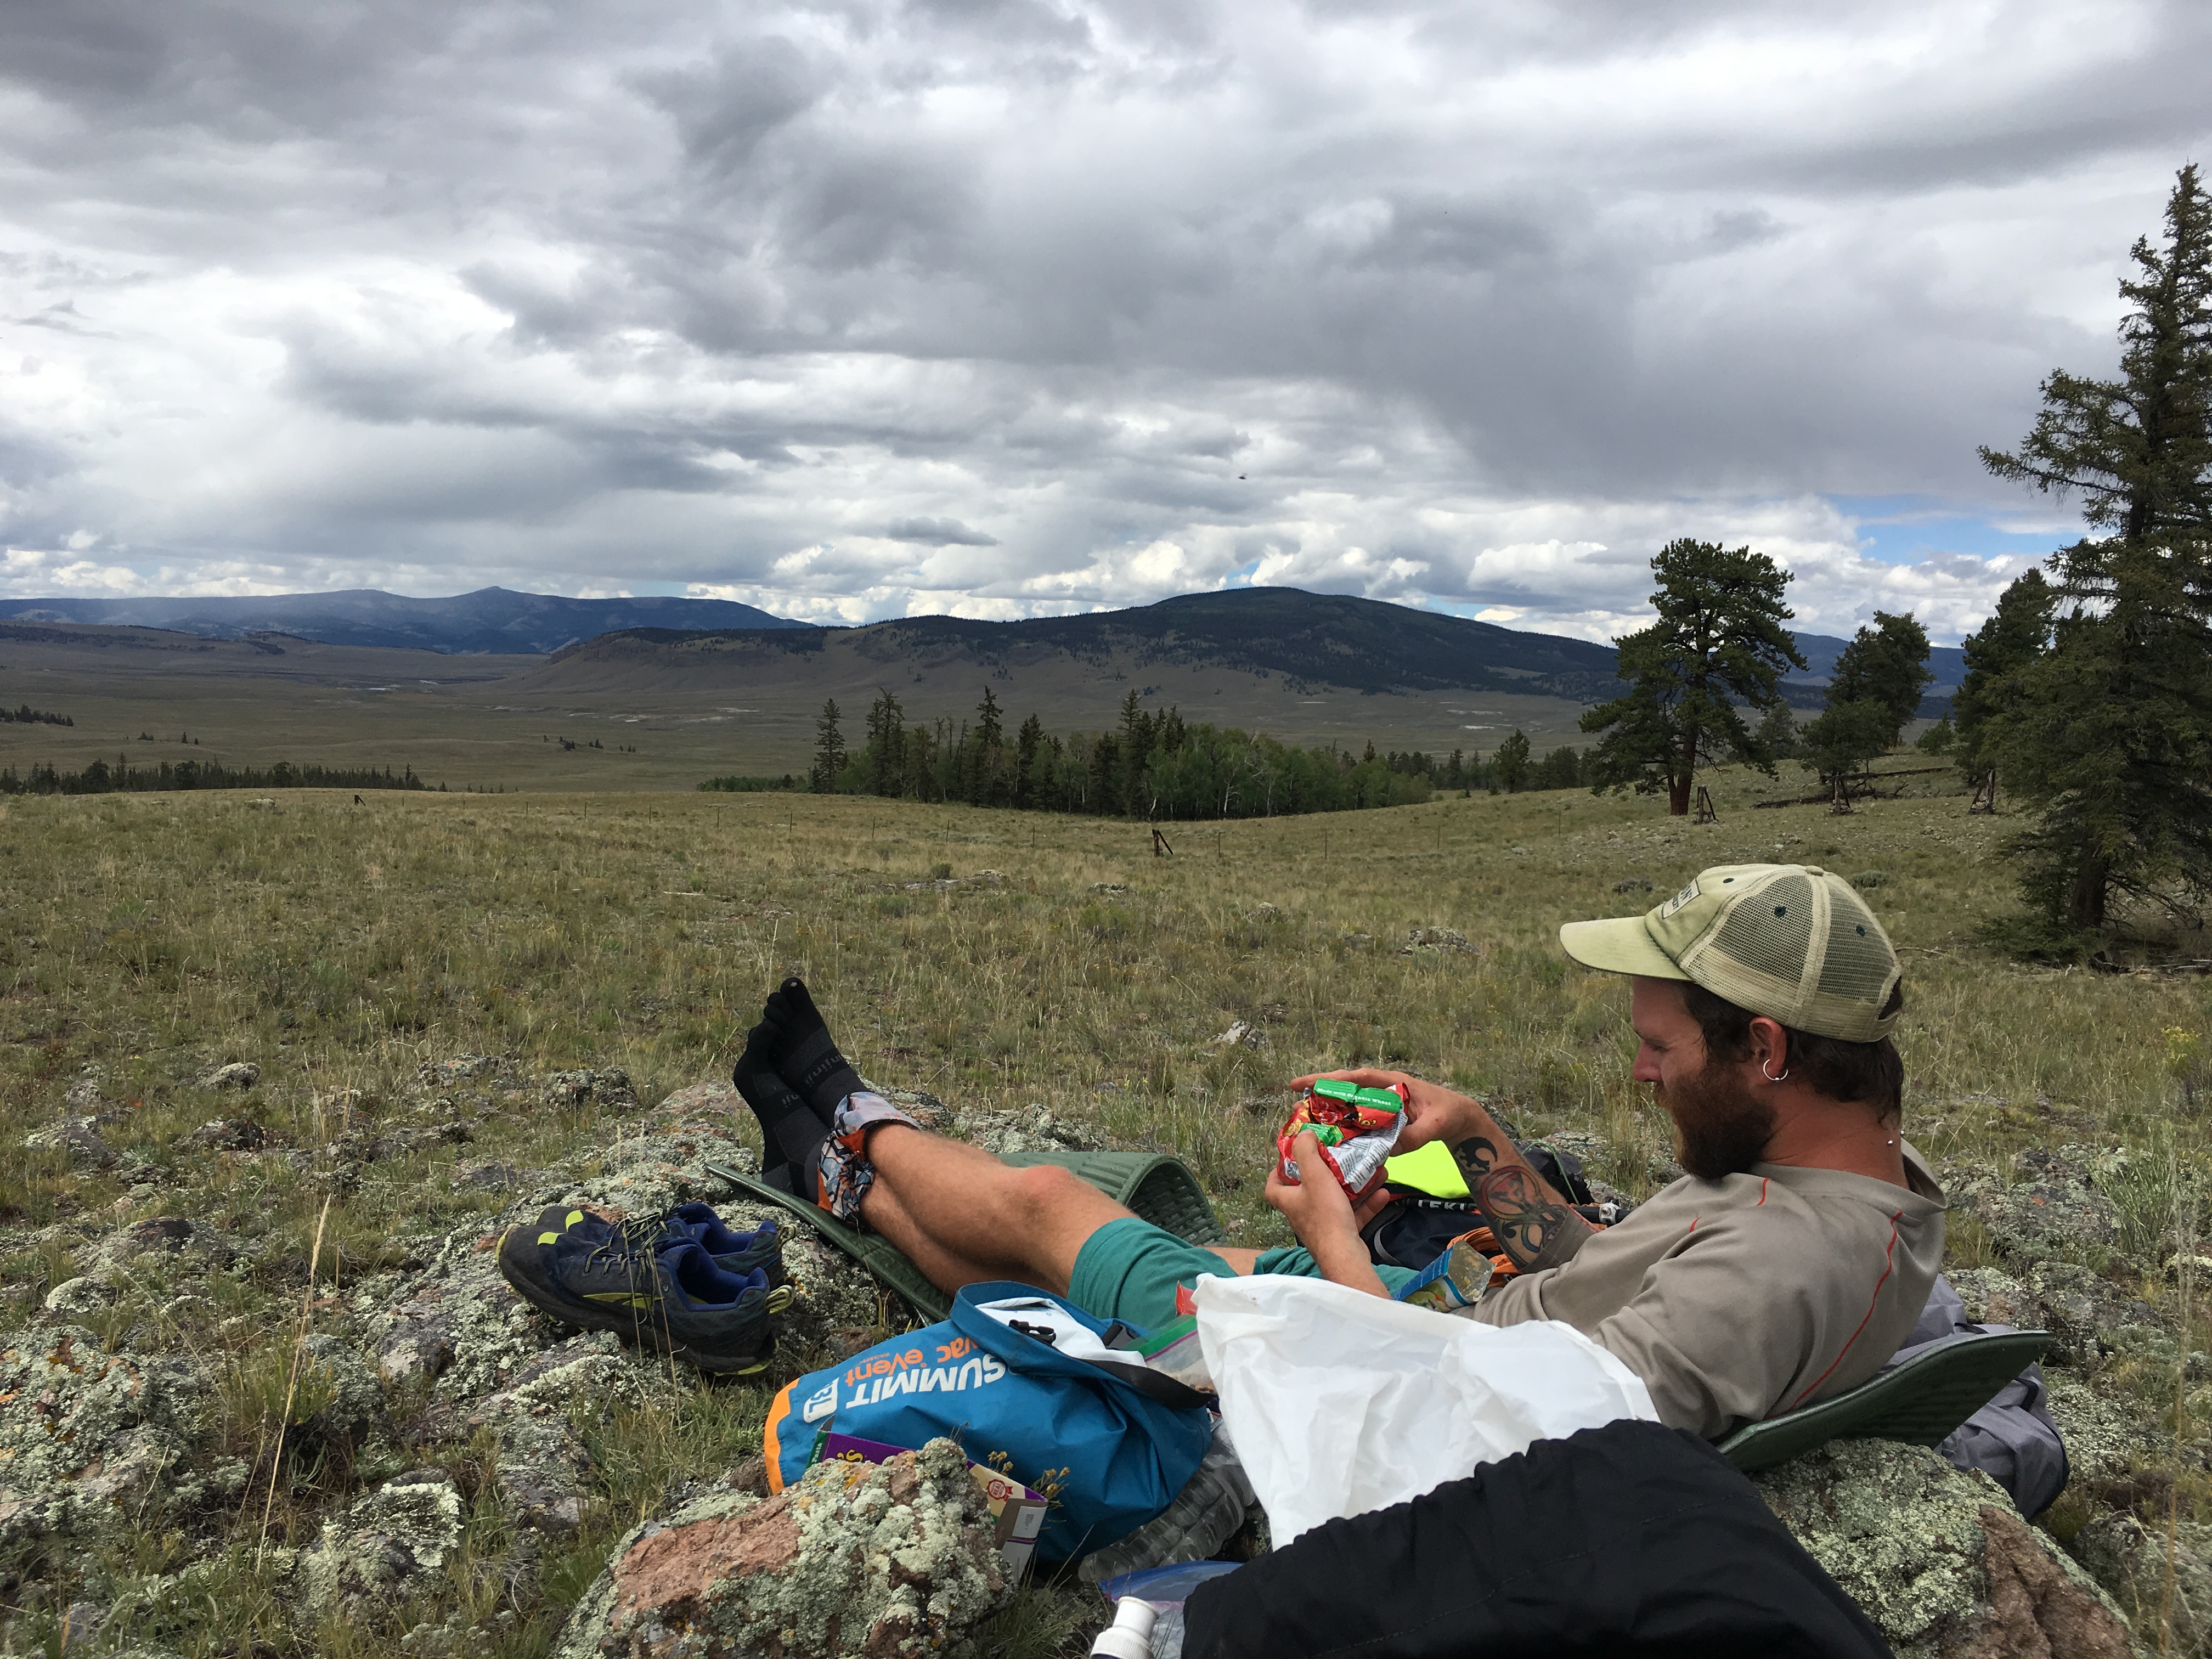
I’ll start by saying I never had a specific lunch-type meal. Instead, I carried several snacks to munch on throughout the day during several short breaks, rather than taking a longer lunch break. So, from the time I broke down camp until the time I stopped to cook dinner, it was all about a variety of snack foods!
Here is what I snacked on:
- Chips
- Ranch Doritos
- Pringles
- Cheetos
- Fritos
- Frito Twists
- Bars
- Nature Valley
- Power Bars
- Pro Bars
- Beef Jerky
- Slim Jims
Katie:
Most of Chris’s snacks are highly-processed foods, consisting of simple carbs. Many of these foods have preservatives, artificial colorings, trans fats, and high fructose corn syrup, which can all create inflammation. This leads to greater fatigue, as the body tries to keep up with the physical demands of hiking all day coupled with the demands of combating chronic inflammation. Also, relying solely on simple carbs without adequate protein and healthy fats will keep Chris on the blood sugar roller coaster of energy swings.
Snacking throughout the day can be a great way to maintain energy, and carbohydrates are essential for fueling a long distance hike; however, I’d suggest choosing more whole food sources, and pairing them with protein, fat, and fiber for stable blood sugar. For chips, look for varieties with less than 5 ingredients, ideally without vegetable oils, such as canola (though that can be hard to find). For jerky, look for grass-fed sources, raised without antibiotics, with no added nitrates, MSG, or gluten.
Makeover:
- Other
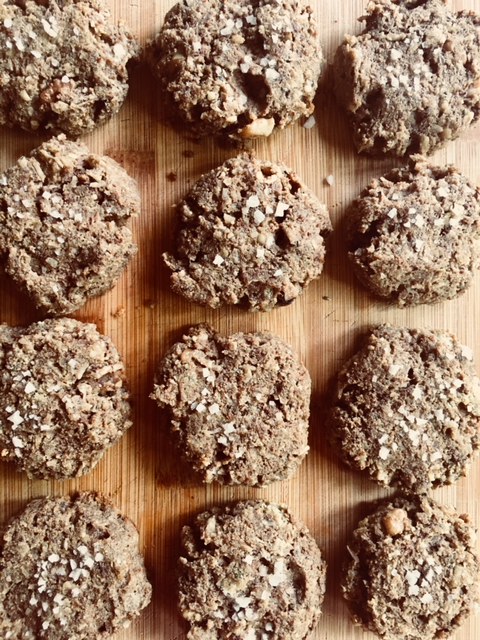
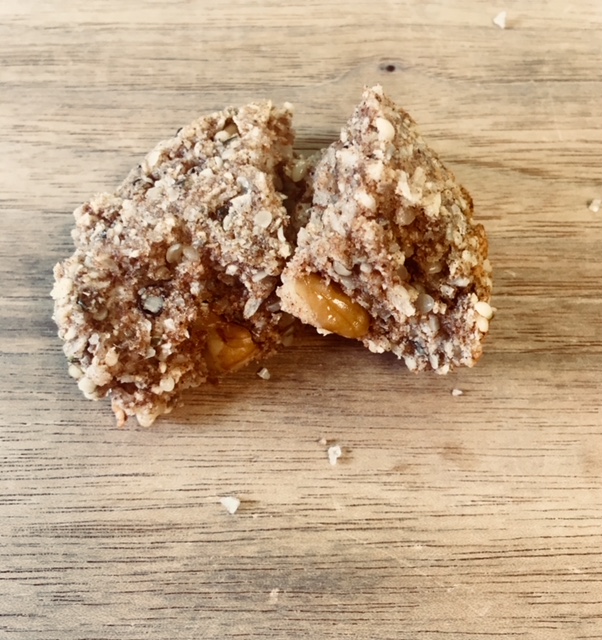
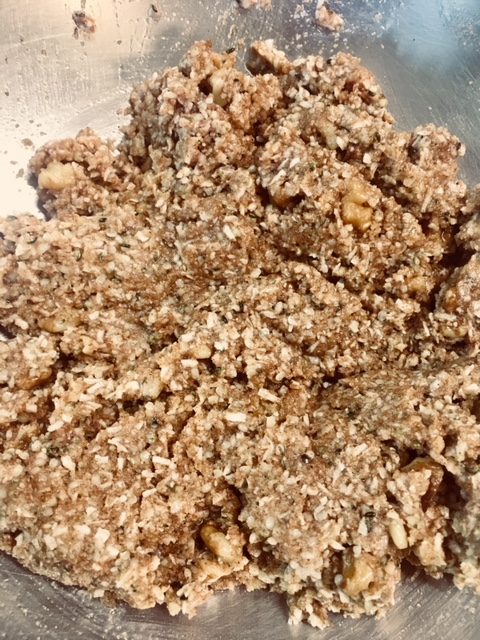
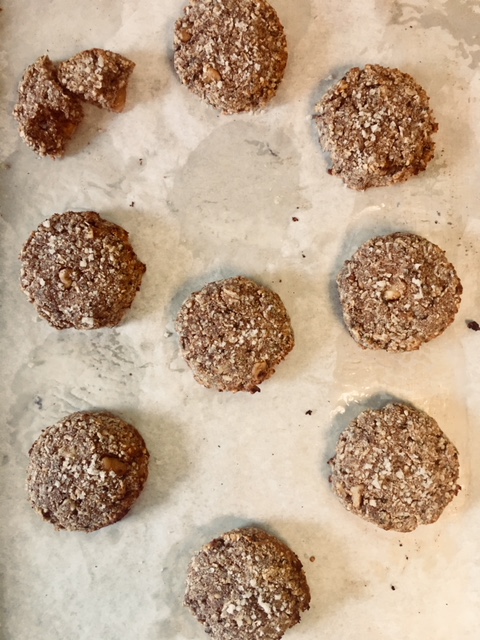
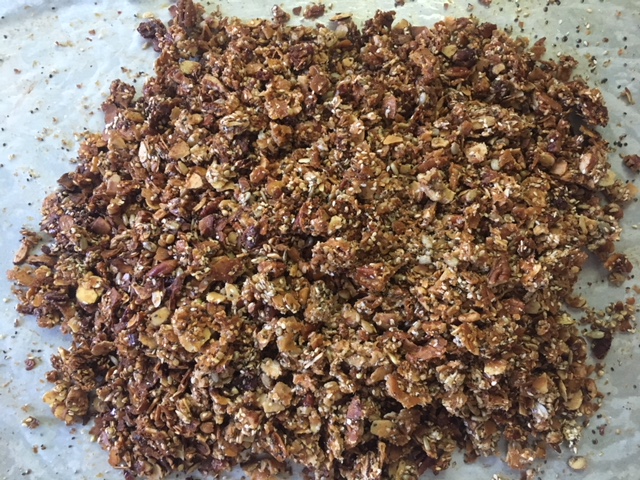
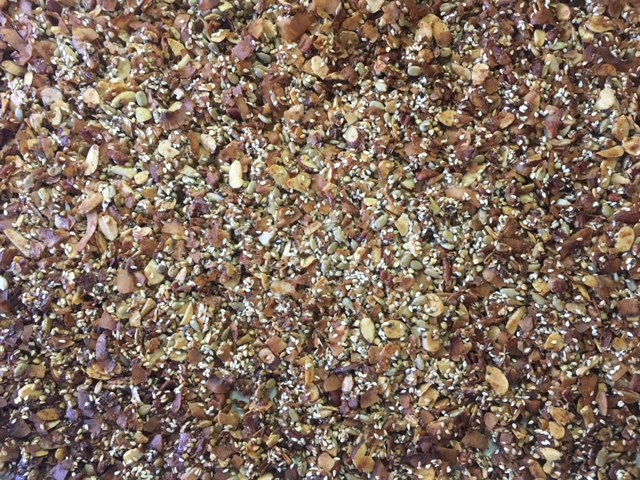
- Granola, ideally homemade (higher in nuts/seeds, low in added sugars)
- Nut/seed butters, such as peanut, almond, sunflower, without added sugars or oils
- Dried Fruit
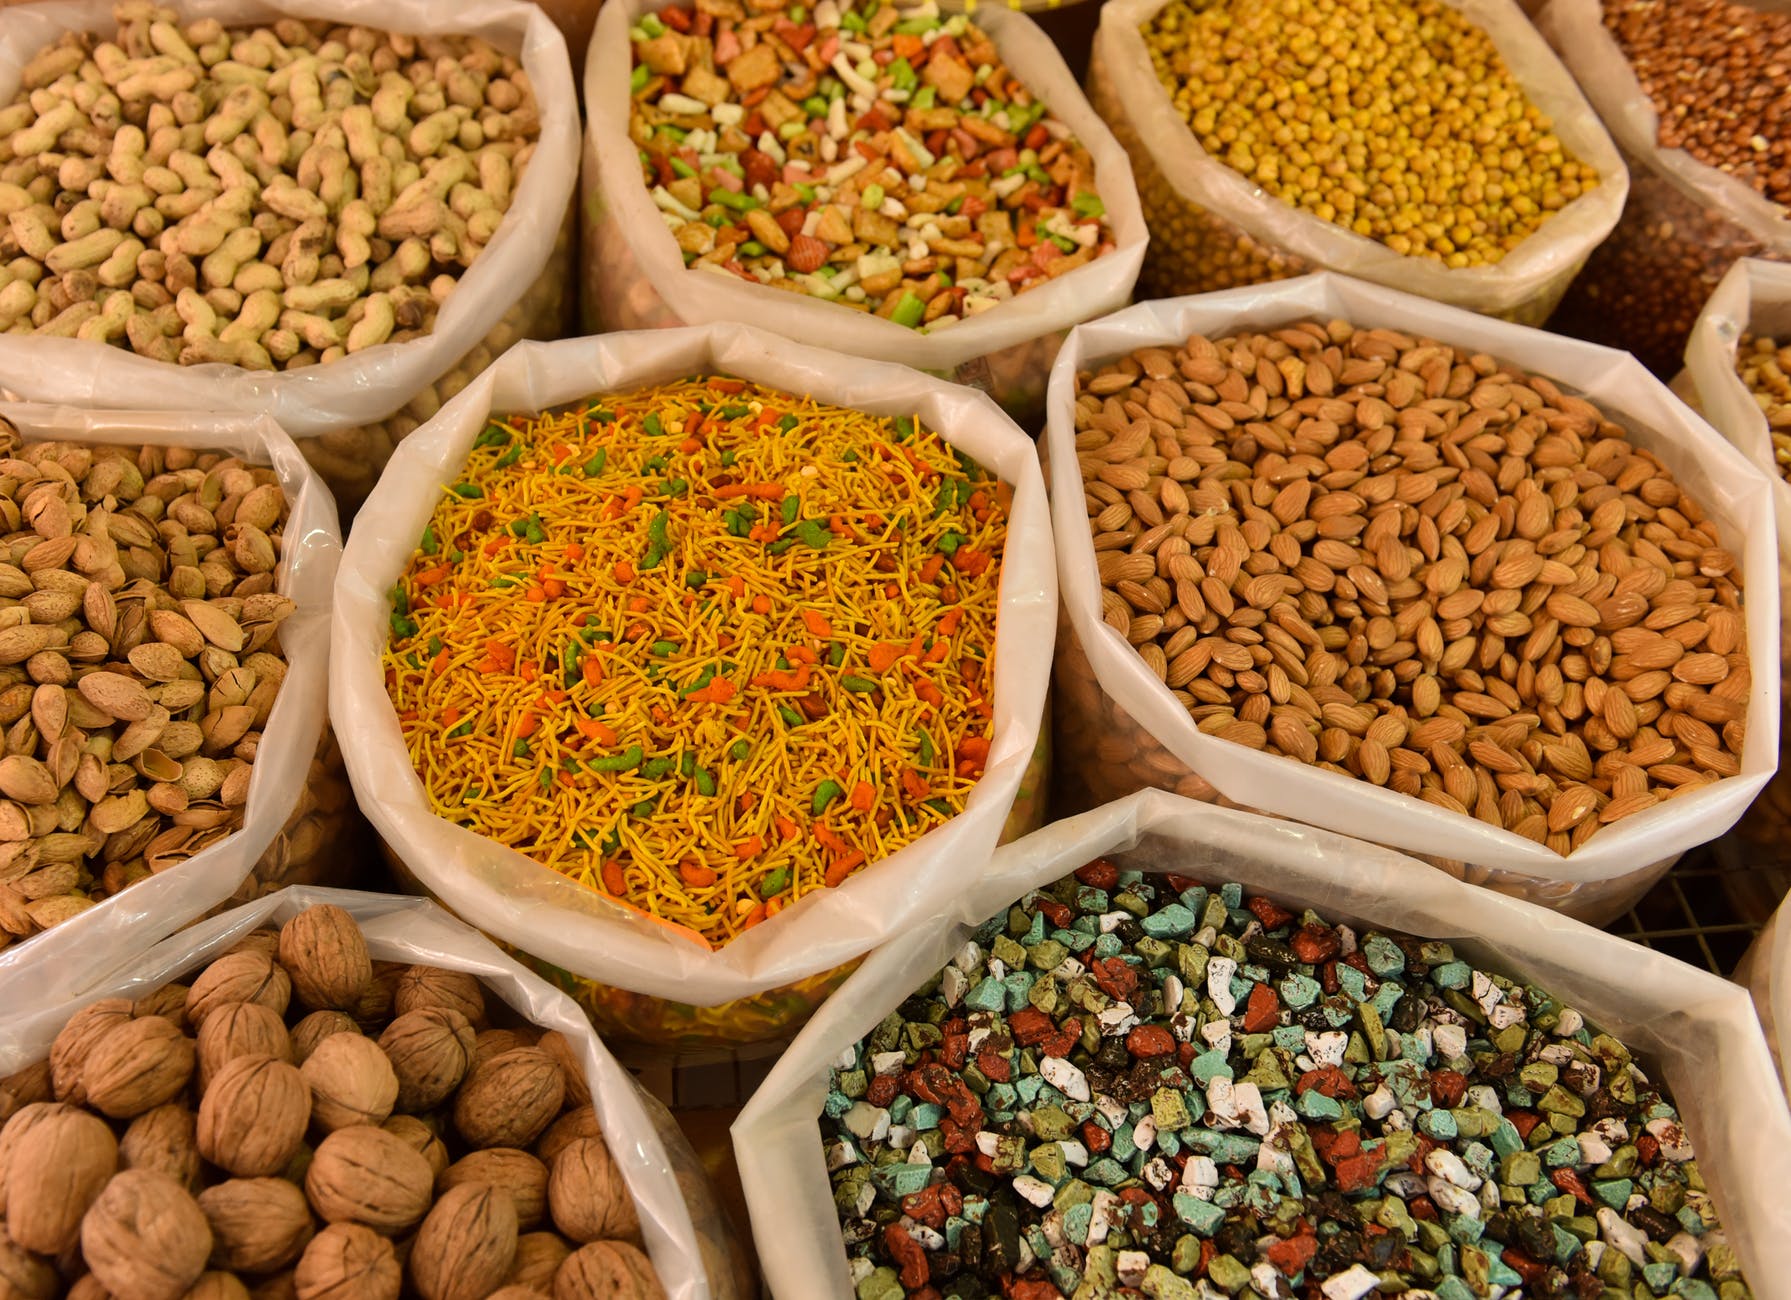
- Nuts & Seeds
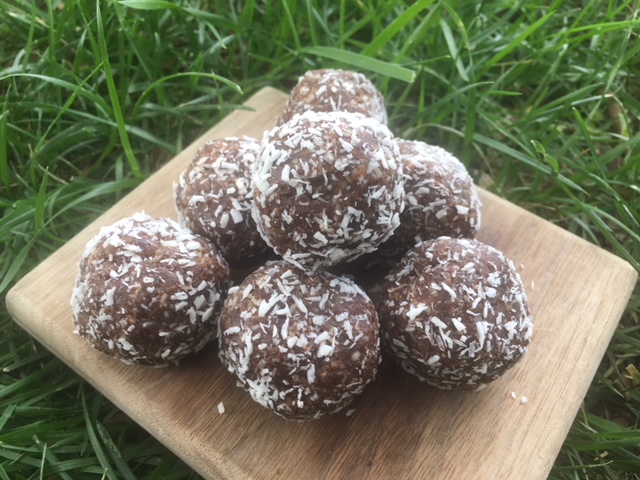
- Homemade trail mix, with dried fruit, nuts, seeds, coconut, chocolate chips, etc. (Go down the bulk bin aisle and choose your favorites for endless variety)
Dinner
Chris:
I would tend to stop and cook my one hot meal of the day around 5:30pm. I often ate a Knorr rice side or Idahoan dehydrated potatoes with chunks of cheese and summer sausage. After dinner I’d continue to hike on and treat myself to some candy when I set up my camp for the night.
My Usual Dinner Options:
- Various Flavors of Rice Sides
- Various Flavors of Pasta Sides
- Various Flavors of Idahoans
- Cheese
- Summer Sausage
- Skittles
Katie:
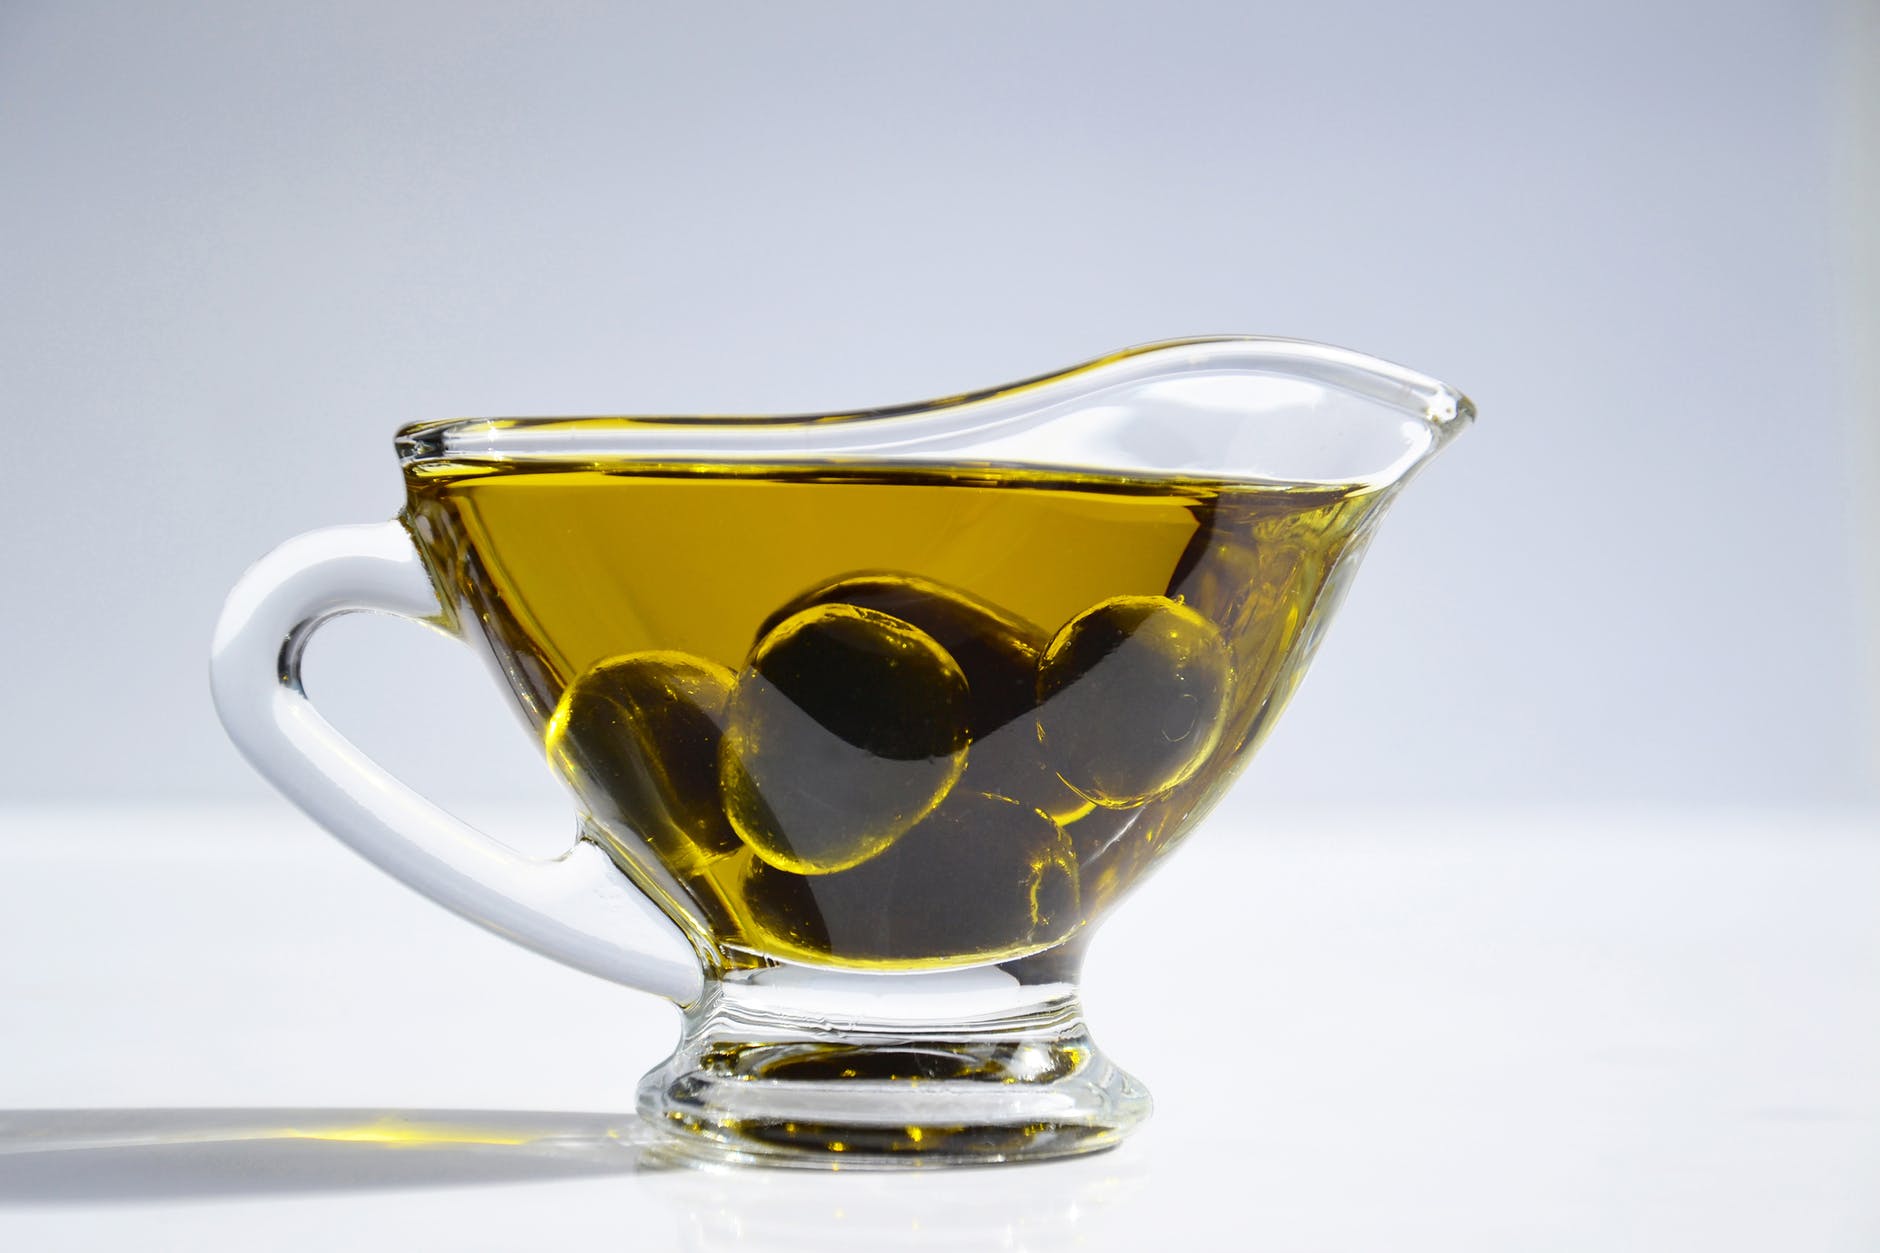
Chris could upgrade his dinners by looking for less processed versions of these staples, which would help keep inflammation lower. Consuming carbs at the end of the day helps restore muscle glycogen, so he’ll be ready to hike again the following day. Having protein with those carbs can further aid in restoring muscle glycogen. Aiming for a 3:1 or 4:1 ratio of carbs to protein works well for many athletes. Additionally, I would suggest adding in a healthy fat, such as olive oil or coconut oil, to help replenish calories and aid in satiation. Chris’s diet also contains virtually no fruits or veggies, so I would suggest adding dehydrated veggies to his dinner and/or a greens powder sometime during his day. Dinner is also a great place to add in spices, which can boost the overall nutrition and antioxidant content of his meal. Finally, I would swap out the highly processed skittles, for a dessert such as dried fruit or dark chocolate, which are loaded with the antioxidants your body desperately needs to repair.
Makeover:
- Rice noodles (just the noodles, without the preservatives)
- Couscous
- Instant Potato Flakes (just the potatoes, without preservatives, like this one)
- Dehydrated Veggies
- Cheese
- Summer Sausage (grass fed sources)
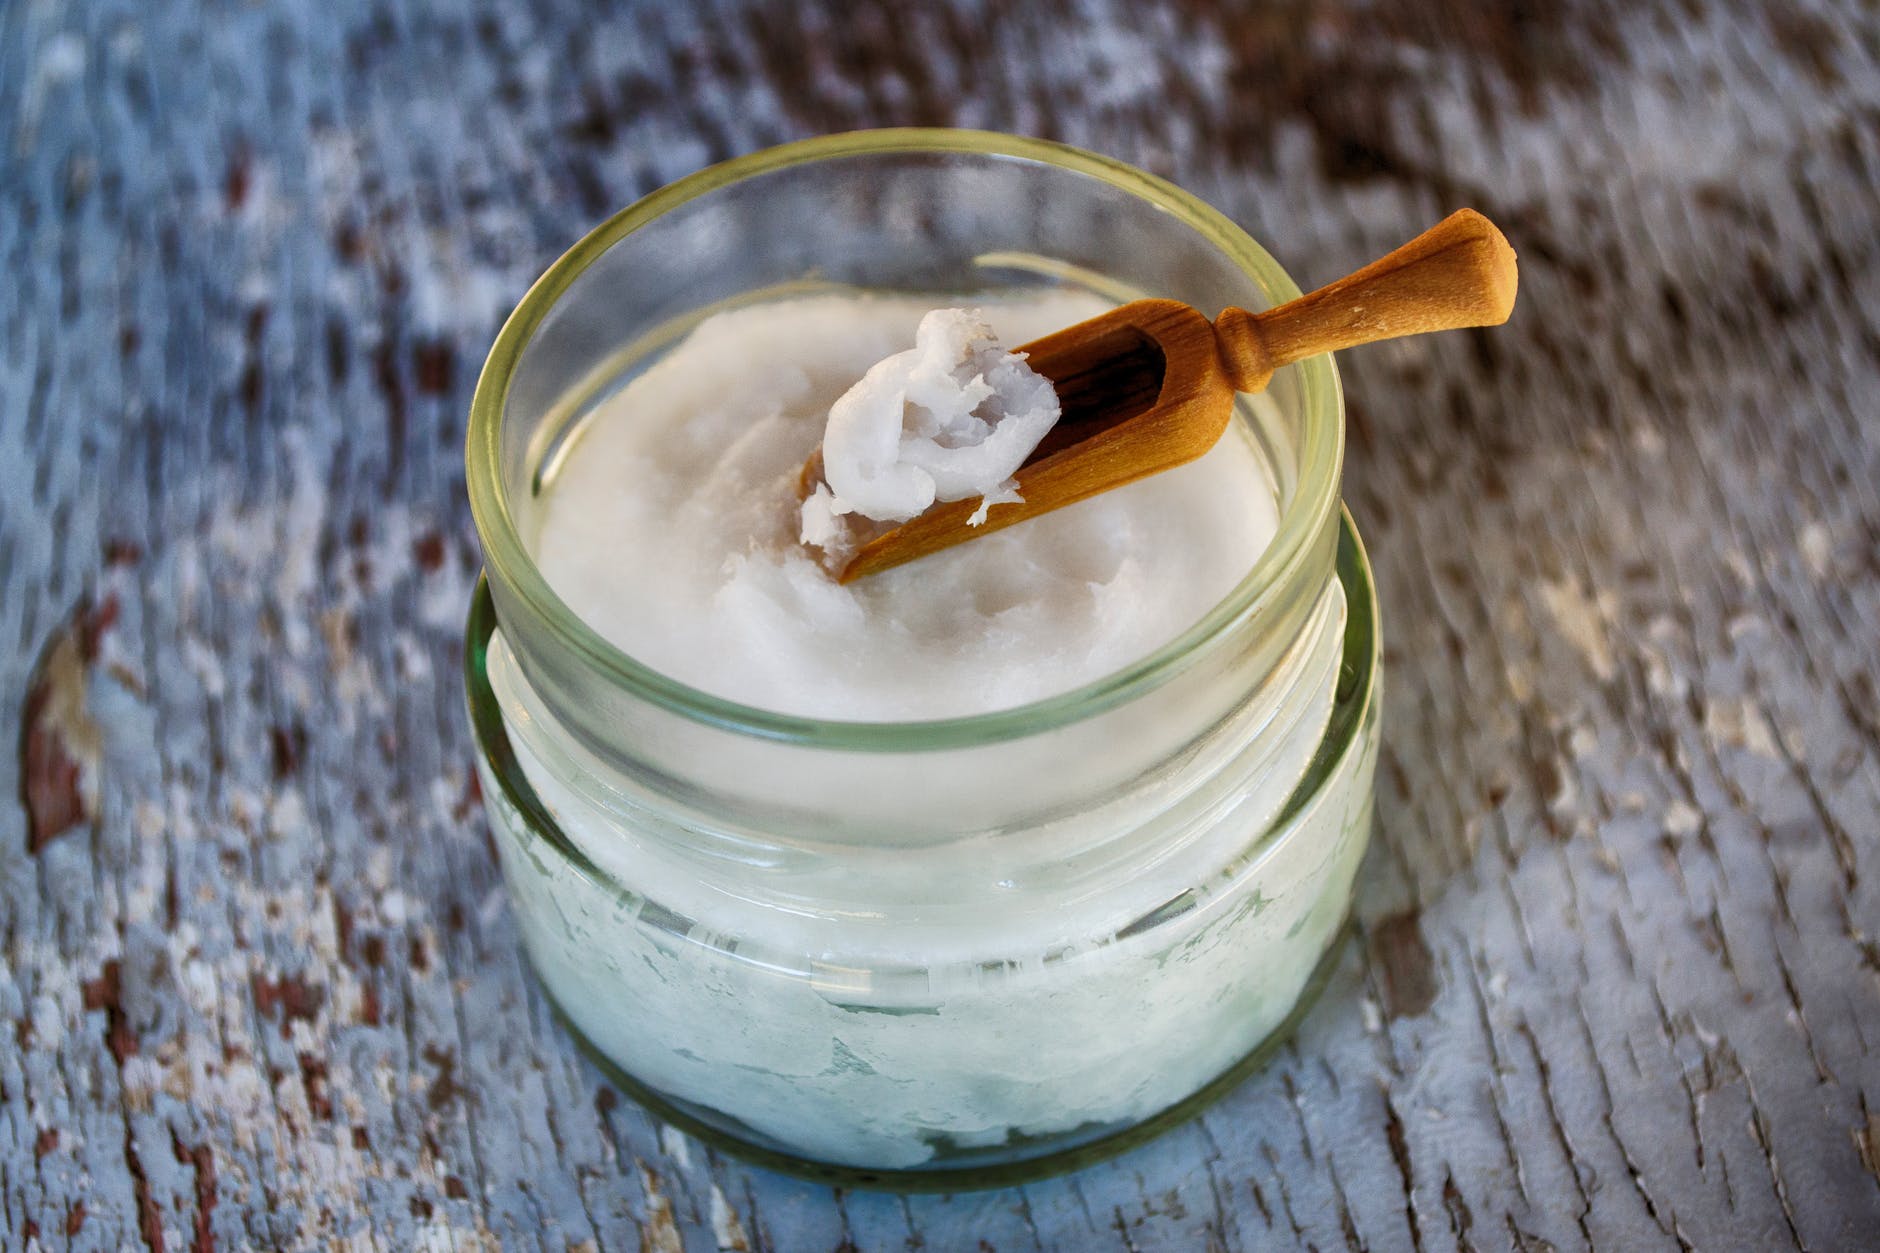
- Coconut Oil
- Olive Oil
- Spices such as garlic powder, curry powder, turmeric, cumin, and cayenne
- Dark Chocolate (85% cacao or higher)
- Dried fruit
In part 2, we’ll discuss how these resupplies compare in terms of calories, macronutrients, and nutrition. We’ll discuss the importance of considering both calorie dense and nutrient dense foods and compare common options. We’ll look at the weight of each of these resupplies, and finally, we’ll address the all-important concern of price and budget when it comes to the standard thru-hiker diet versus the healthier thru-hiker diet.
To follow Chris’s progress this year as he takes on the JMT and LT, subscribe to his blog here and follow him on Facebook and Instagram.
For a deep dive into performance nutrition and meal planning for backpackers, check out our online course on the topic.